




How To Use A Pilates Reformer
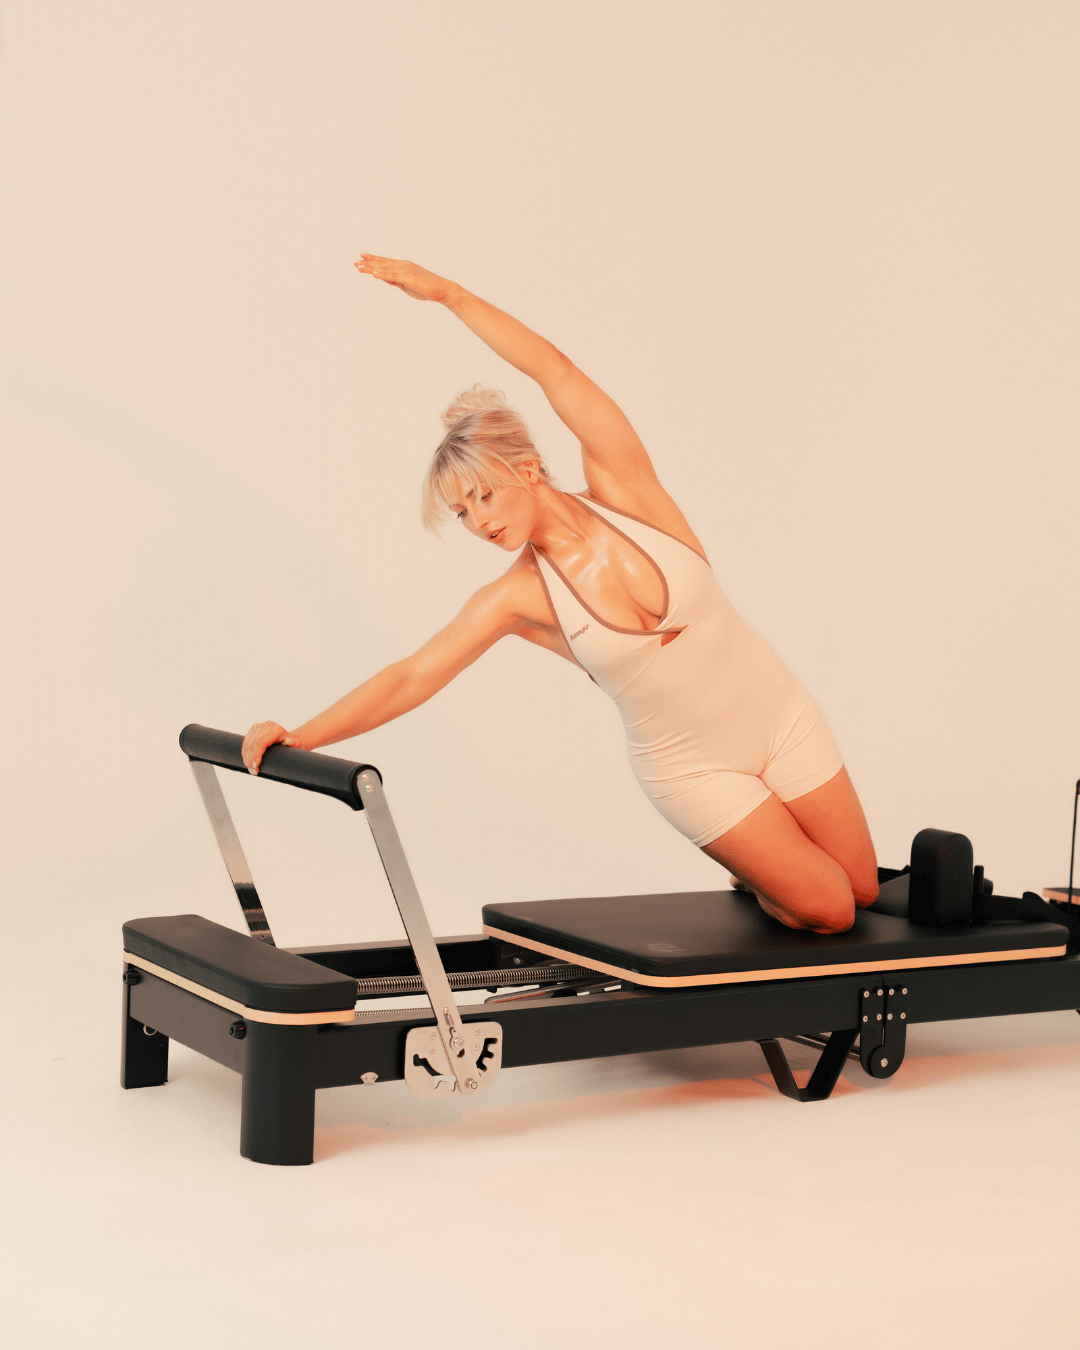
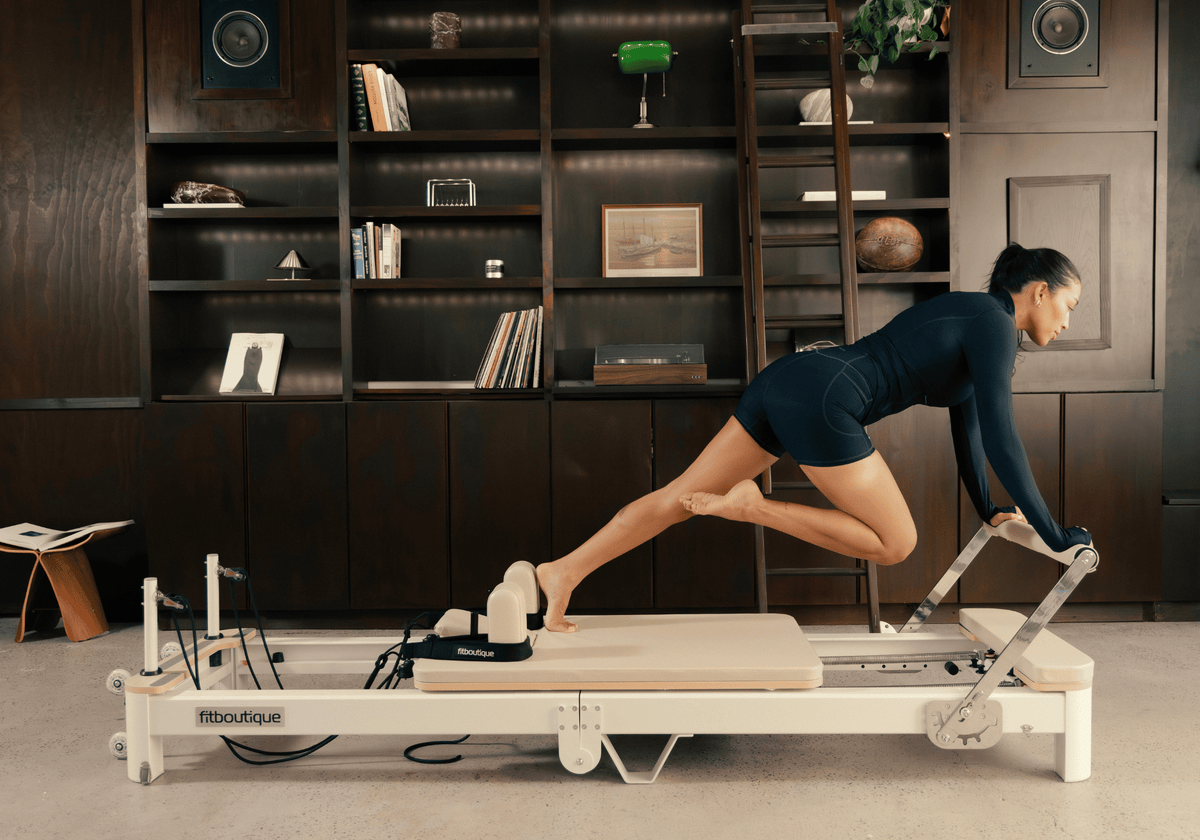
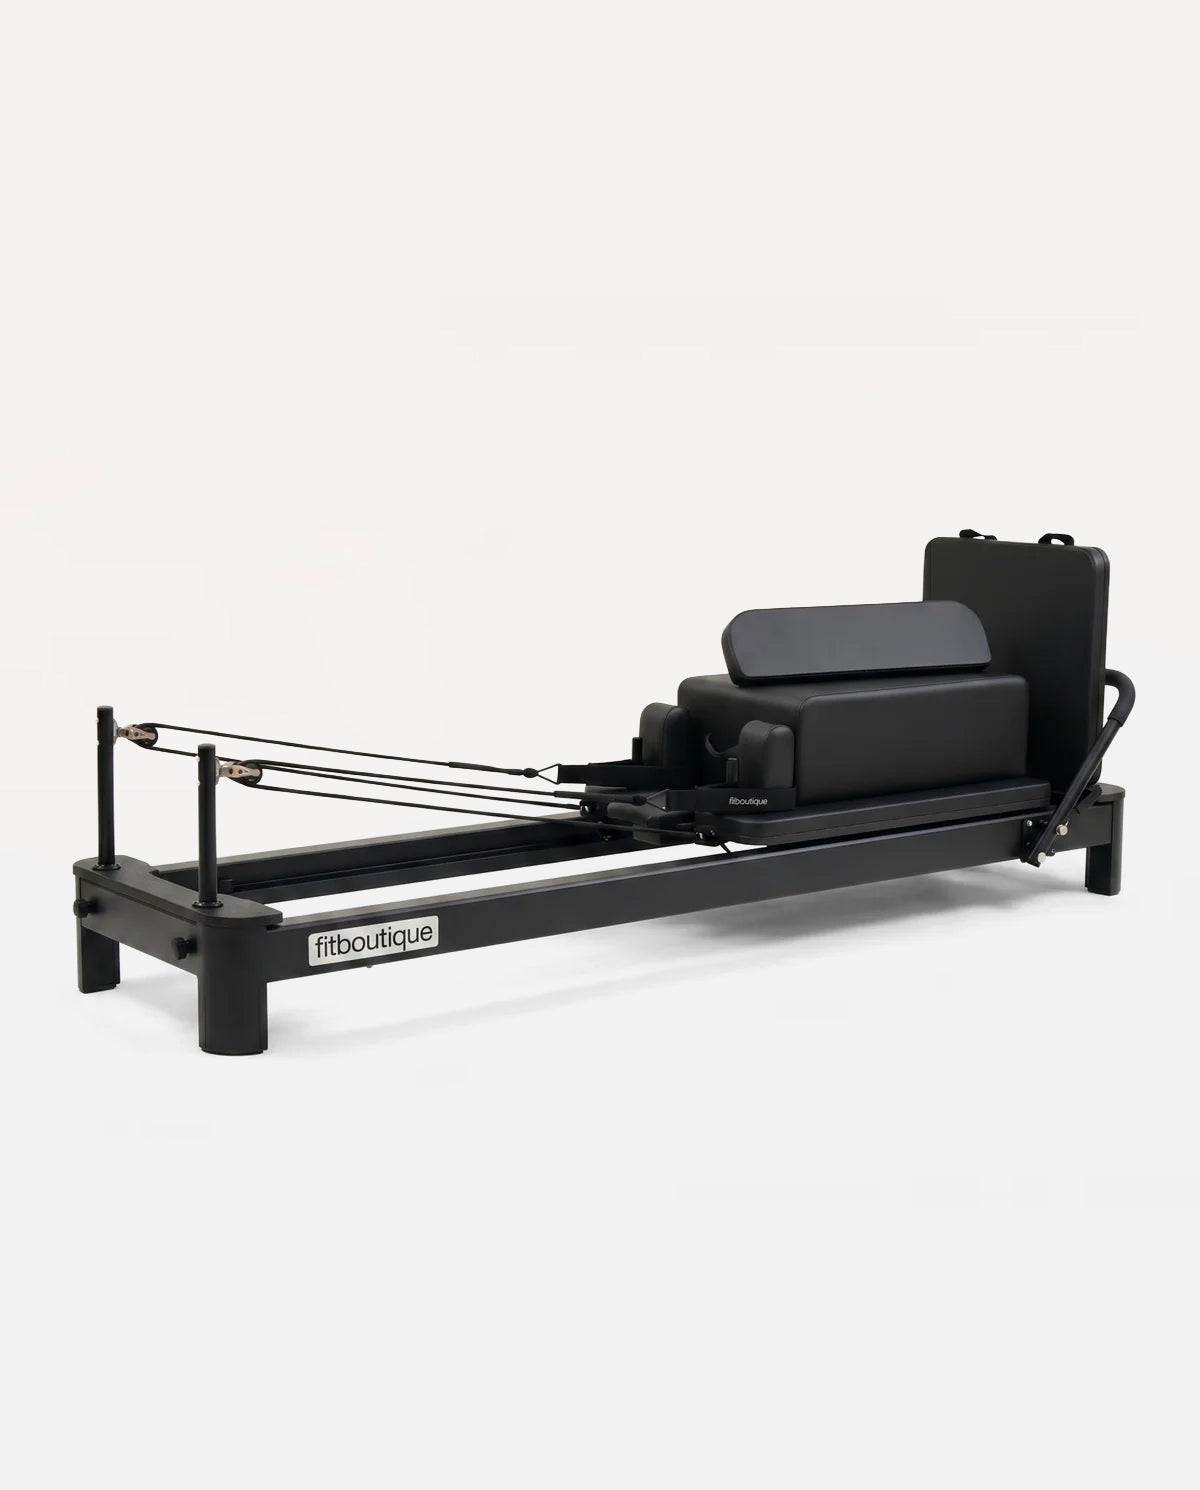
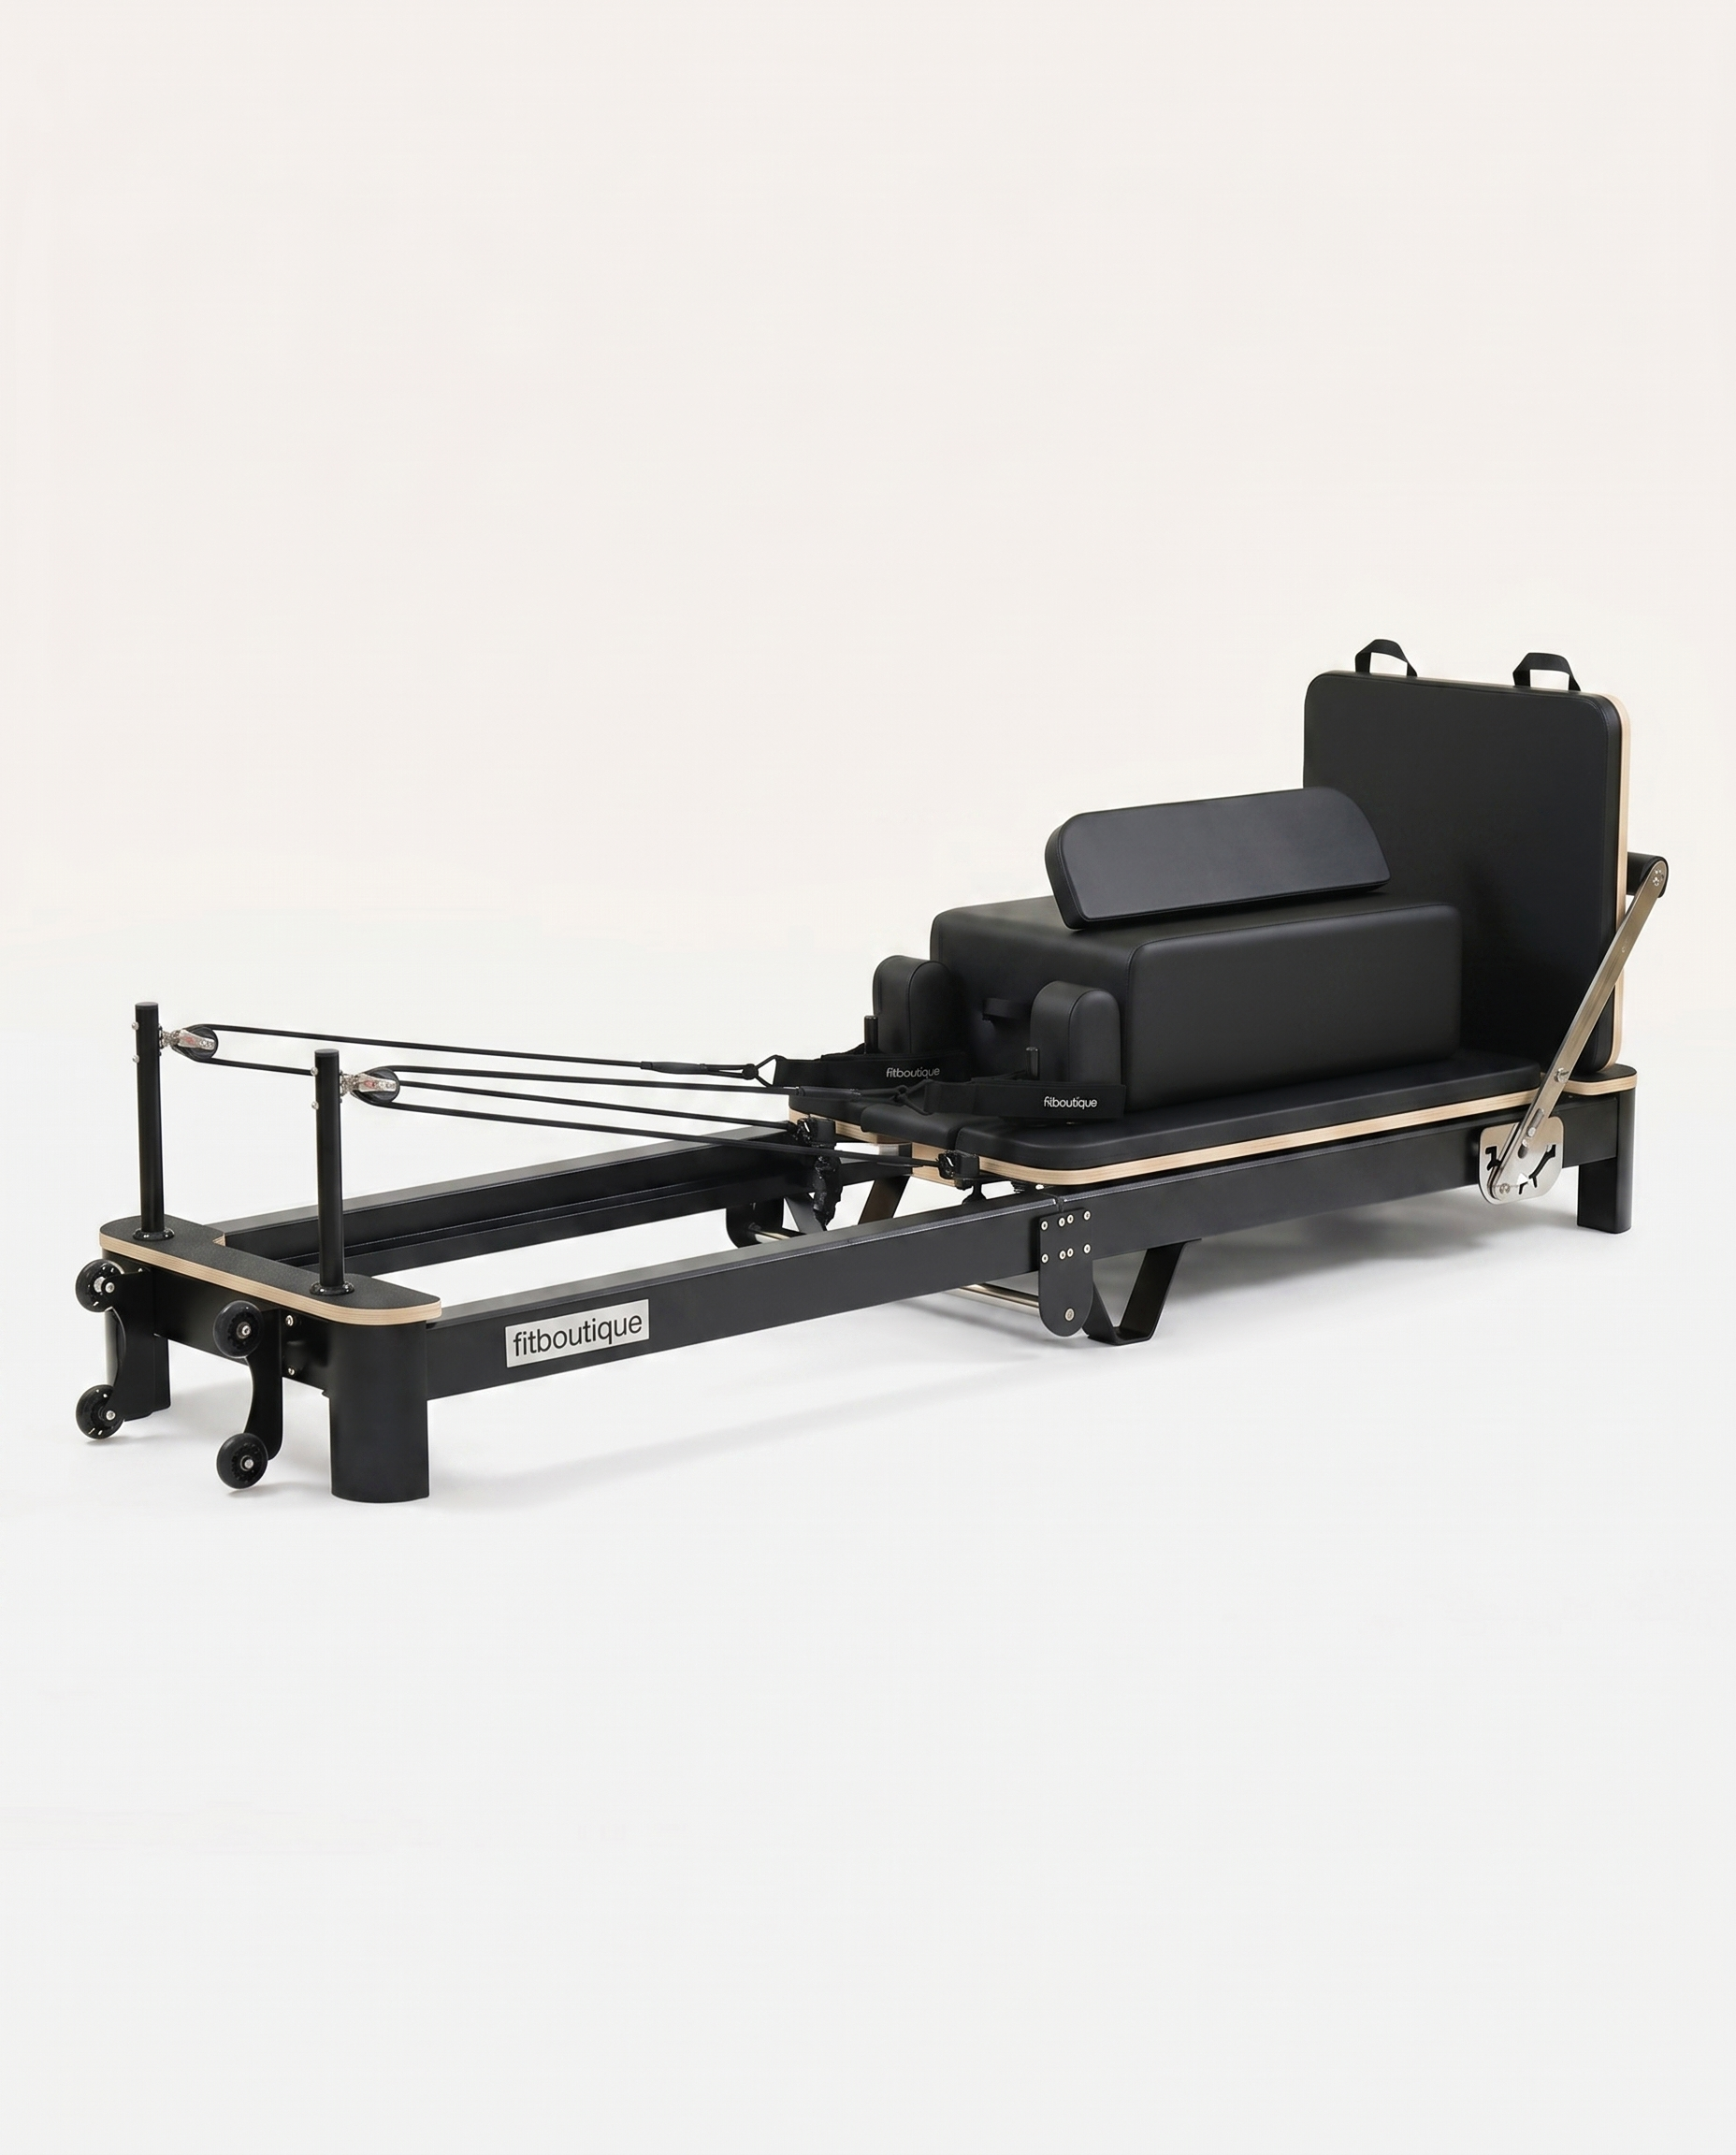
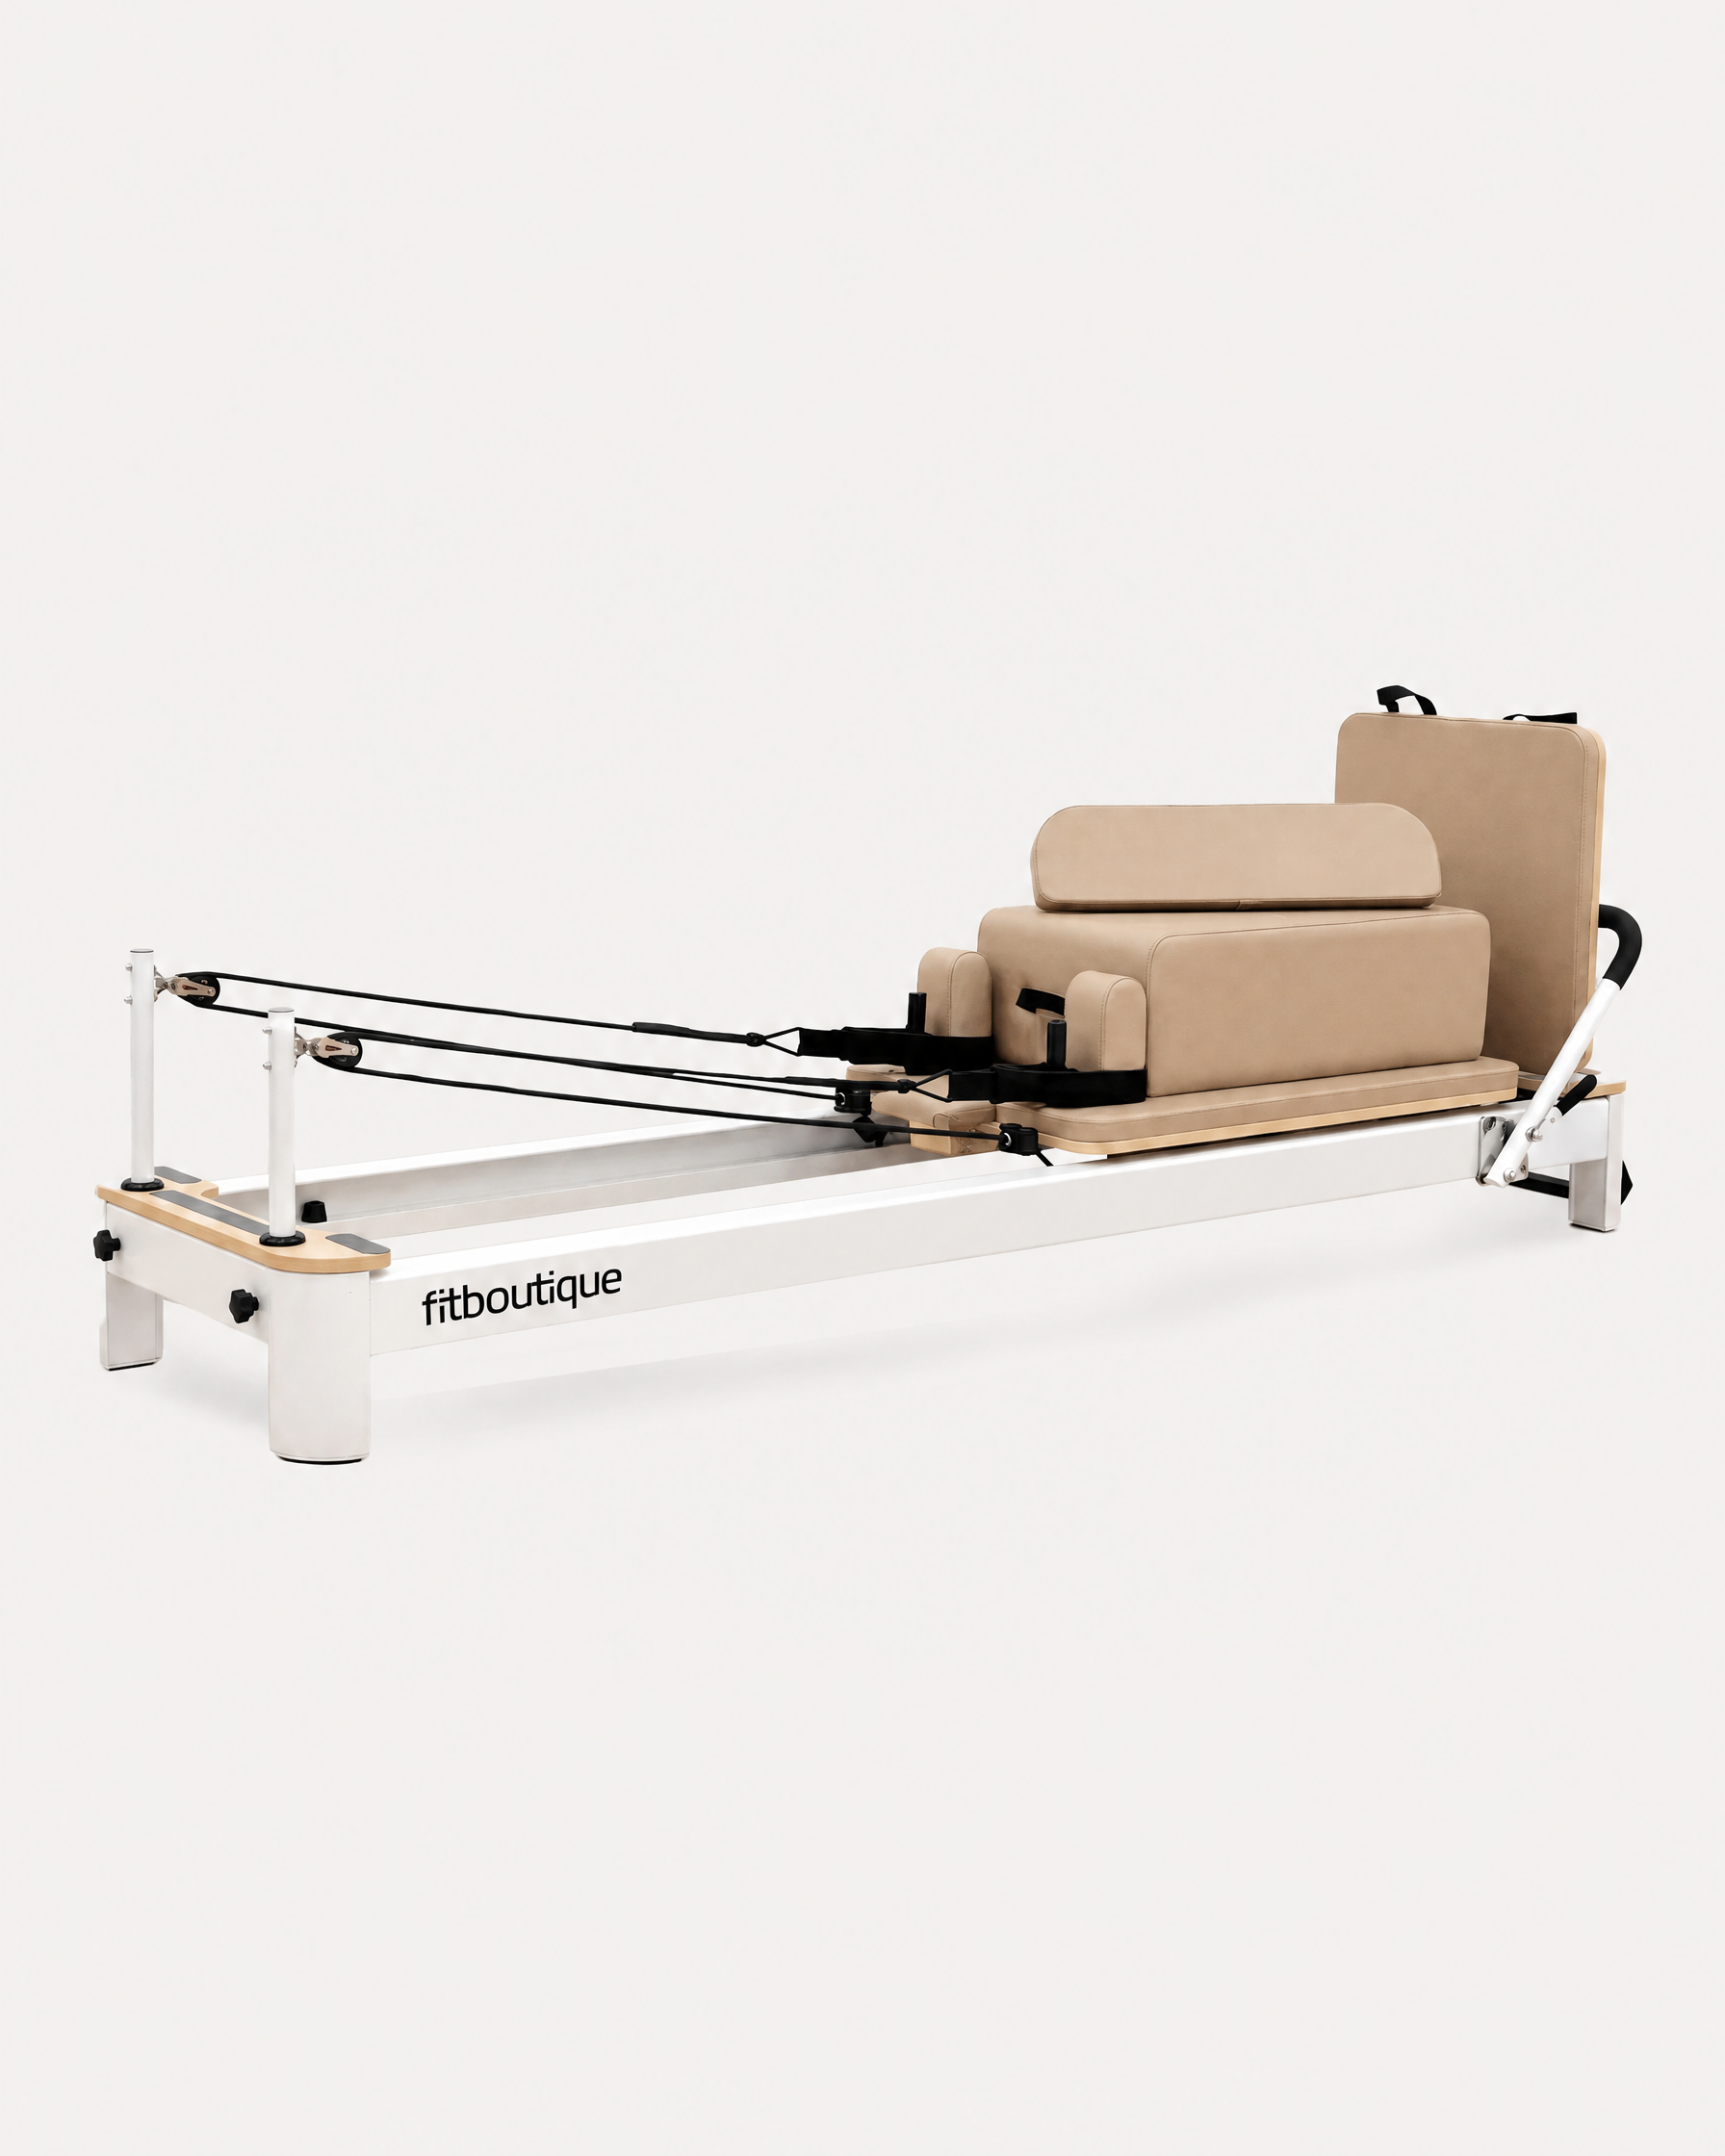
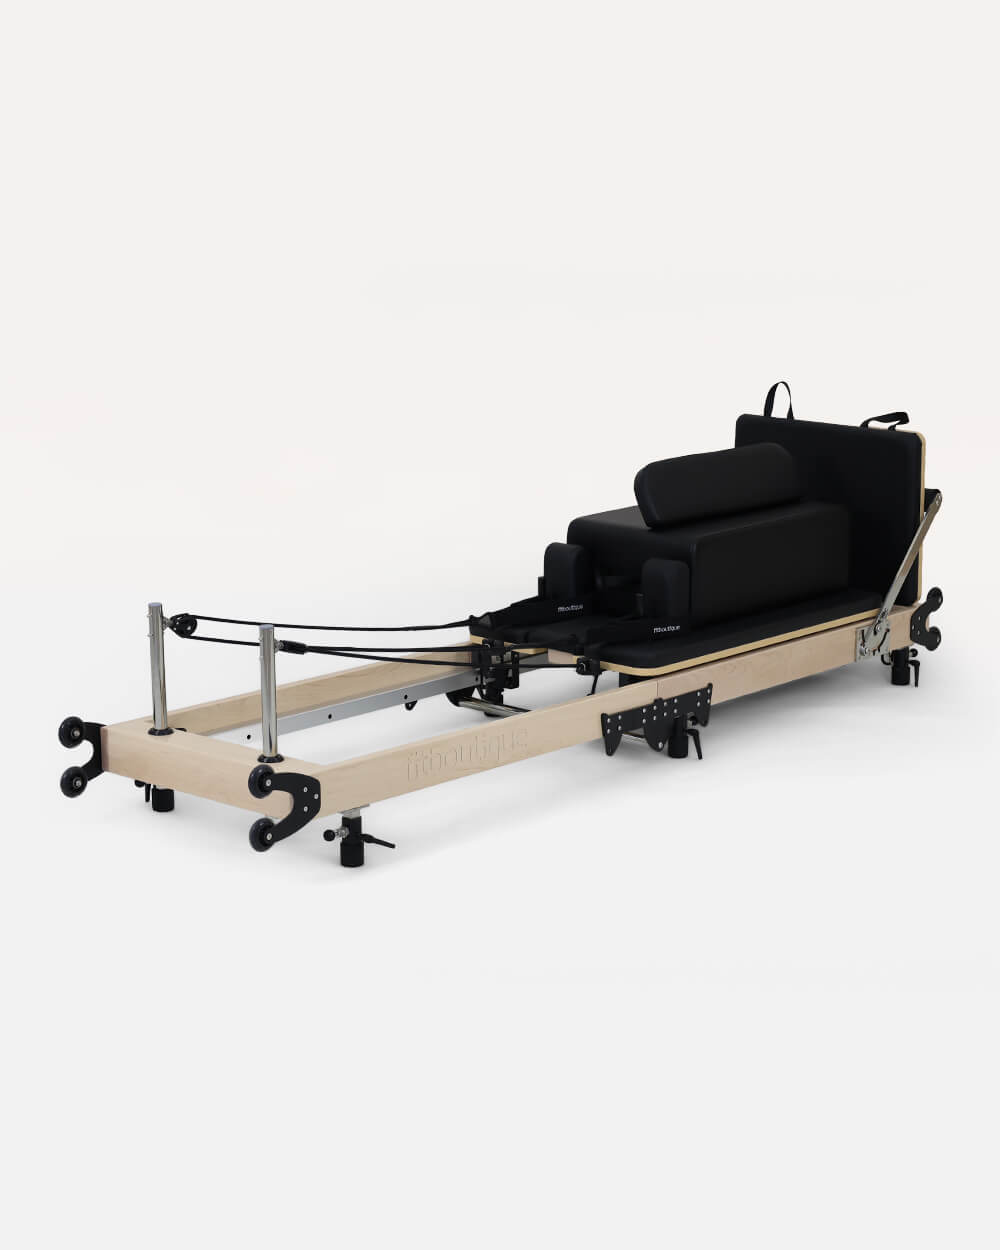
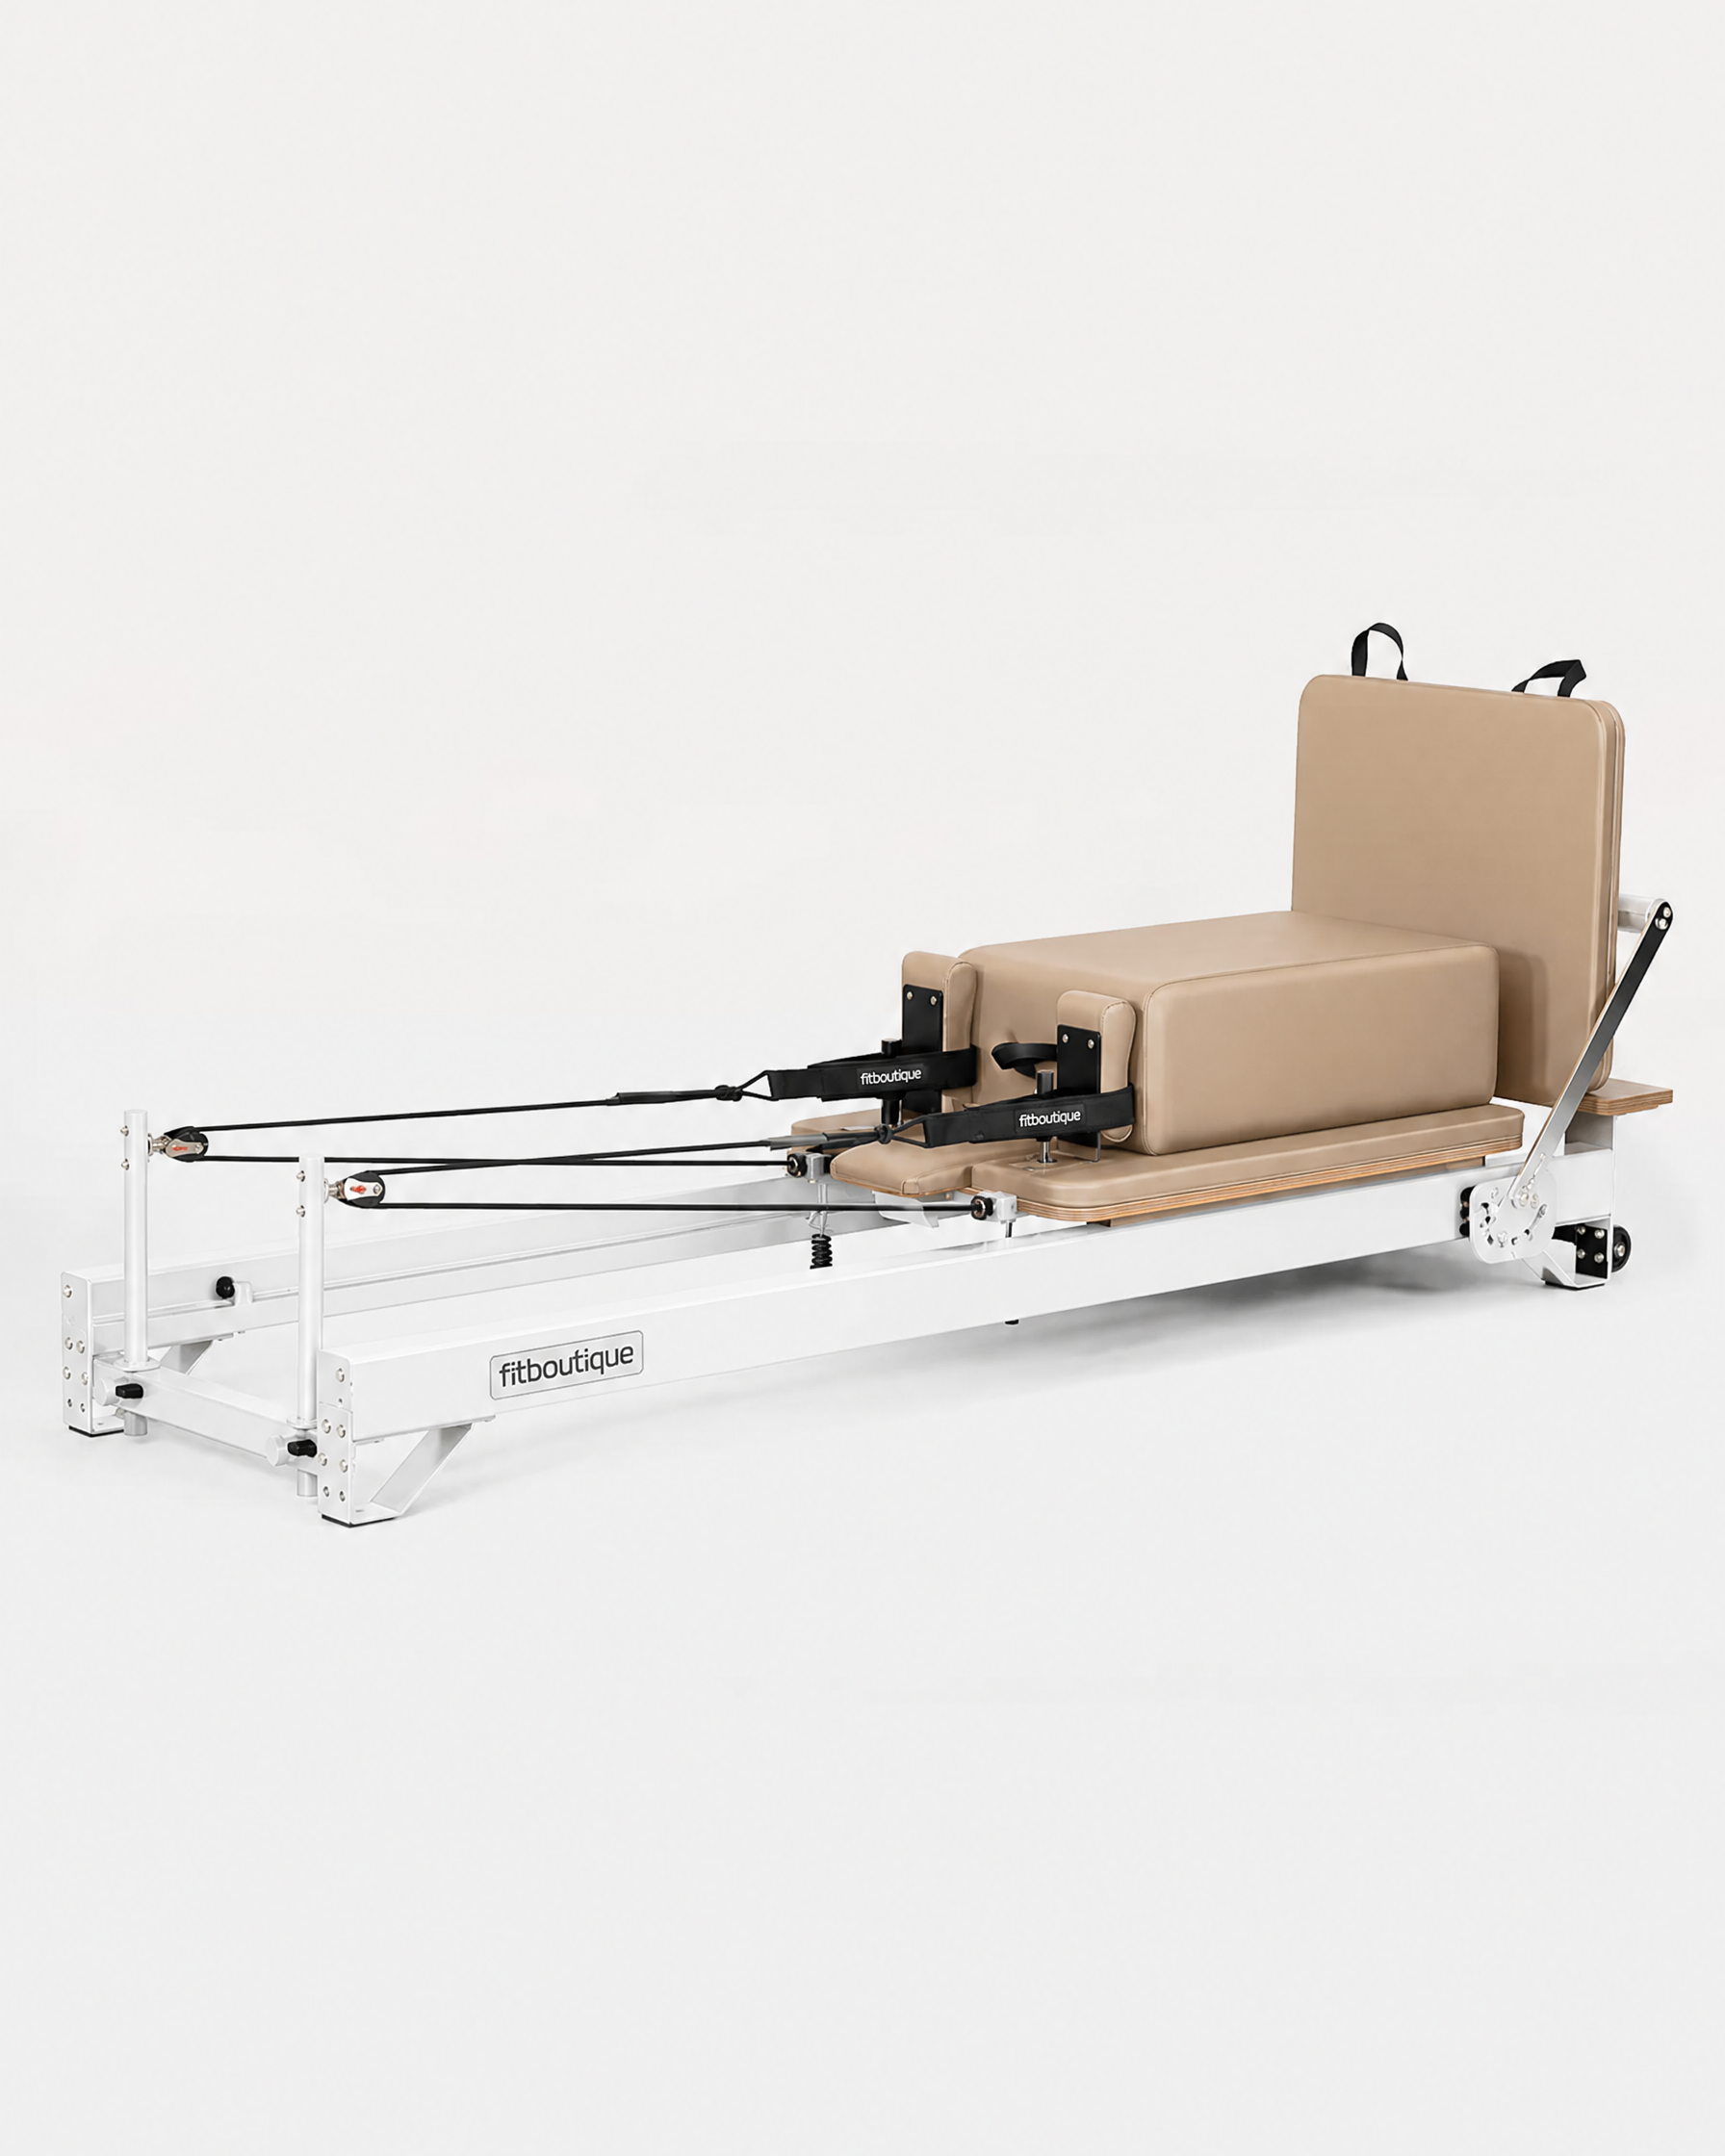
The first time you sit on a reformer, the machine looks like it has more parts than it needs. A sliding bed, a bar, a set of springs under the frame, ropes with handles, 2 blocks near your shoulders and a headrest that moves.
All of it does something, and once you know what each part is for, the machine stops being intimidating in about 10 minutes. This is the plain explanation I wish someone had given me before my first session.

In this article
The parts of a reformer
Six things, and you will use 5 of them in your first session.
The carriage. The padded bed that slides. Everything on a reformer is about controlling this. If the carriage moves smoothly, you are doing the exercise. If it jerks or slams, you are using momentum.
The footbar. The bar at the end you push against with your feet or hands. On most machines it adjusts to different heights, and the height changes the angle of the work rather than the difficulty.
The springs. Under the carriage, attaching it to the frame. These are the resistance, and they are the single most important setting on the machine.
The ropes and straps. Attached to the top end, running over pulleys. You hold them with your hands or hook your feet into them, and they let you load the same carriage from the opposite direction.
The shoulder blocks. The 2 pads near your head. They stop you sliding up the carriage when you push against the footbar. They are not headrests, and if you are pressing into them with your neck, something is wrong.
The headrest. A small adjustable pad at the top. Flat, or raised a notch or 2. Raise it if your neck is straining when your head is down, lower it for most lying work.
How the springs work
This is the part that confuses people longest, so here it is plainly.
The springs connect the carriage to the frame. When you push the carriage away from the springs, they resist you. When you let the carriage come back, they pull it home, and your job is to slow that return down rather than let it happen.
More springs is not always harder. On footwork, more springs means more resistance to push against, so yes, harder. But on an exercise where you are pulling the carriage toward the springs, or holding a position on a moving carriage, more springs makes the carriage more stable, which makes the exercise easier. This is why an instructor will sometimes tell you to add a spring when you are struggling.
Every FitBoutique reformer comes with 6 German made springs, which gives you a wide enough range that you can keep making the work harder for years rather than topping out.
Setting up before you start
Four checks, 30 seconds, every session.
If your reformer folds away between sessions, this is the whole setup, start to finish.
- Set your springs. For a first session, a medium load for footwork and a light load for arm work through the straps. If you are unsure, start lighter than you think and add rather than remove.
- Set the footbar height. Most people want it at a height where their knees are at roughly 90 degrees when their feet are on it and the carriage is home.
- Set the headrest. Flat for most lying work. Raise it a notch if your neck feels strained when your head is down.
- Check the straps are even. Uneven ropes are the single most common reason one side of your body works harder than the other without you noticing.
Getting on and off safely
The carriage moves, which means it will move while you are climbing onto it if you are not paying attention. This is where almost every reformer mishap happens, and it is entirely avoidable.
Get on with the carriage resting against the stopper, not floating in the middle. Put one hand on the footbar or the frame as you sit or kneel. Keep your weight over the carriage rather than half on and half off. And when you get off, bring the carriage home first, every time.
The same applies to changing springs mid session. Bring the carriage home, then change the spring. Never reach under a carriage that is under tension.

Your first session
Four exercises will teach you more about the machine than 20 will. Do these slowly, and treat the goal as control rather than repetitions.
Footwork. Lie on your back, feet on the footbar, medium springs. Push through your heels to straighten your legs, then take 3 full seconds to let the carriage return. This teaches you what controlled resistance feels like in both directions.
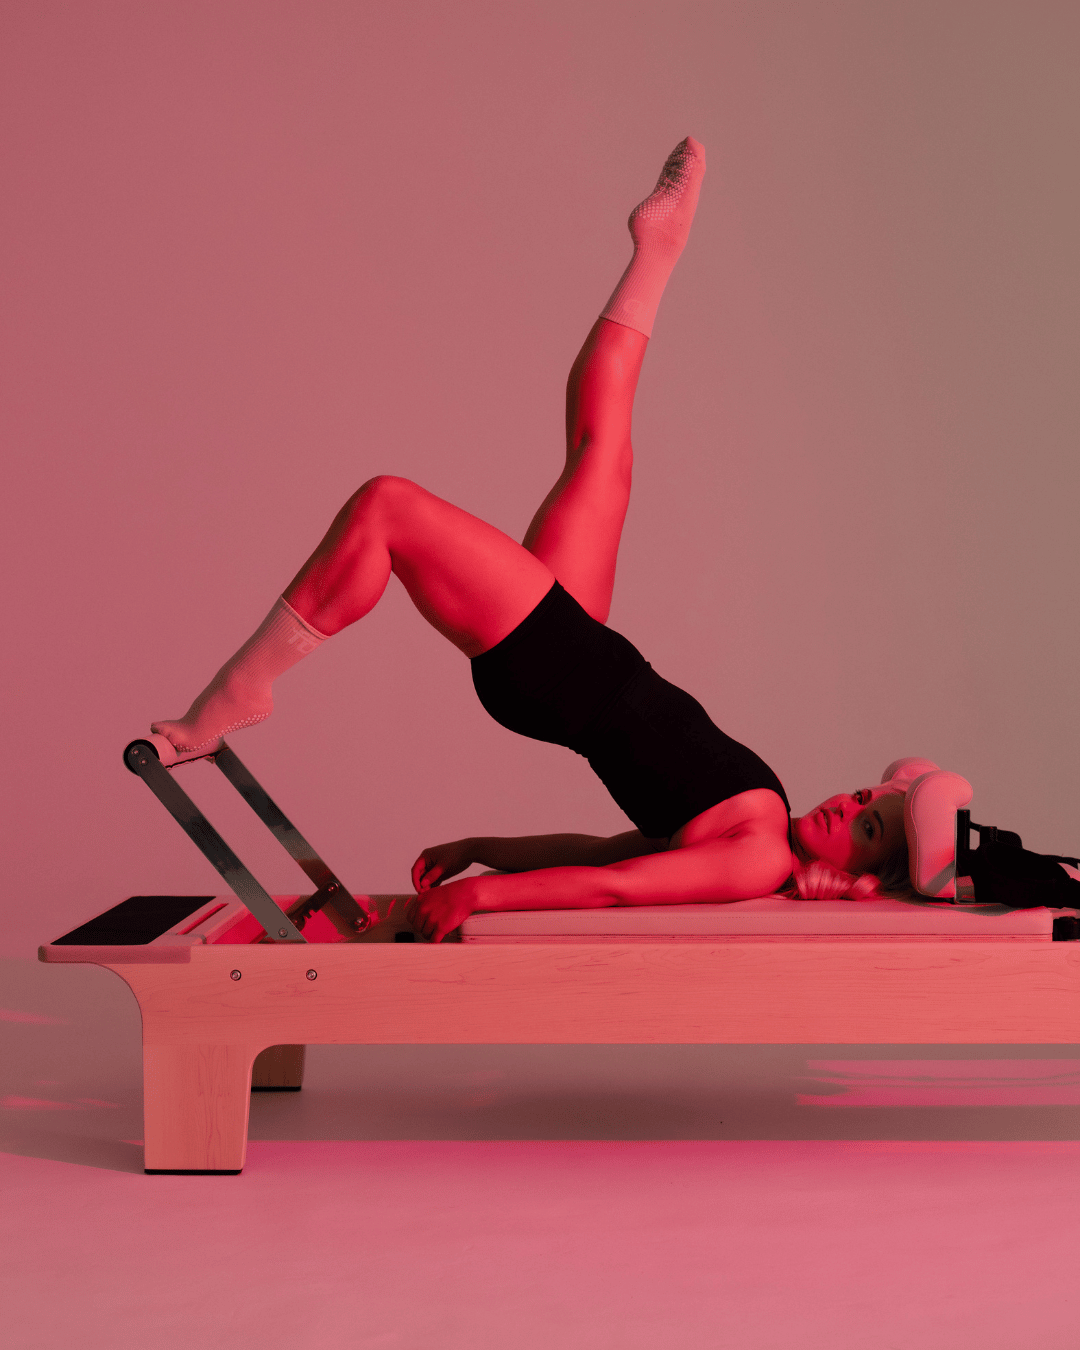
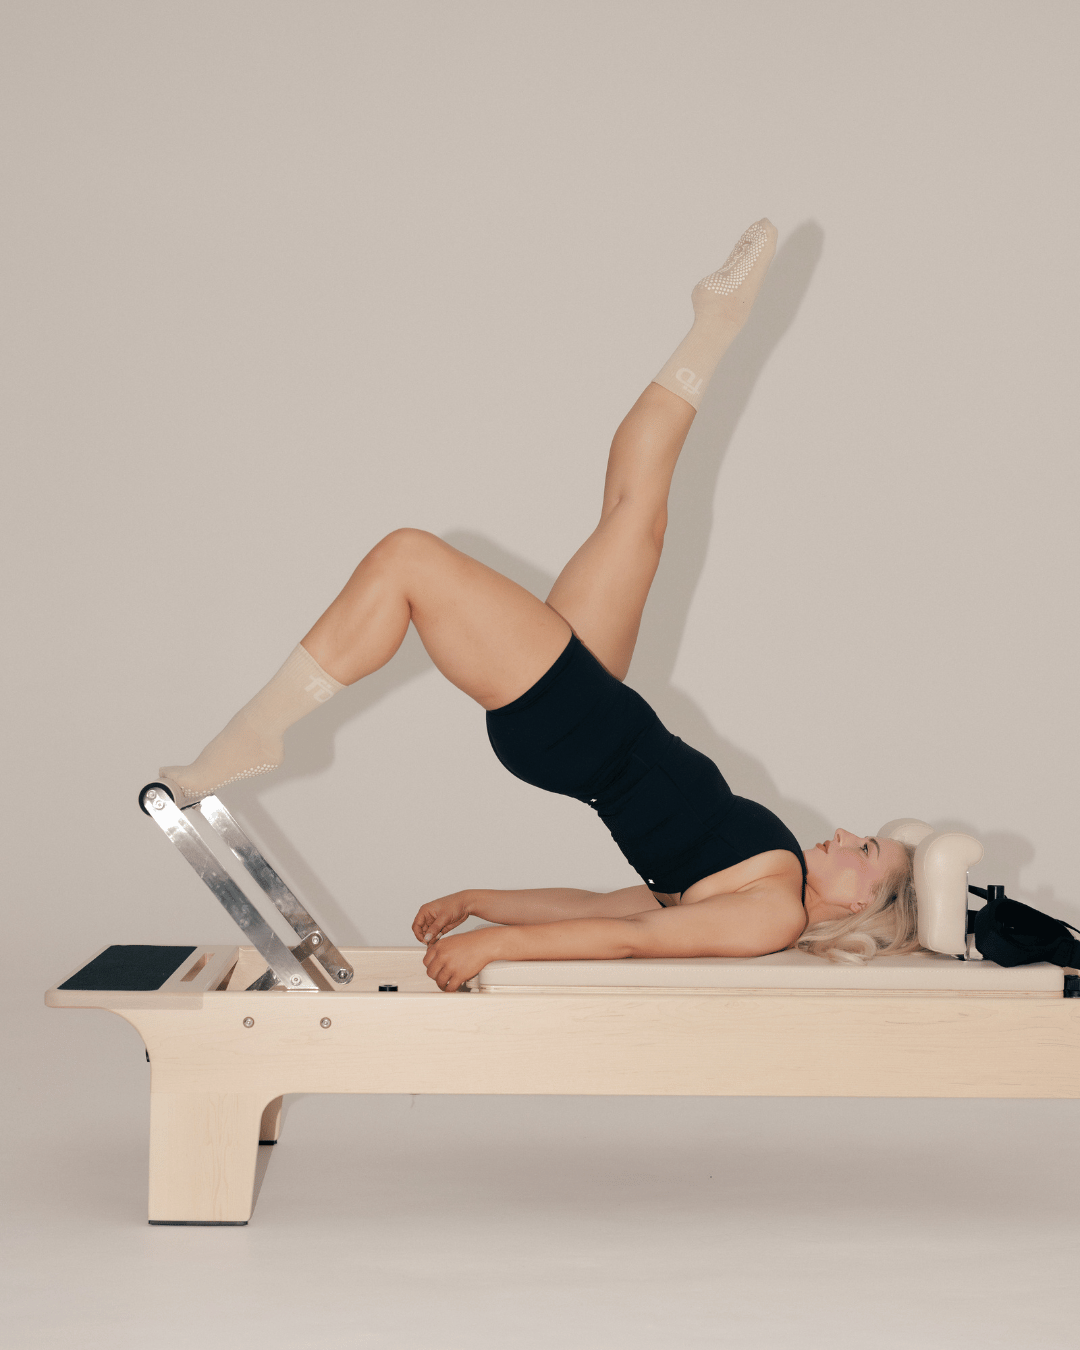
Leg circles in the straps. Feet in the straps, legs toward the ceiling, light springs. Draw slow circles. This teaches you that your core, not your legs, is what keeps the carriage still.
The hundred. Head, neck and shoulders lifted, holding the straps, arms pumping. This is the classic, and on a reformer the straps mean your arms have something to work against.
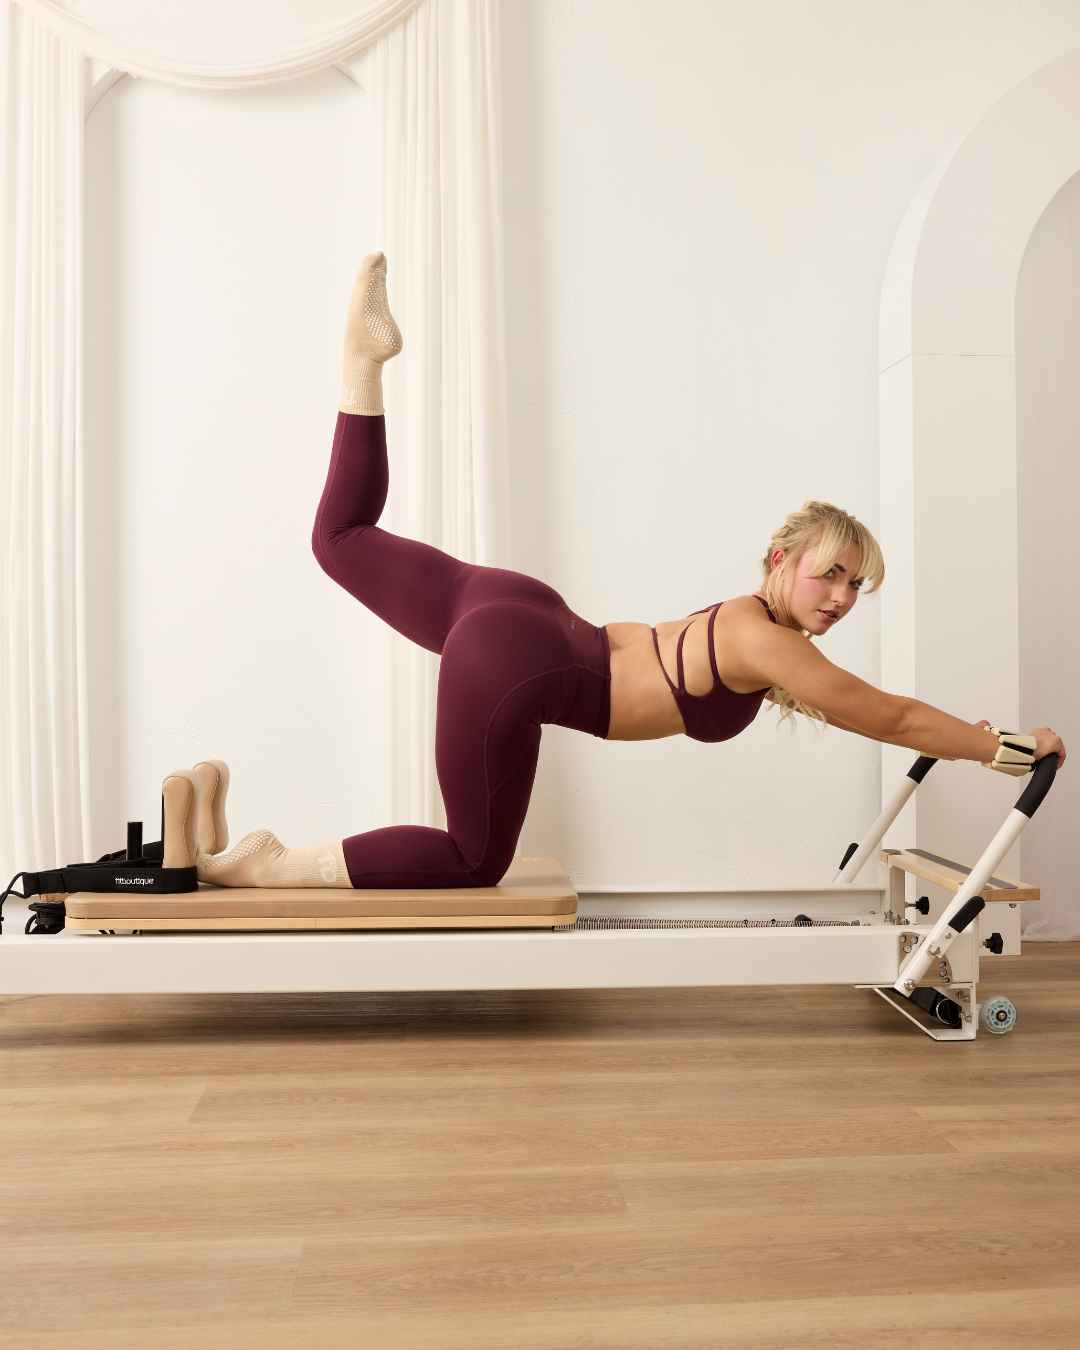
Elephant. Standing on the carriage, hands on the footbar, hips high. Move the carriage a small distance using your legs while keeping your back long. This teaches you how much the carriage reveals about whether your core is switched on.
Stop there. If you want a structured session to follow rather than assembling your own, my beginner reformer Pilates workout walks through one, and the basics of reformer Pilates covers what the method is doing in the background.
The mistakes everyone makes
Going too fast. Speed lets momentum do the work, and momentum is exactly what the reformer exists to remove. If the carriage makes a noise at either end, you are going too fast.
Gripping the footbar. White knuckles on the bar means your shoulders and neck are compensating for your core. Hands rest on it, they do not hang from it.
Pushing into the shoulder blocks. They are there to stop you sliding, not to push against. If you are driving your shoulders into them, reduce the spring load.
Letting the carriage slam home. The return is half of the exercise, and it is the half most beginners give away. Three seconds back, every time.
Ignoring the springs. Using the same setting for every exercise for months is the most common reason someone plateaus on a machine that has plenty left to give.
How to progress
On a reformer, progression is a spring change, not a new exercise. That is the whole advantage of the machine over the floor, and it is why writing down your settings matters more than it sounds.
Once an exercise feels controlled through the full range for 3 sessions running, change the load. Which direction depends on the exercise, and the rule from earlier tells you which one. Slow the tempo down before you change anything, because a slower repetition is a harder repetition at the same spring.
If you are still deciding which machine suits your room, I compared the range in which reformer fits your space and budget, and if you would rather ask a person, get in touch.
A Note From Ayrah
Nobody told me the carriage was giving me feedback, and I spent my first month thinking I was just clumsy.
The noise it makes at the end of a repetition is not a machine problem. It is the machine telling you that you stopped controlling the movement before it finished. Once I heard it that way, I fixed more technique in 2 weeks than in the 2 months before.
Try this in your next session. Do 10 slow repetitions of footwork with one goal, which is silence. No clunk at the end of the push, no thud on the return. It is much harder than it sounds and it will make everything else on the machine better.
Frequently Asked Questions
How do you use a Pilates reformer for the first time?
Set your springs to a medium load, set the footbar so your knees sit at roughly 90 degrees, keep the headrest flat, and check your straps are even. Then do footwork, leg circles in the straps, the hundred and elephant, slowly. Four exercises done with control teach you the machine far better than 20 done quickly.
What do the springs on a reformer do?
They connect the carriage to the frame and provide the resistance. Pushing the carriage away from the springs is harder with more springs. Controlling a carriage that wants to run away is easier with more springs, which is why an instructor may tell you to add one when you are struggling.
How many springs should a beginner use?
A medium load for footwork and leg work, a light load for anything through the straps with your arms. If you are unsure, start lighter and add, rather than starting heavy and fighting the machine.
What are the shoulder blocks for?
They stop you sliding up the carriage when you push against the footbar. They are not something to press into. If you find yourself driving your shoulders into them, your spring load is too heavy.
How do you get on and off a reformer safely?
Always with the carriage resting against the stopper rather than floating. Put one hand on the footbar or frame, keep your weight over the carriage, and bring the carriage home before you get off or change a spring.
Why does my reformer carriage bang at the end?
Because the return is happening faster than you are controlling it. The return is half the exercise. Aim for about 3 seconds back and a silent finish, which is considerably harder than it sounds.
Do I need an instructor to learn?
Not necessarily. Plenty of people learn from guided classes at home. An in person session or 2 early on is useful for alignment you cannot see yourself, and filming 30 seconds of your own footwork does a surprising amount of the same job.
How do I know when to make it harder?
When an exercise feels controlled through the full range for 3 sessions in a row. Slow the tempo first, since a slower repetition is harder at the same spring, then change the spring load.
Learn On A Machine That Moves Properly
Every FitBoutique reformer arrives assembled with 6 German made springs, a jumpboard and box included, free delivery Australia wide and a 5 year warranty.
Compare Every Reformer
Written by Ayrah Yuso
I'm part of the FitBoutique team and have a solid passion (and love) for all things exercise related, including Reformer Pilates

















Leave a comment