


DIY Pilates Springboard Setup
Thinking about adding a Pilates springboard to your home workout space?
It’s a smart move.
Springboards are a cost-effective way to mimic many movements you’d do on a Reformer Machine. They’re compact, wall-mounted, and perfect for anyone who wants a versatile Pilates option without taking up floor space.
Here’s how to plan, build, and set up your own DIY Pilates springboard safely and effectively.
Why Choose a Pilates Springboard?
A springboard gives you resistance-based training in a smaller footprint.
It’s a great option if:
-
You want to complement your Reformer Machine workouts
-
You have limited space at home
-
You like adding variety to your Pilates sessions
-
You’re looking for budget-friendly equipment
Think of it as a vertical Reformer Machine alternative that still delivers strength, flexibility, and stability benefits.
Step 1 – Choose the Right Location
Before you even pick up a tool, decide where your springboard will live.
Look for:
-
A strong wall (ideally stud wall for secure mounting)
-
Enough clearance above and below for full movement range
-
A flat, even surface to avoid stability issues
Tip: Avoid mounting on plasterboard alone. You’ll need solid studs or brick for safety.
Step 2 – Gather Your Materials
For a basic DIY setup, you’ll need:
-
Plywood or hardwood board (approx. 1.8m high x 60cm wide, 18–20mm thick)
-
Heavy-duty eye bolts or hooks (for springs attachment)
-
Pilates springs with handles
-
Wall mounting brackets and screws
-
Drill and measuring tape
If you want it to look sleek like FitBoutique’s commercial equipment, you can sand and finish the board with varnish or paint to match your space.
Step 3 – Install the Board
-
Use a stud finder to locate strong fixing points
-
Mark your board’s position on the wall
-
Secure it with heavy-duty brackets and screws into studs or masonry
-
Test stability before attaching springs
Your board must be completely rigid. Any wobble can impact your workouts and cause injury.
Step 4 – Attach the Springs
-
Place eye bolts in pre-measured positions along the board (usually in two vertical lines)
-
Space them evenly to allow for varied resistance and exercise options
-
Clip on your Pilates springs and handles
For safety, ensure all hardware is rated for the load you’ll be applying during workouts.
Step 5 – Test and Adjust
Start with light resistance and simple movements to check your board’s stability.
Once it passes the shake test, you can explore more challenging Pilates springboard exercises, from arm presses to leg springs.
Safety Considerations
-
Check your board and fixings regularly for wear or looseness
-
Avoid over-tightening springs, which can cause excess strain
-
If unsure about installation, hire a professional handyman
-
Always warm up before using your springboard

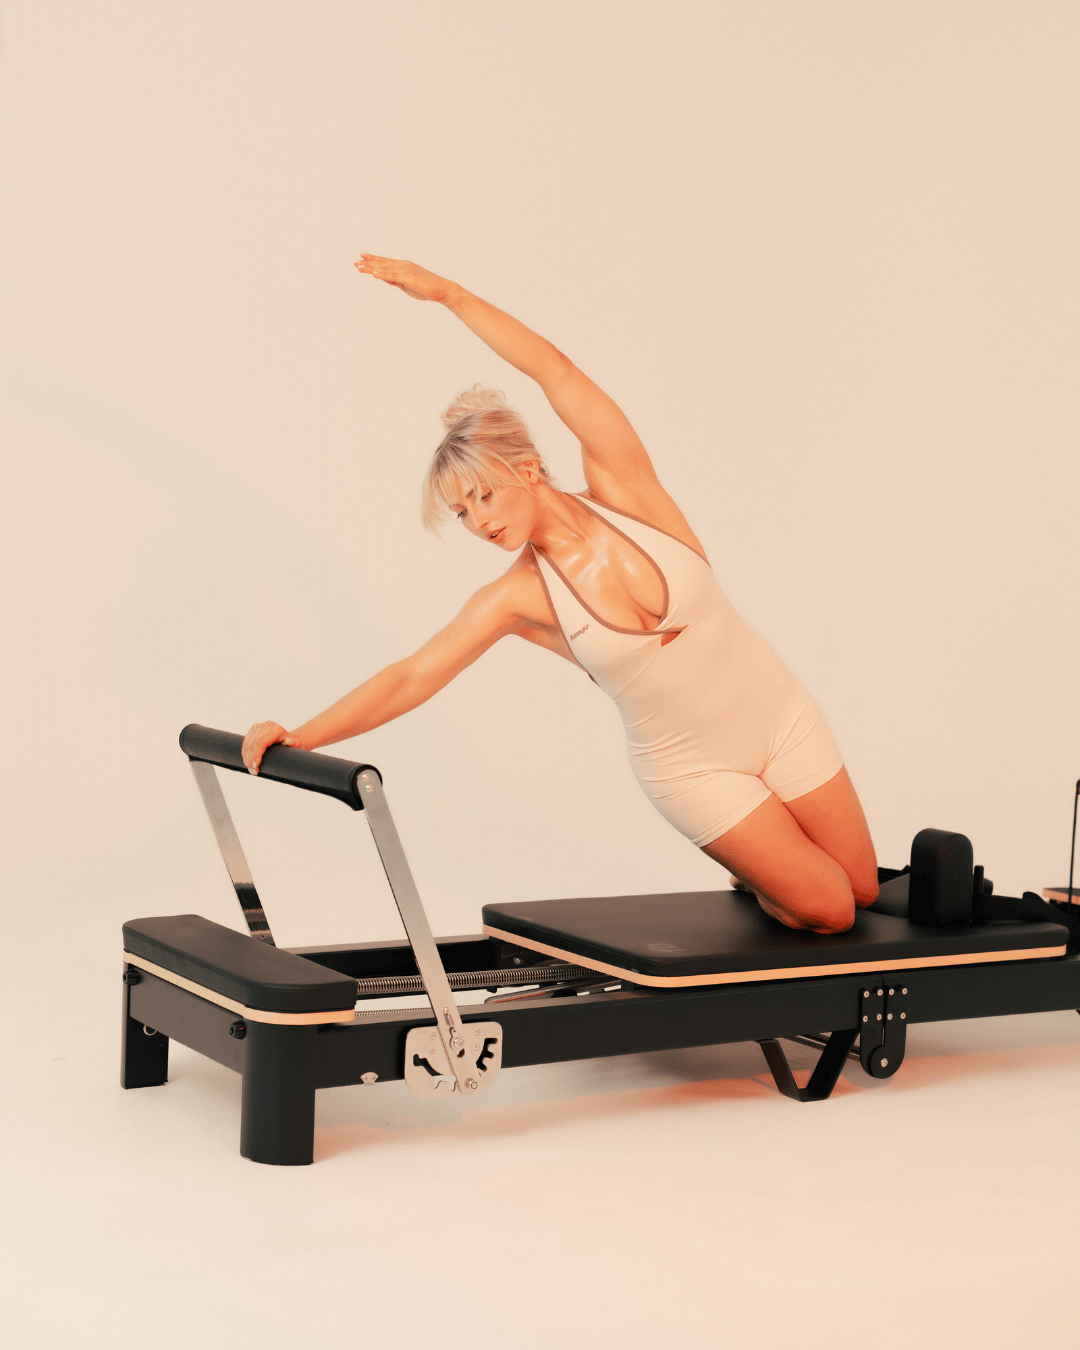
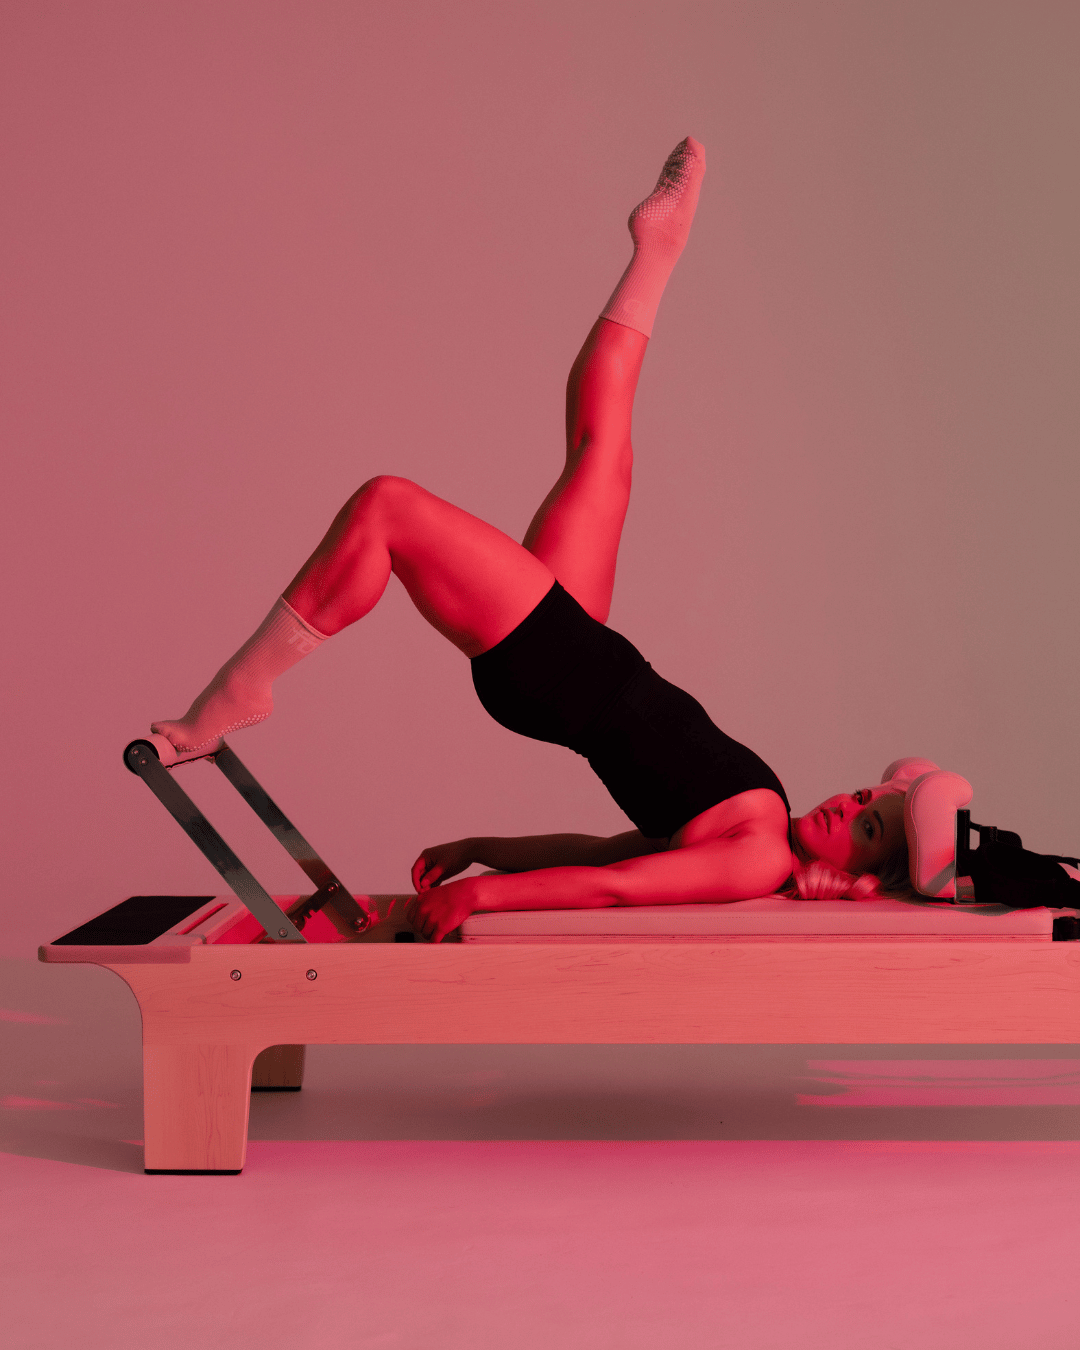
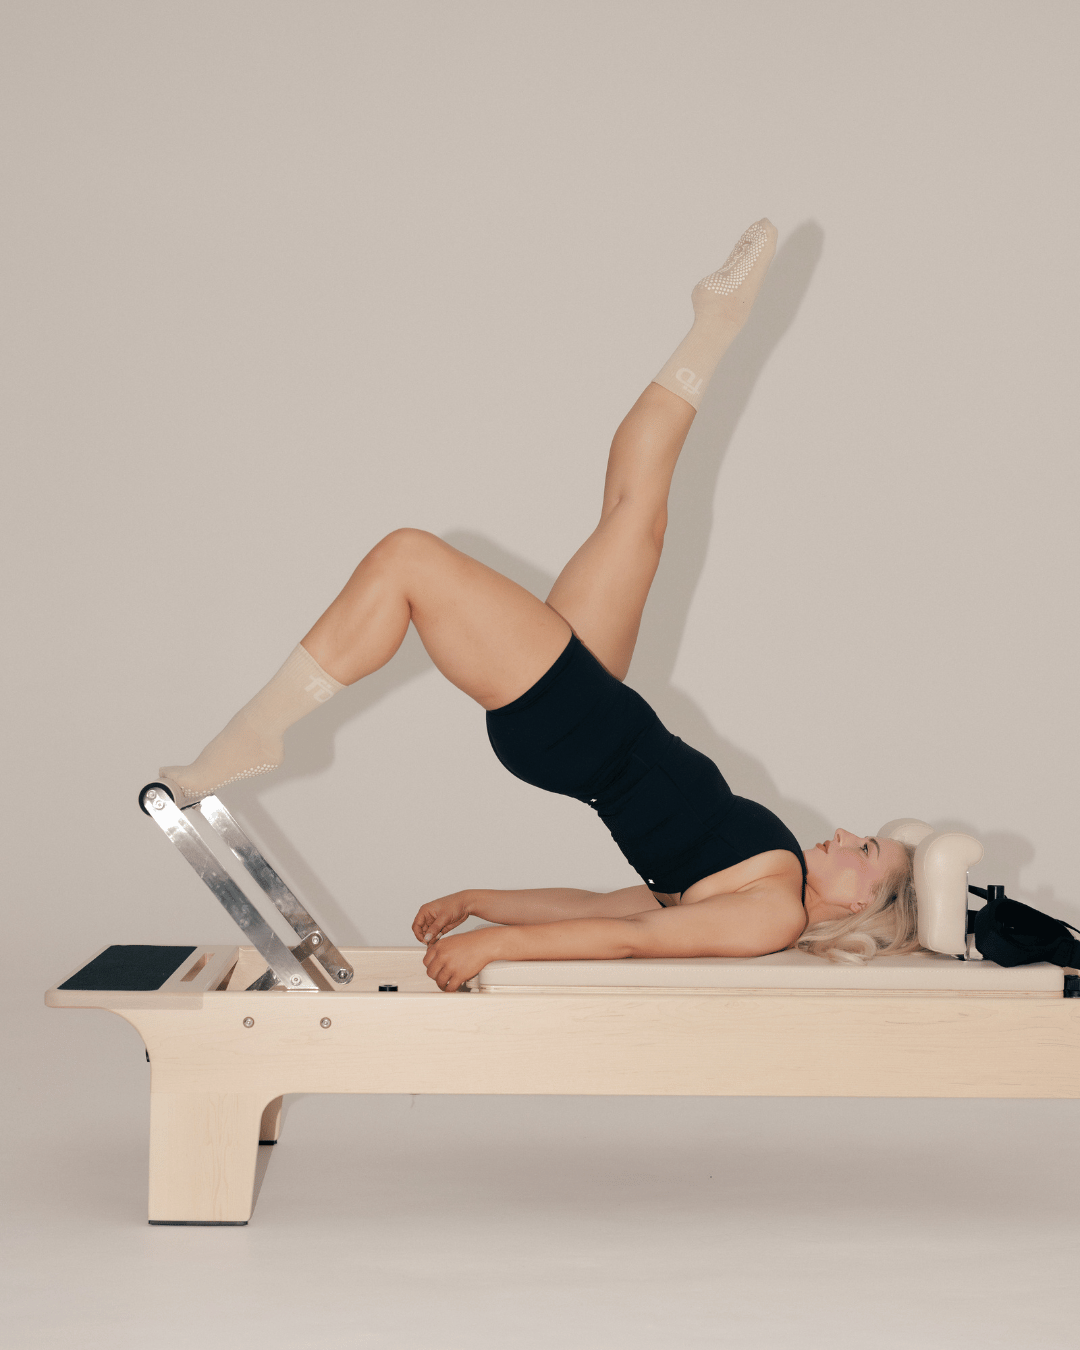
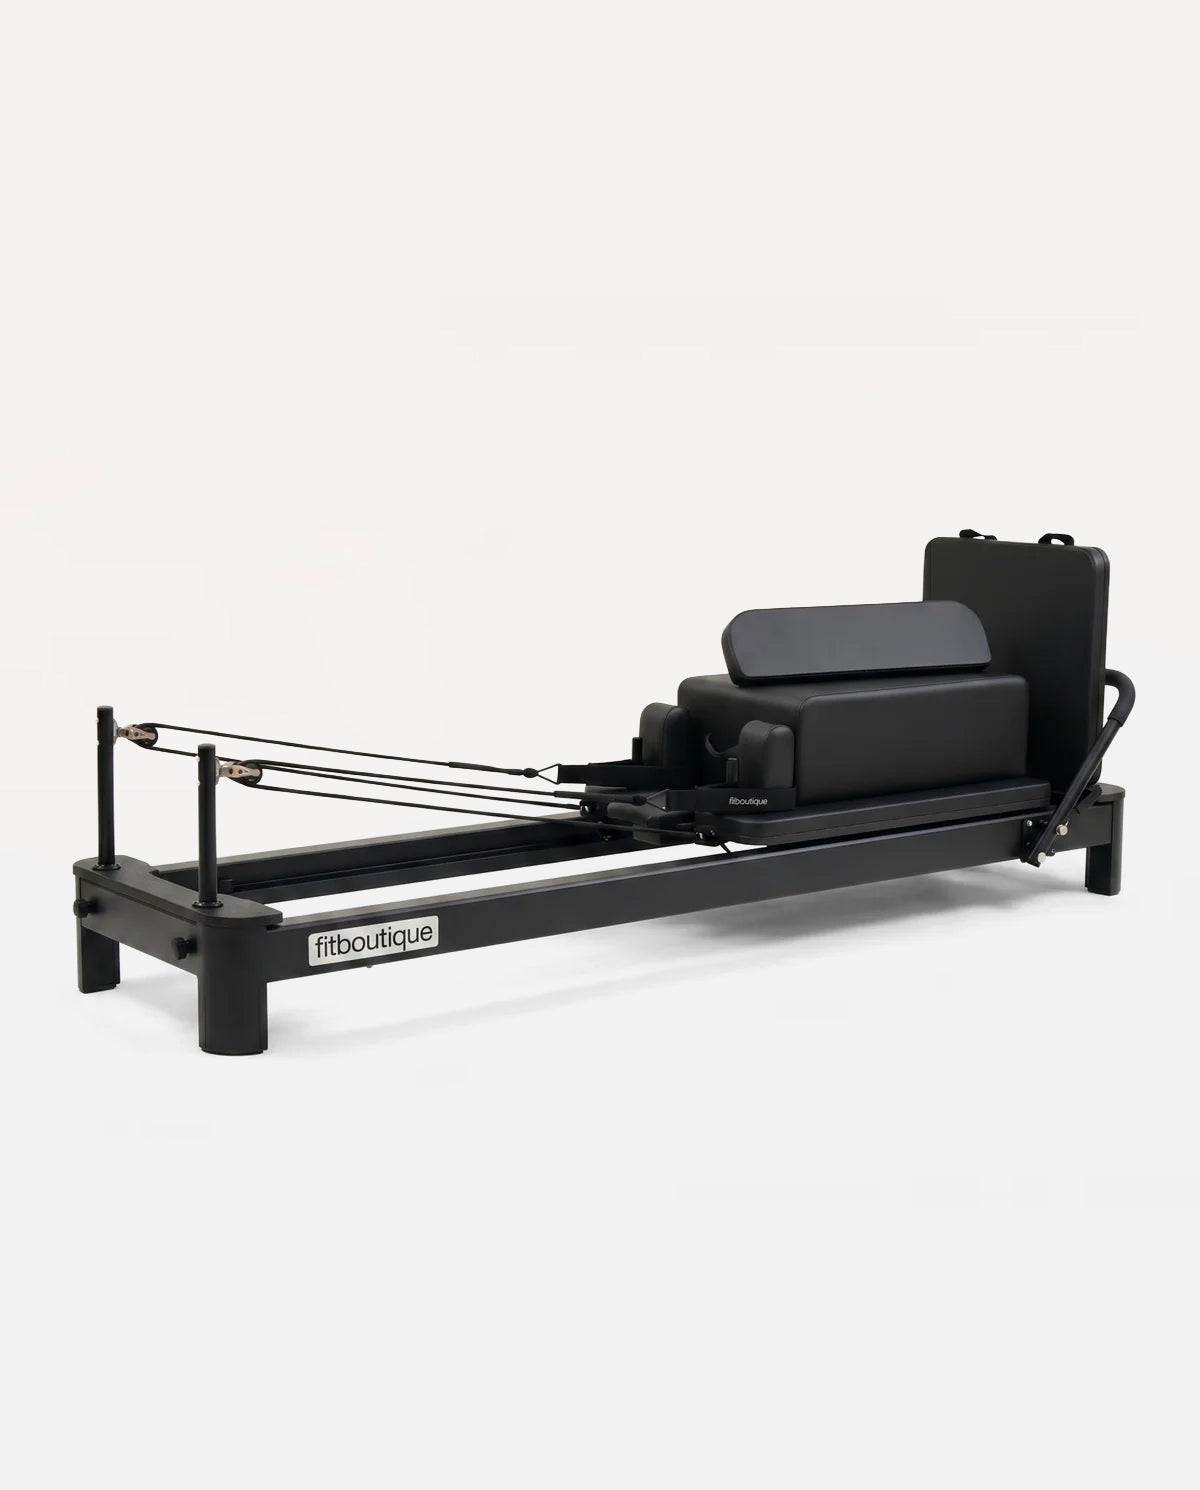
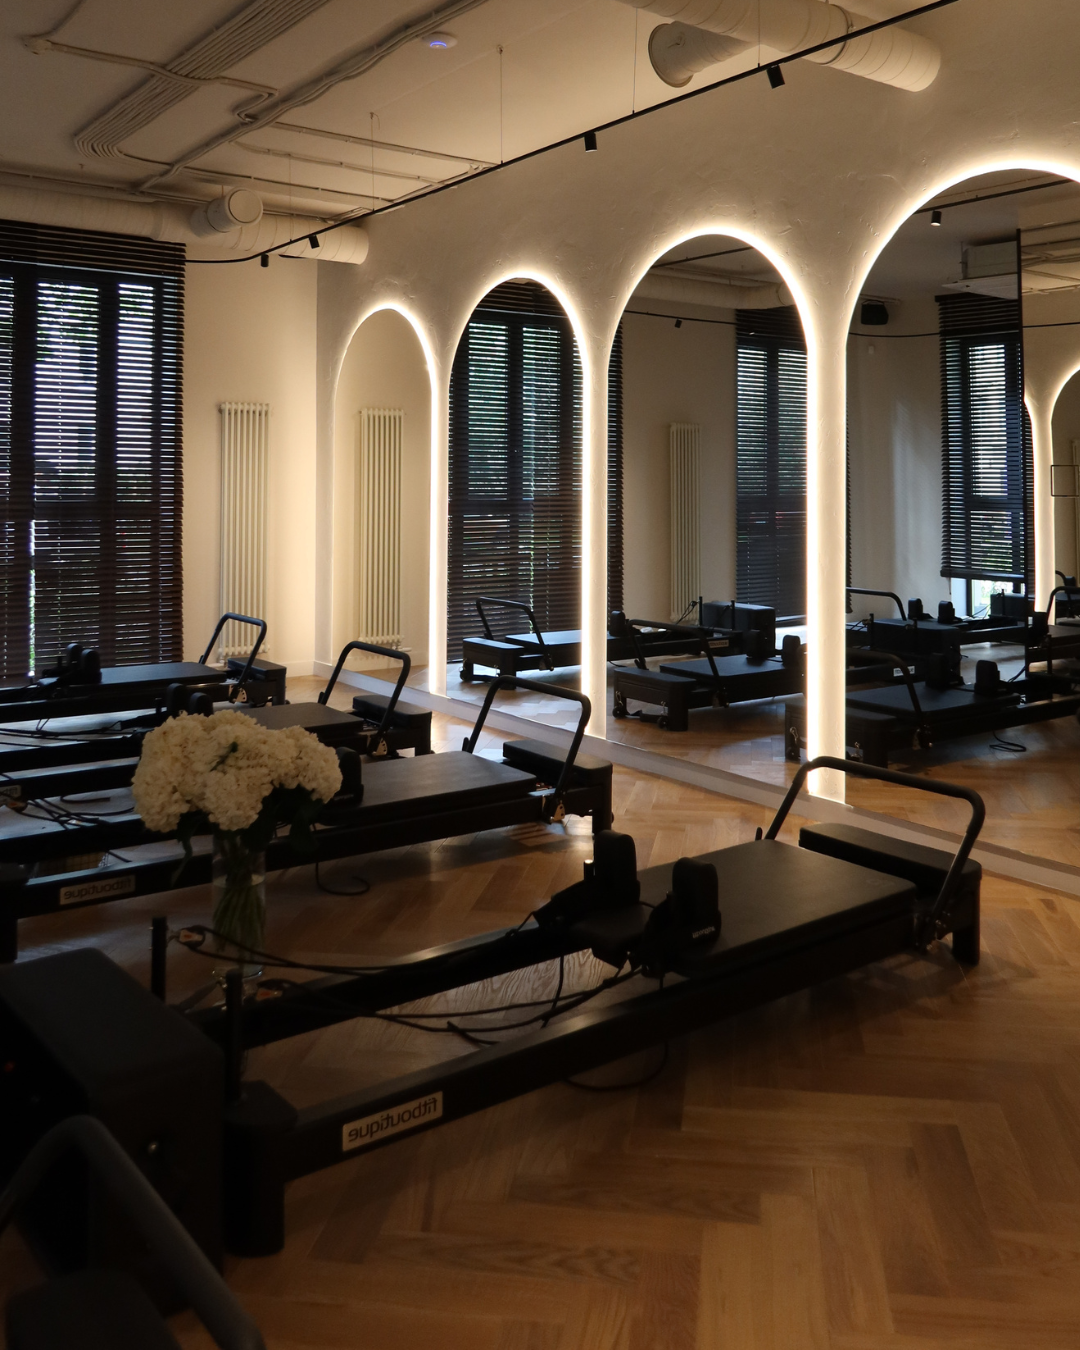
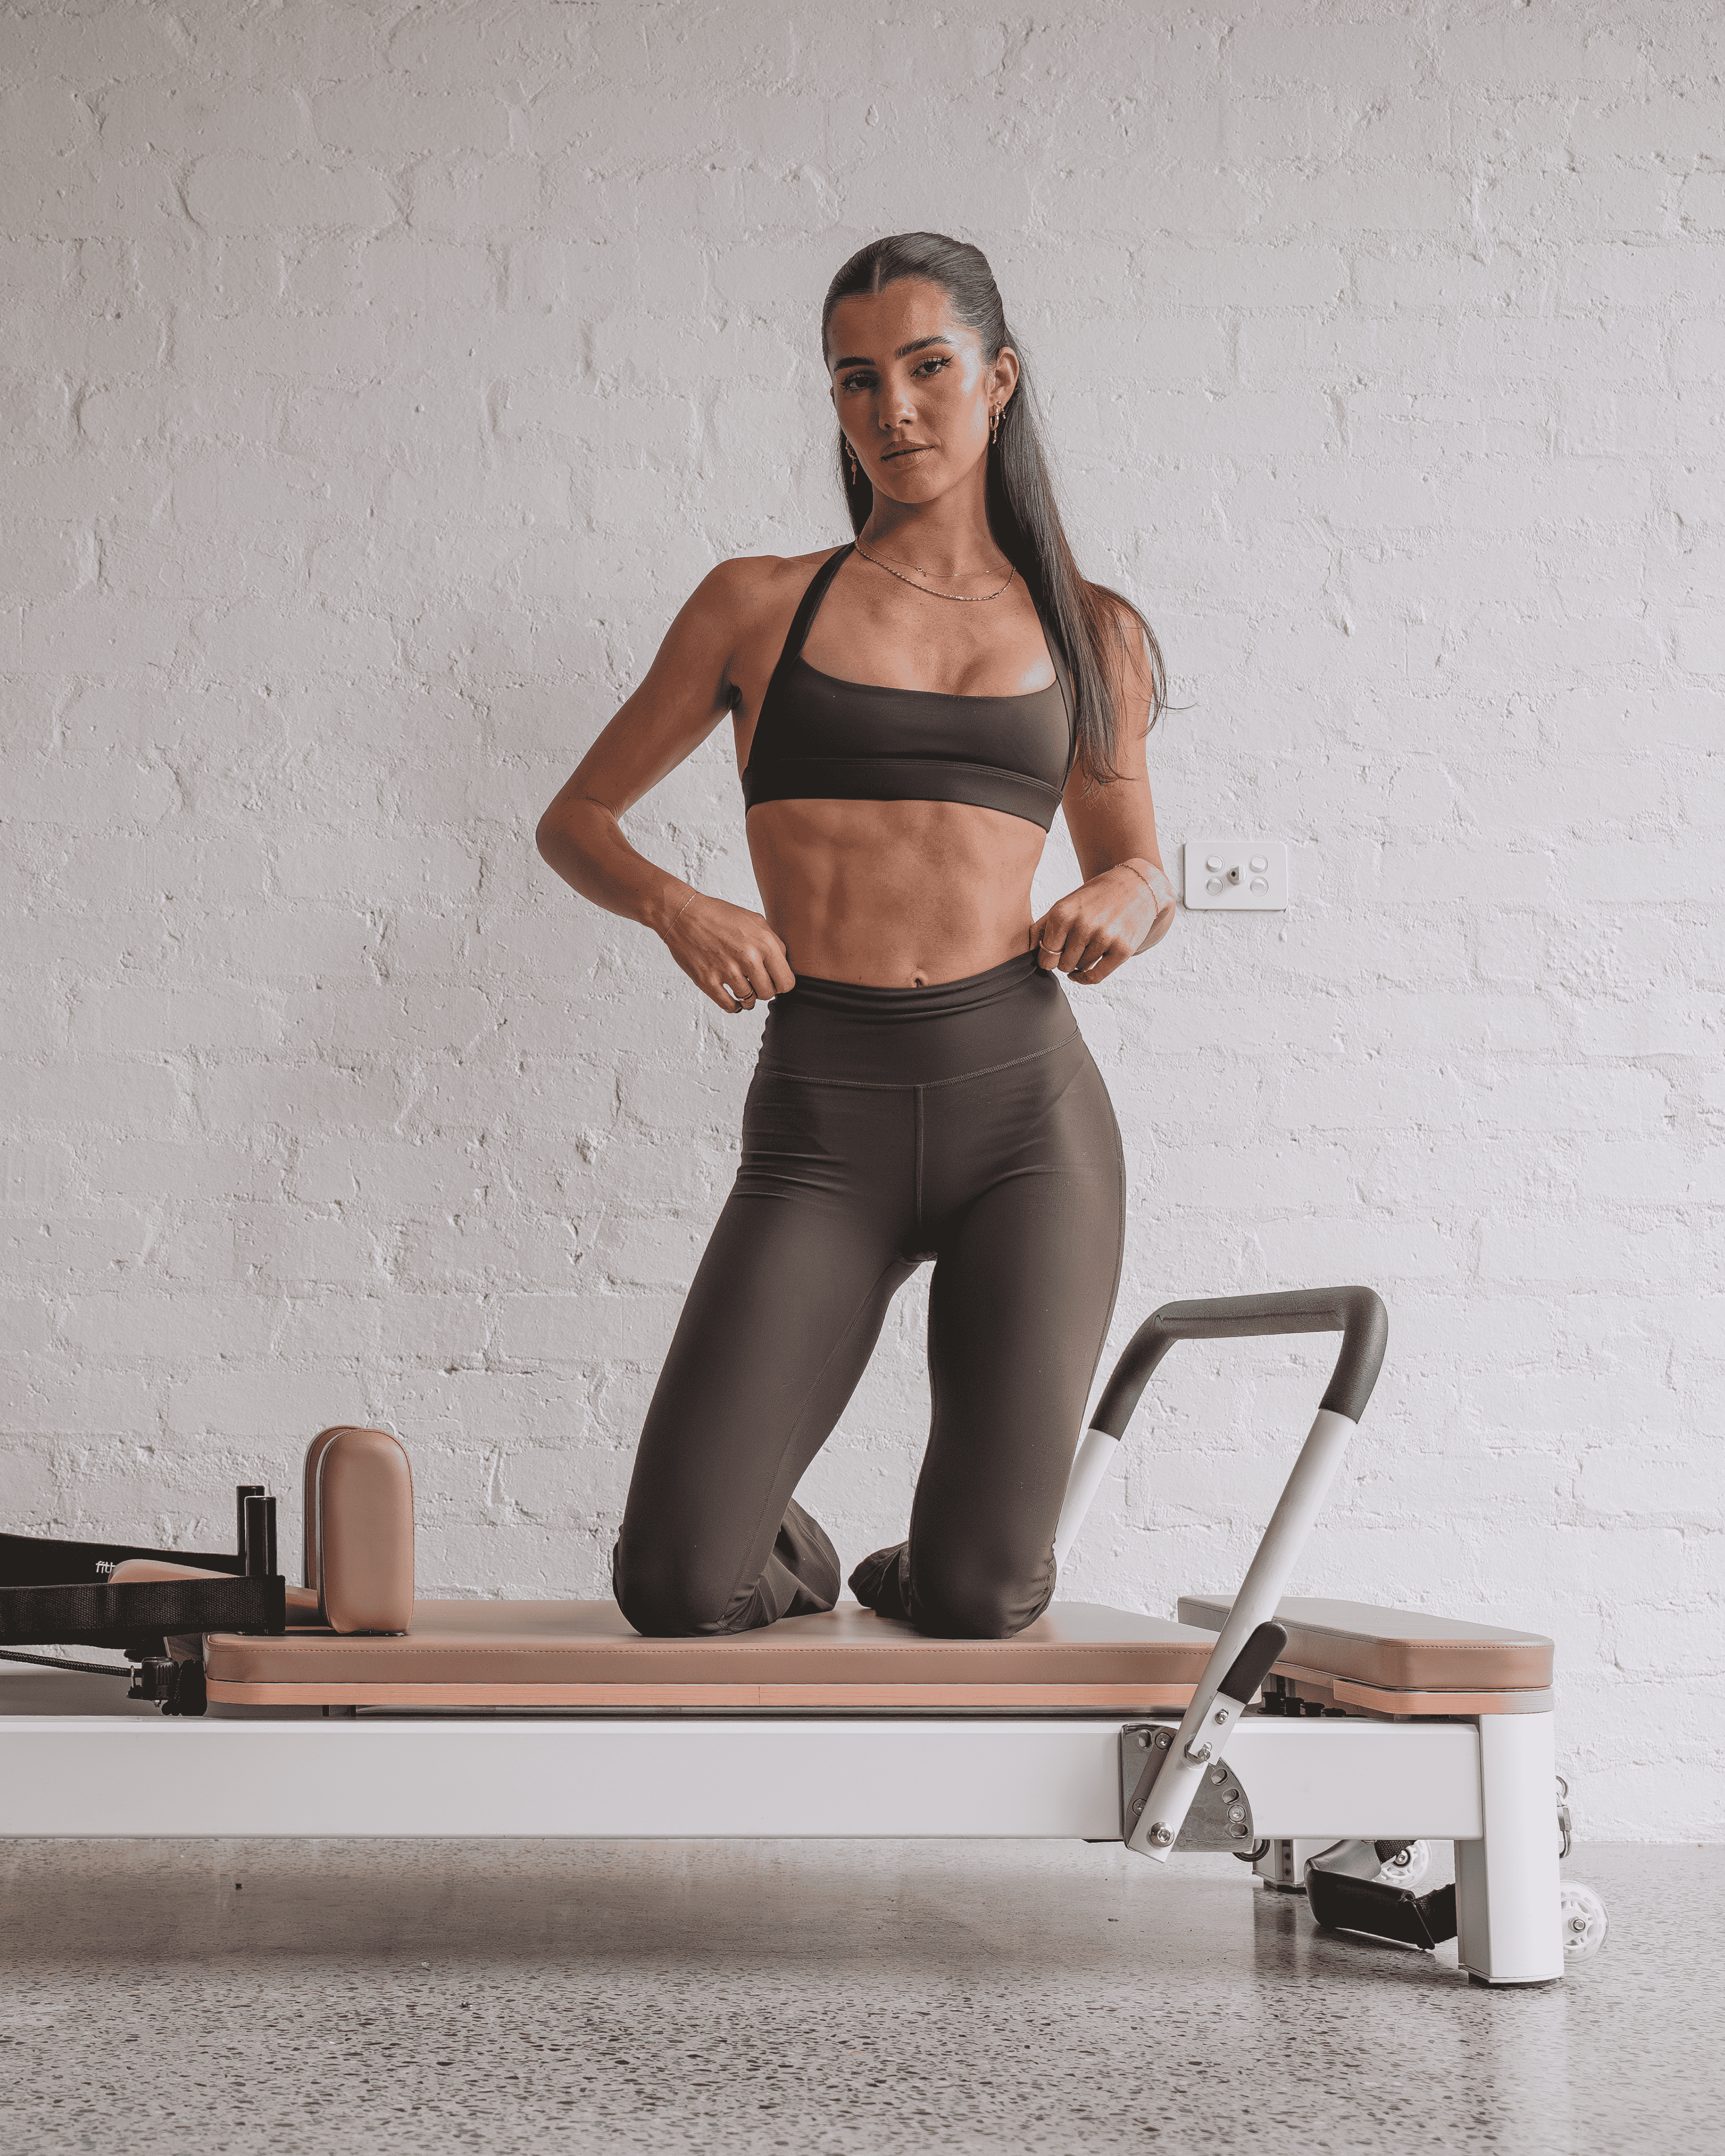
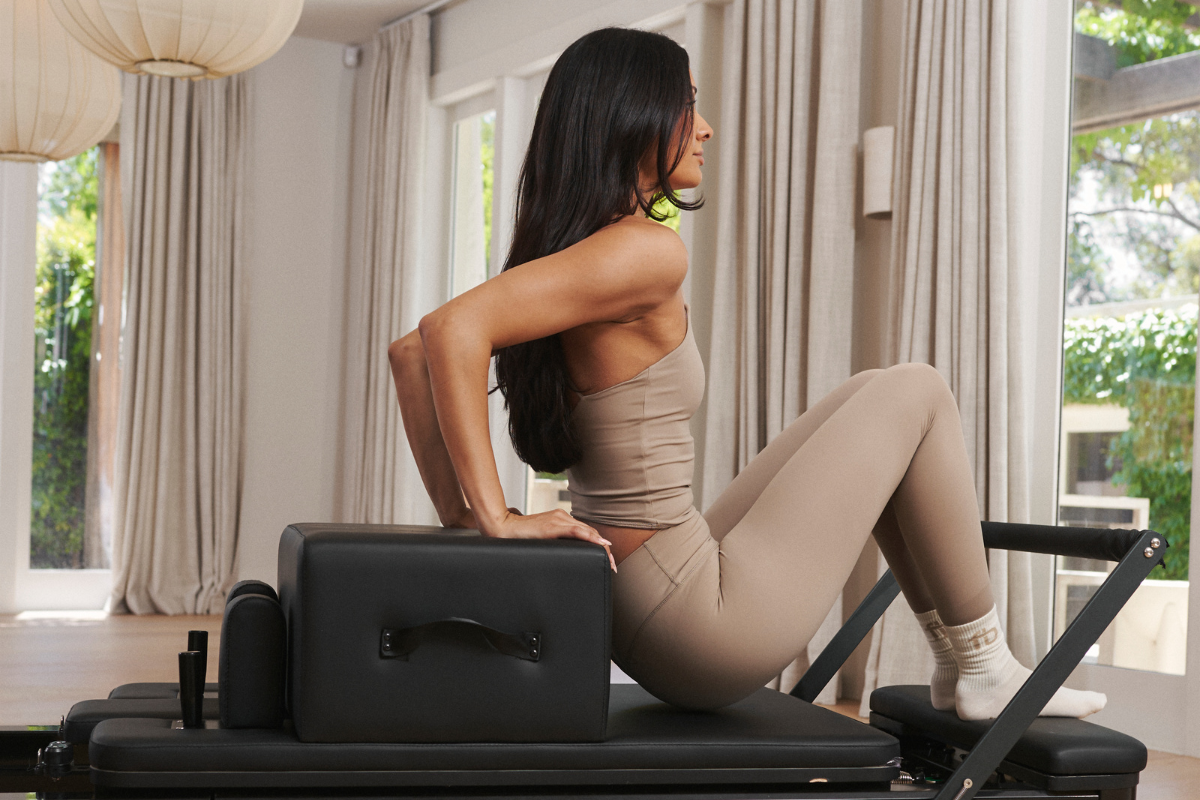
Pairing a Springboard with a Reformer Machine
If you already own a FitBoutique Reformer Machine, your new springboard can be the perfect companion.
While the Reformer focuses on horizontal resistance, the springboard works vertically, engaging your muscles differently and helping you build balanced strength.
Final Thoughts
A DIY Pilates springboard can bring a professional studio vibe to your home without taking up valuable floor space.
With the right tools, materials, and a safety-first approach, you’ll have a versatile piece of equipment that elevates your Pilates routine.
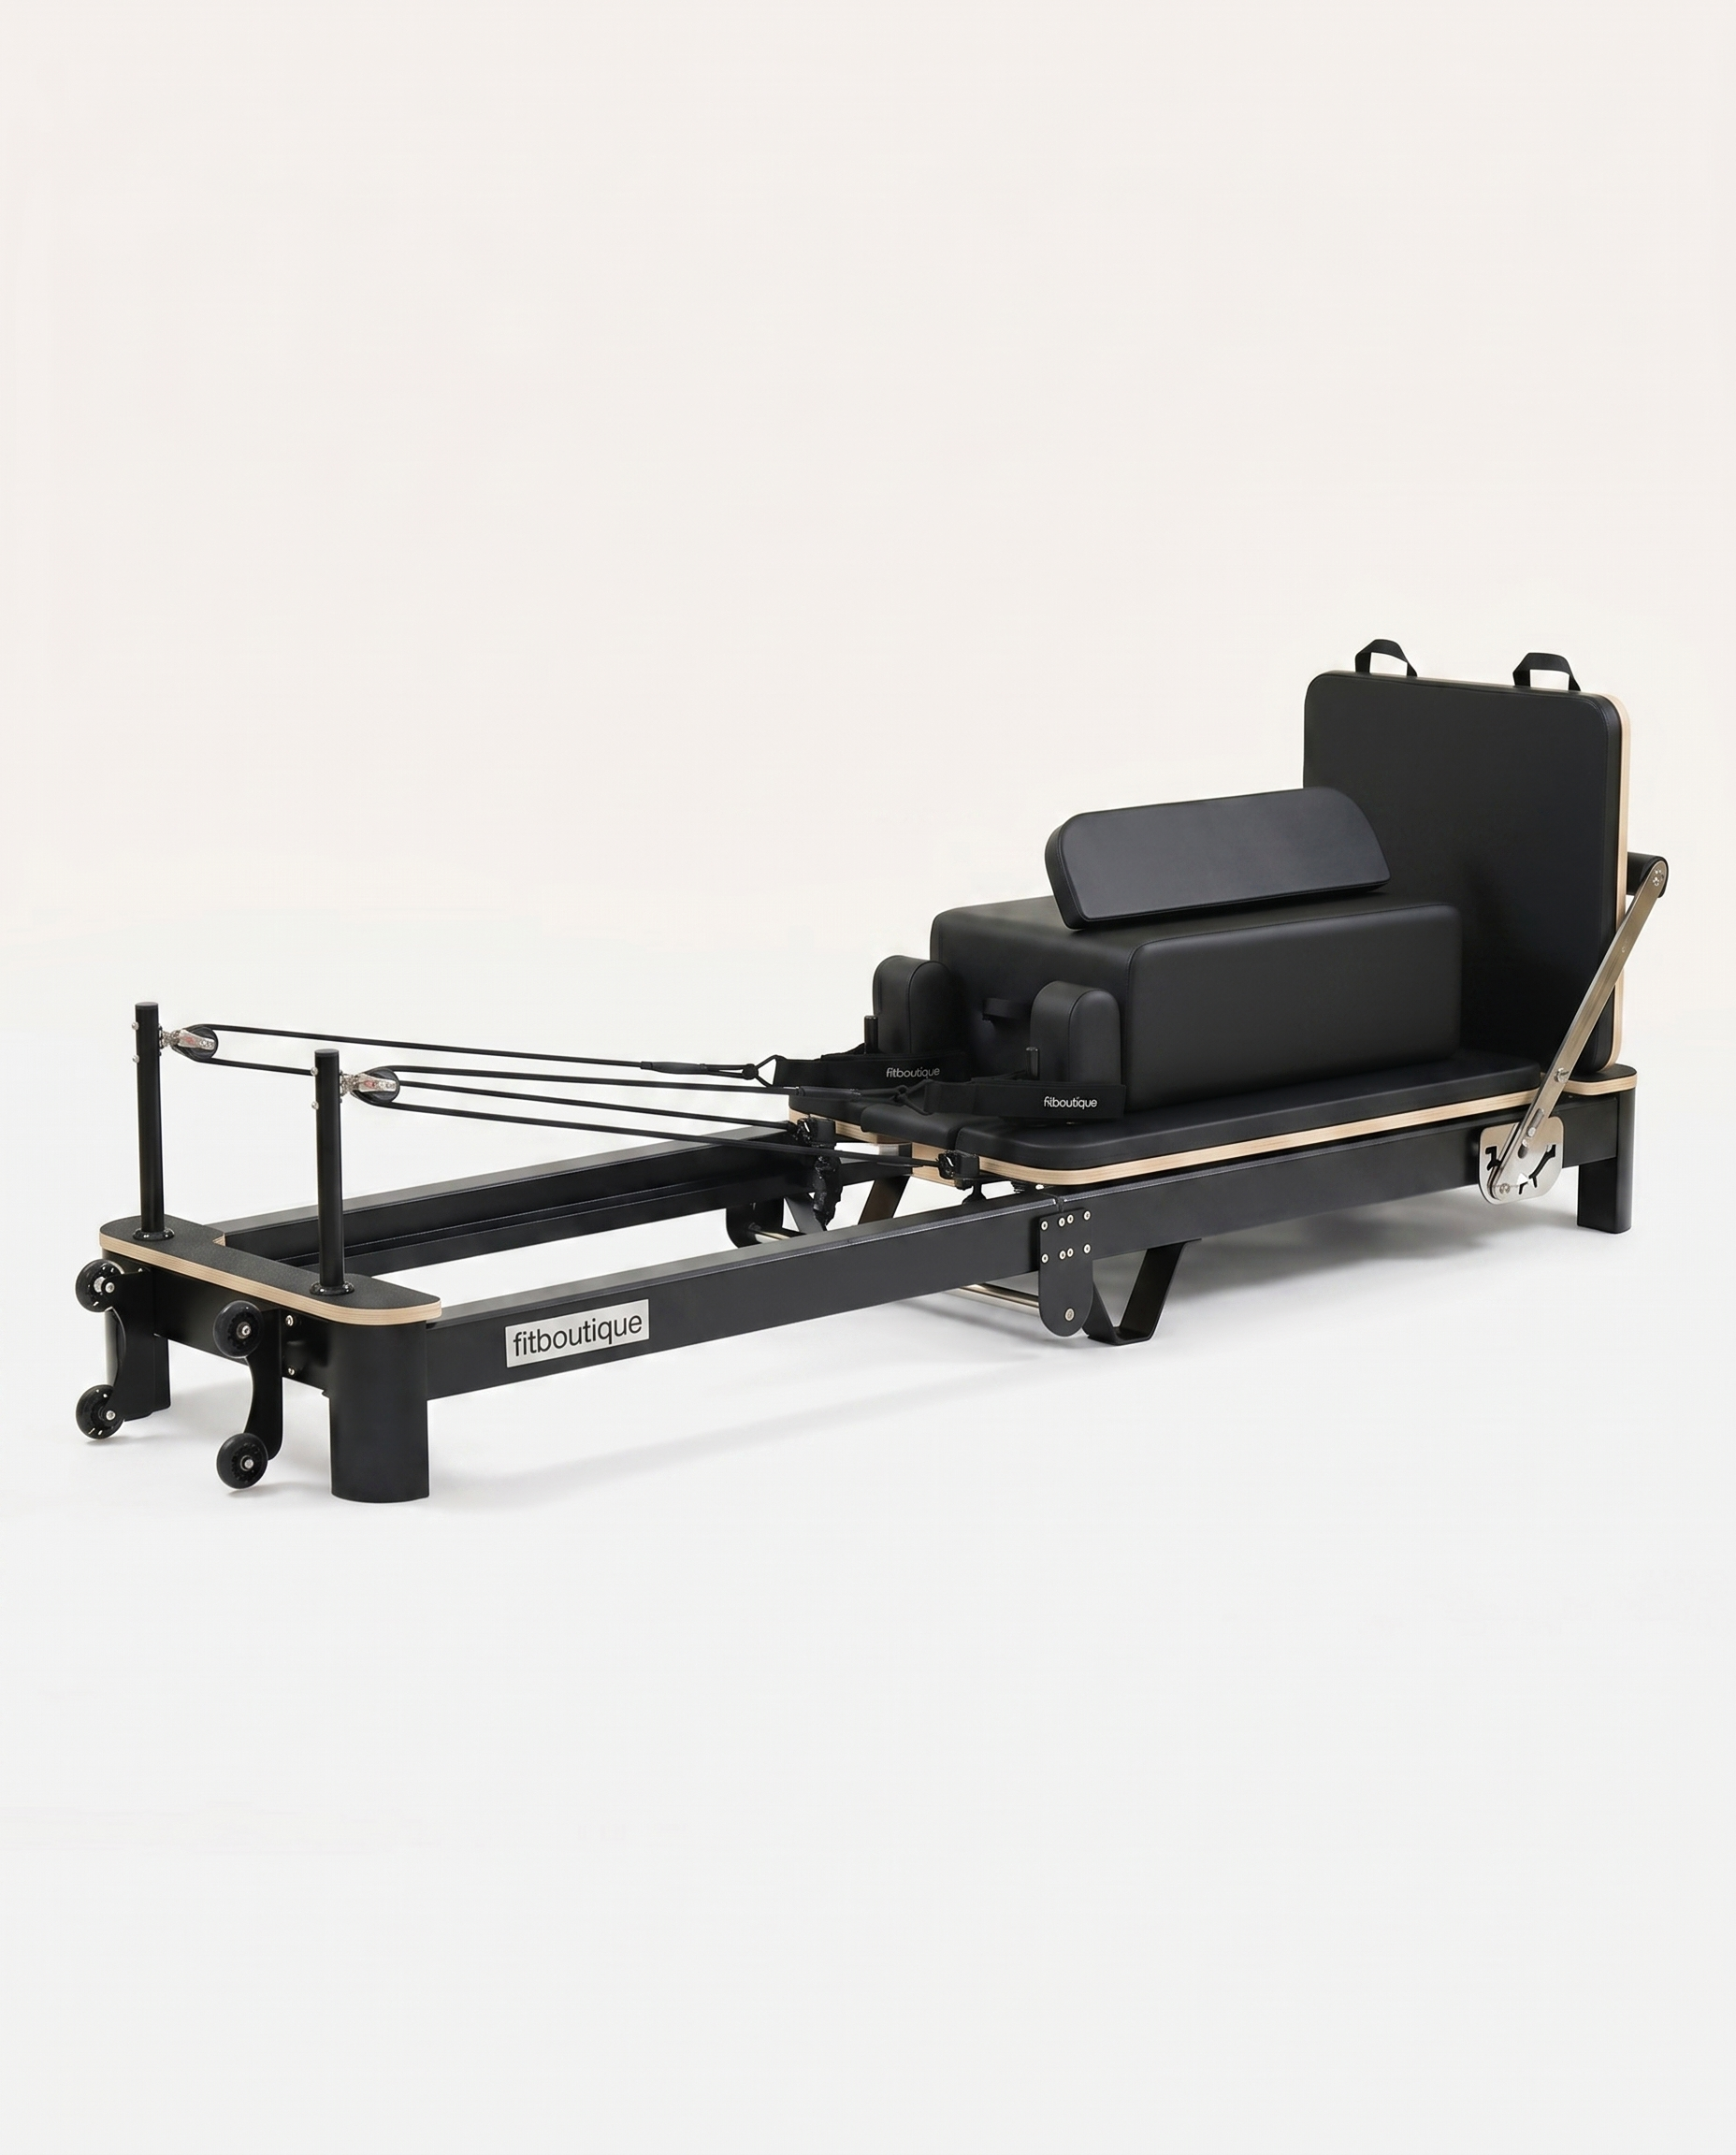
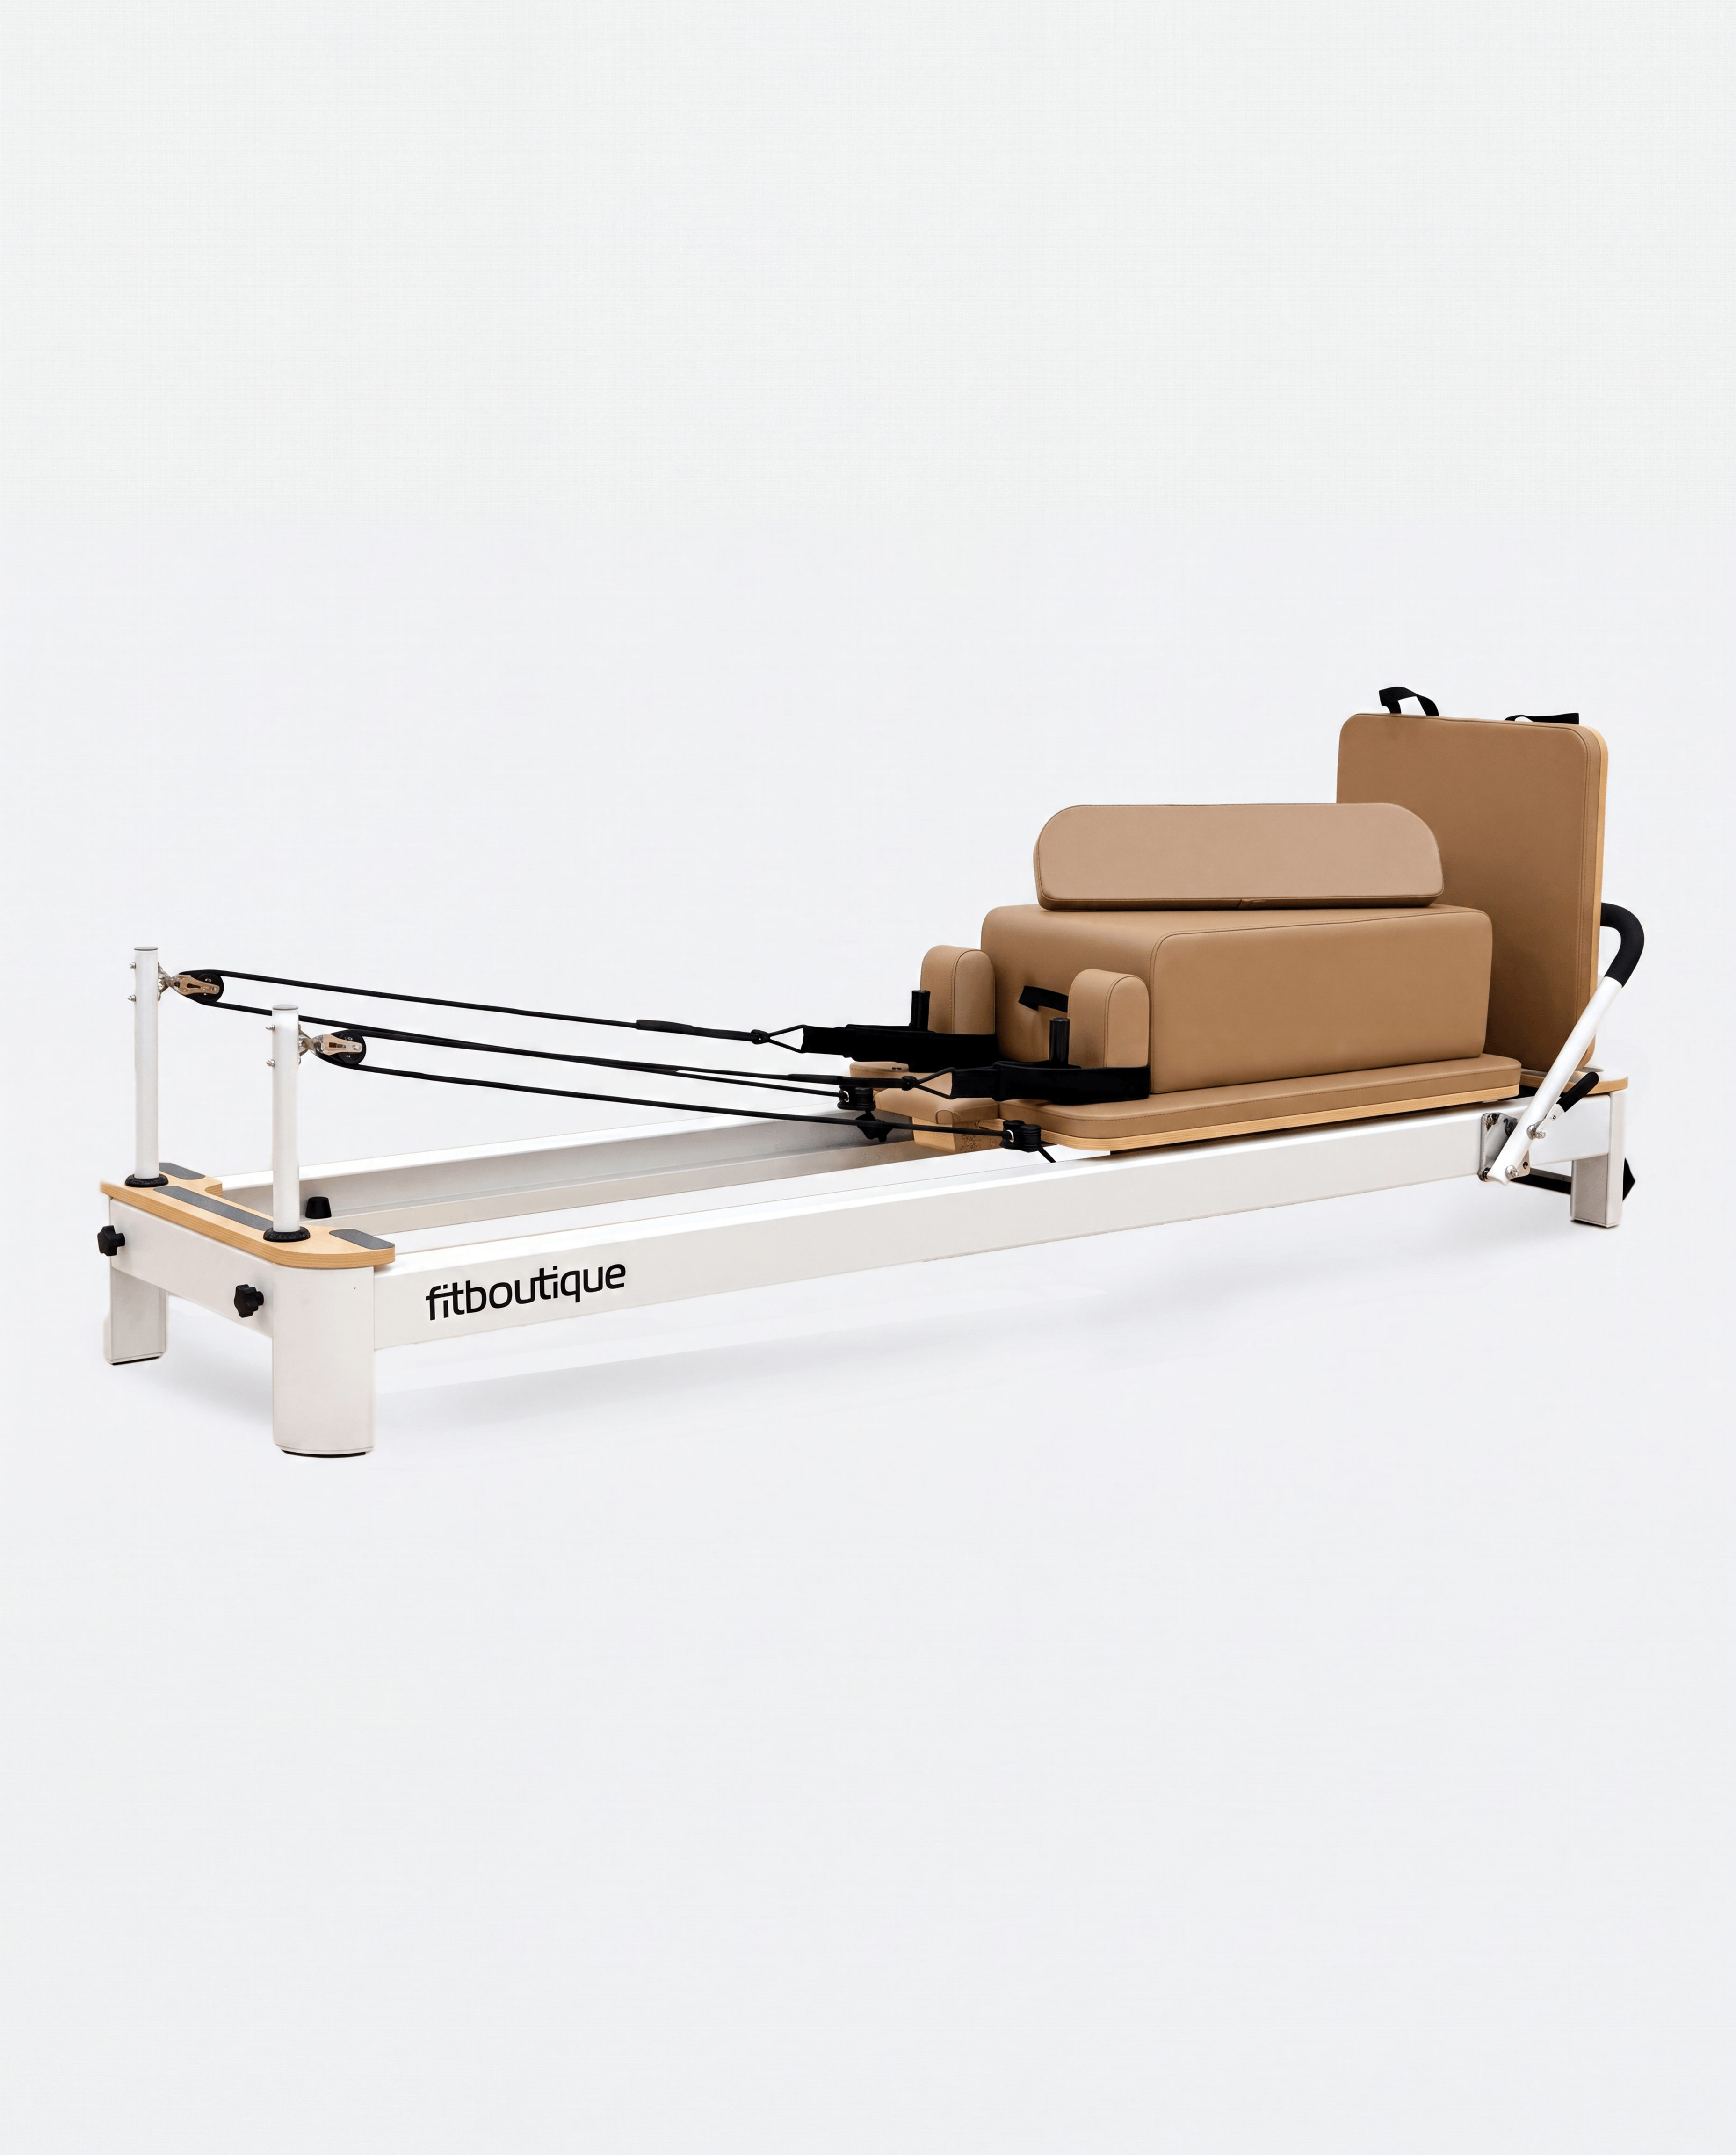
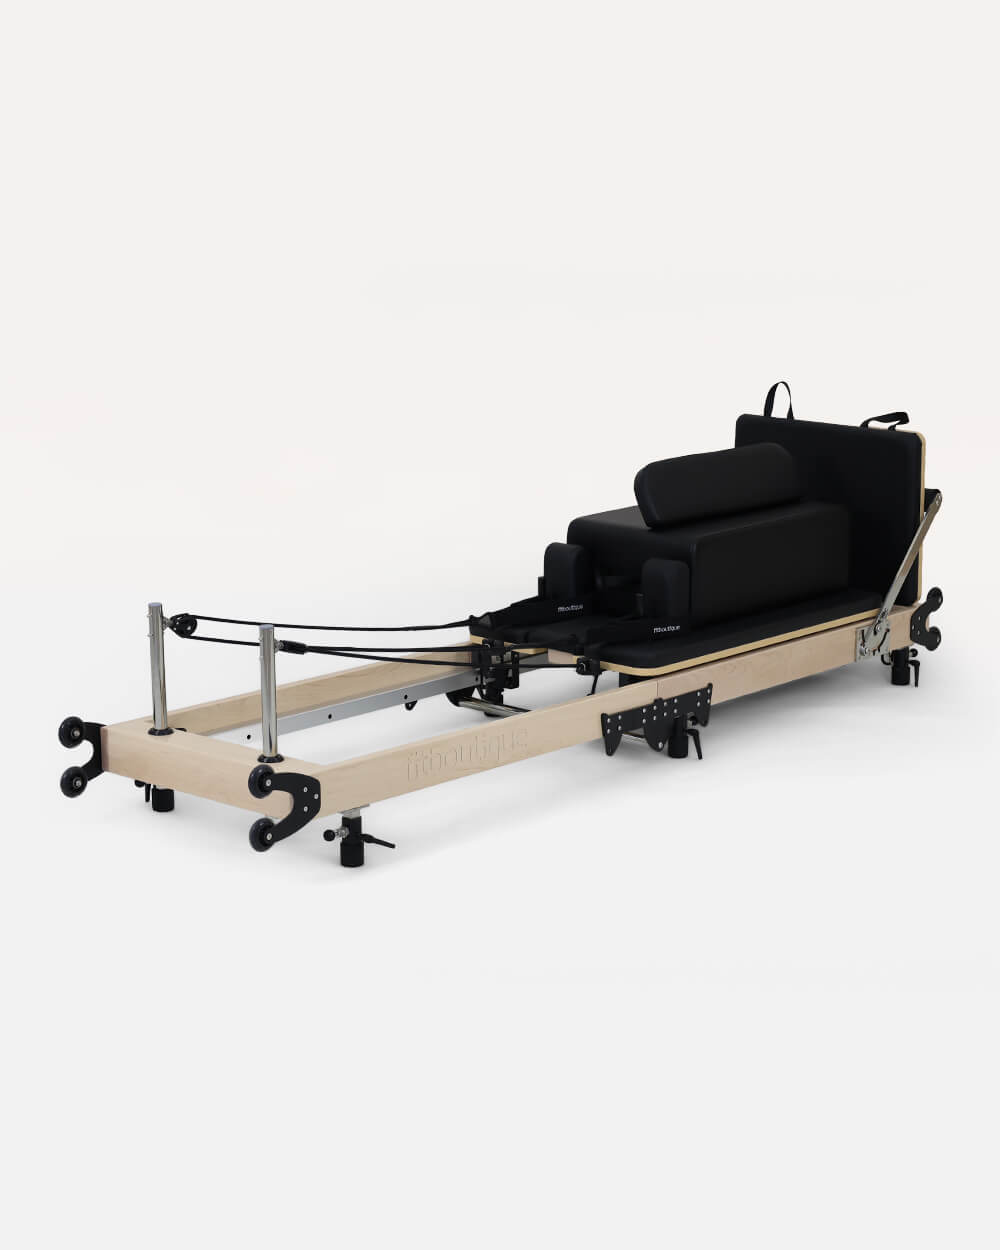
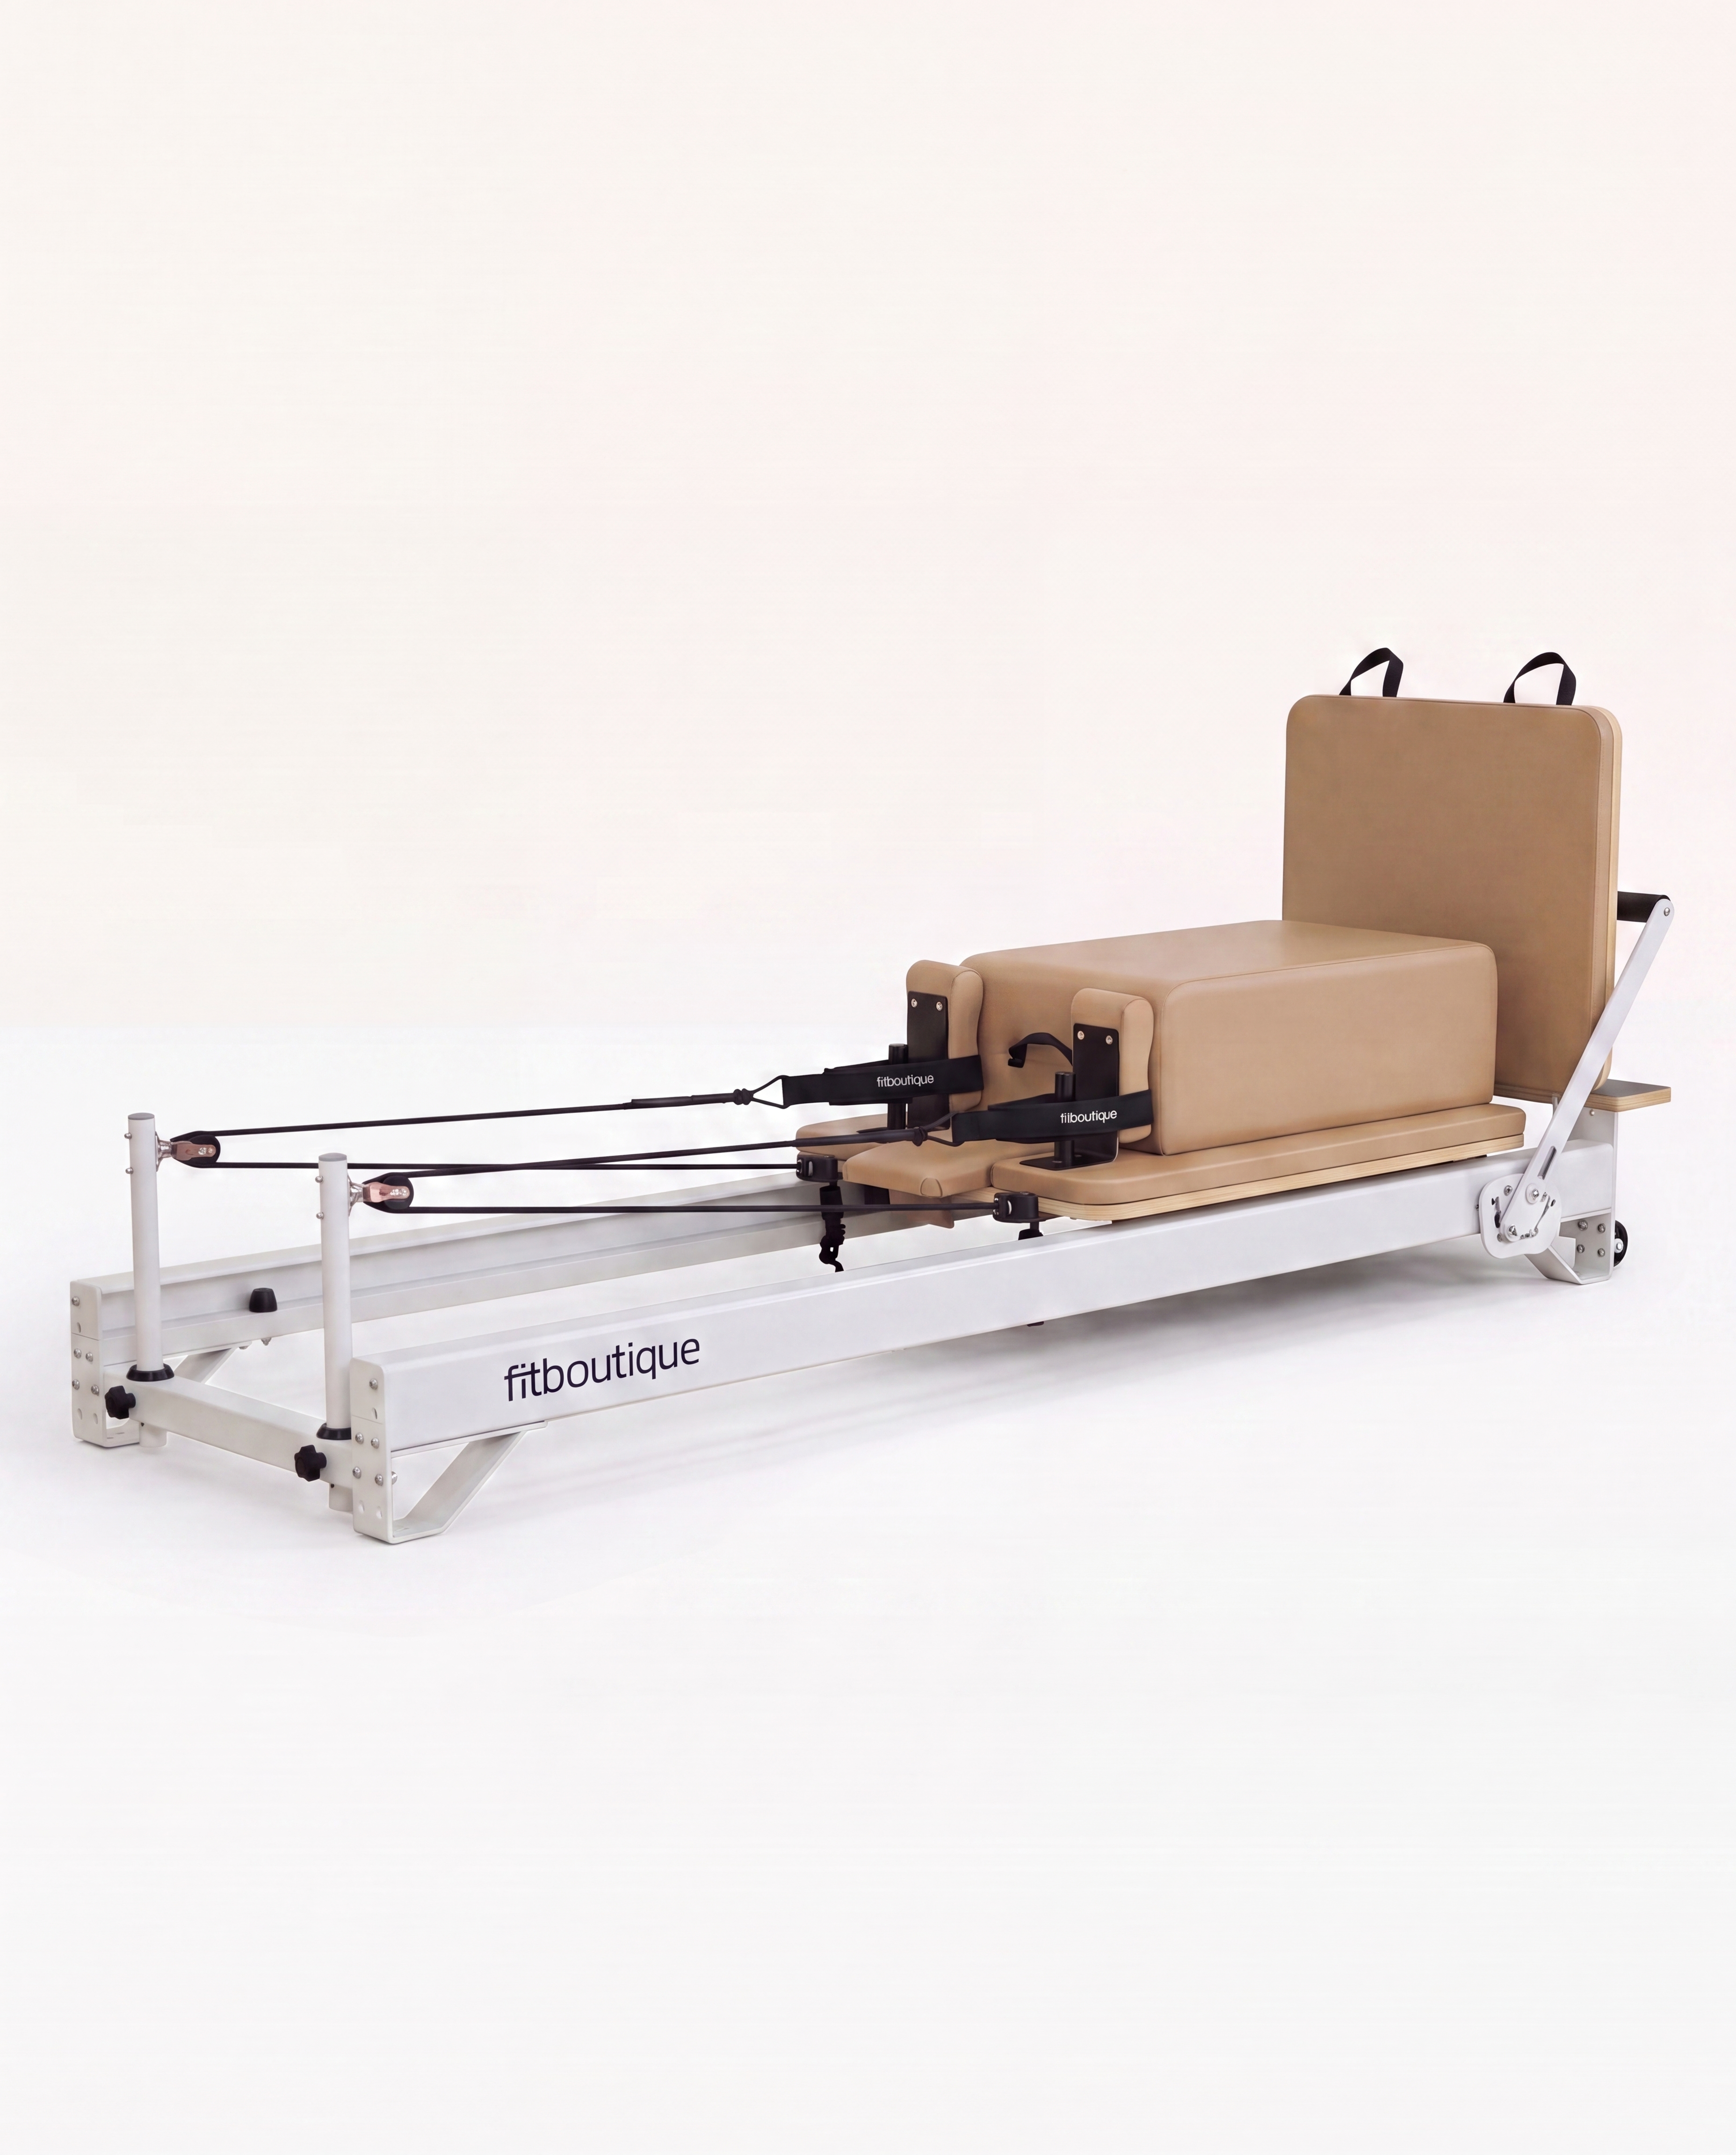
And if you ever want to expand your setup, FitBoutique offers premium Reformer Machines that blend performance with style — so your home studio looks and feels like a pro space.
Written by Ayrah Yuso
I'm part of the FitBoutique team and have a solid passion (and love) for all things exercise related, including Reformer Pilates


Leave a comment