


How I Set Up My Foldable Reformer at Home (Honestly, It Was Easy)
I will be honest, the only part of buying a reformer that genuinely worried me was setting it up. I had visions of a hundred parts, a cryptic instruction sheet and an afternoon lost to it. So when the box arrived I braced myself, and then it turned out to be one of the easiest things I have ever assembled. No tools, no drama, done before my coffee went cold. Here is exactly how I did it, and why you really do not need to stress.
In this article
How do you set up a foldable reformer?
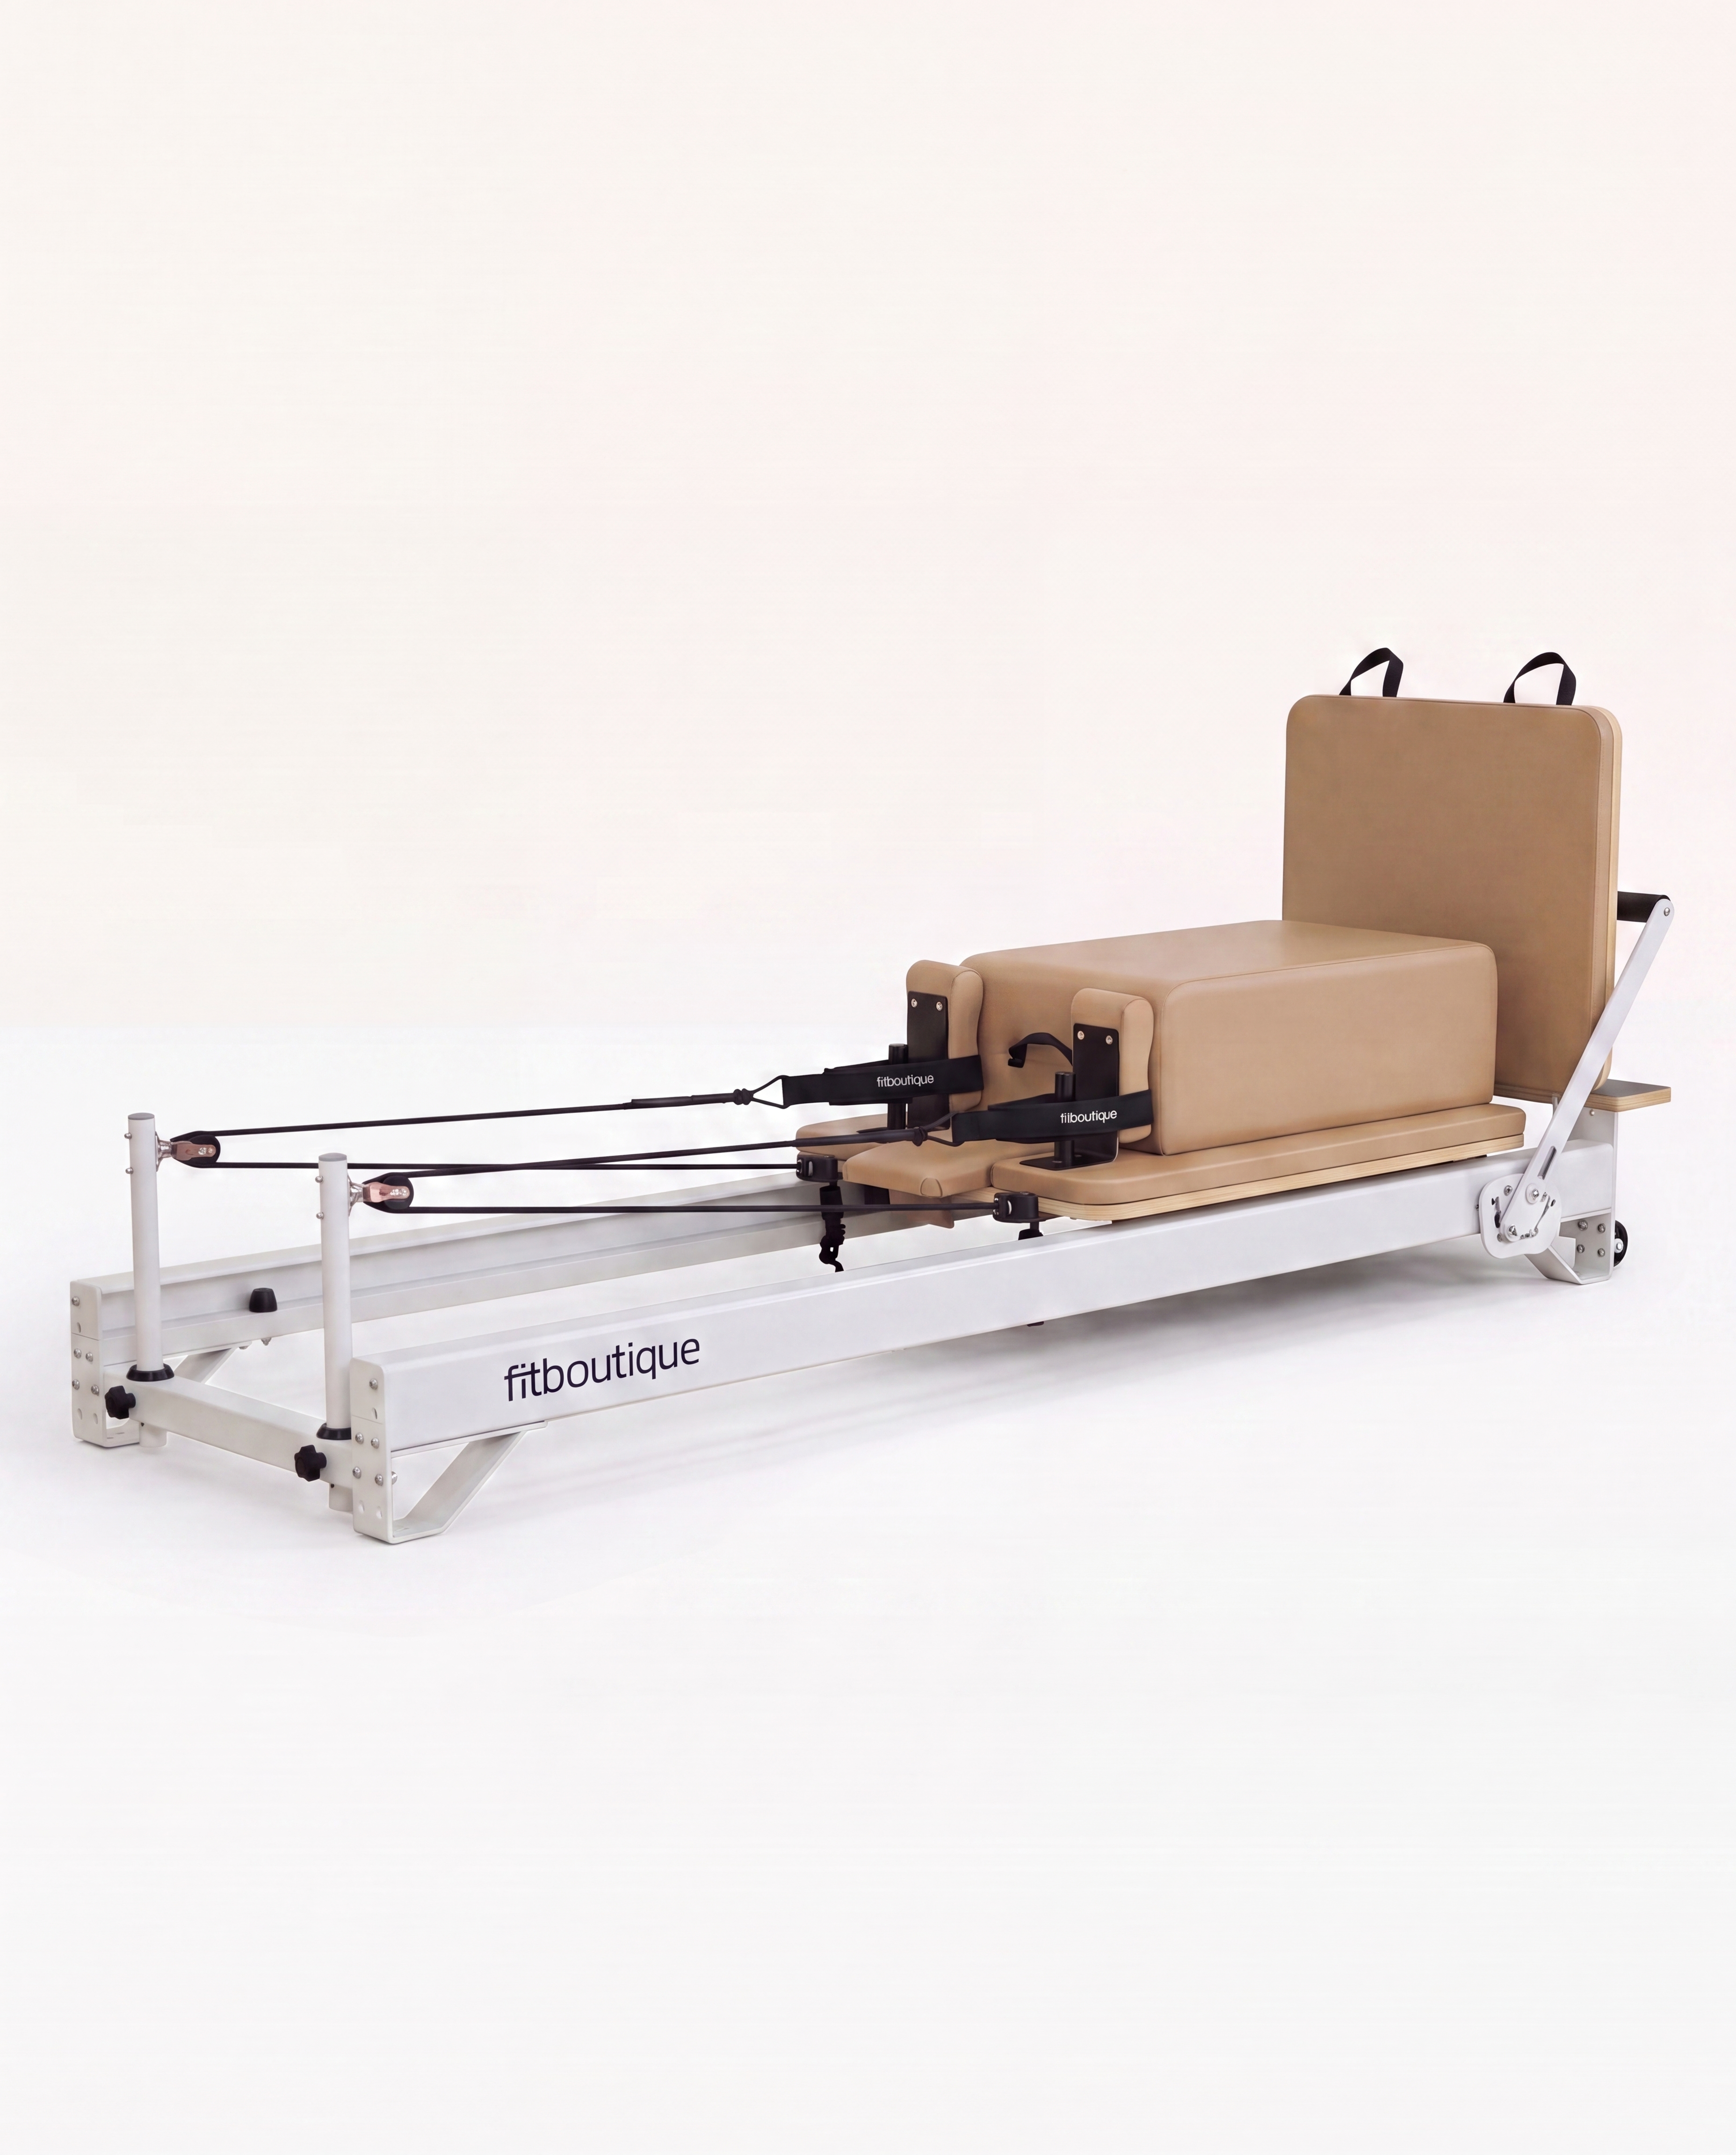
It is genuinely quick. A FitBoutique reformer arrives fully assembled, so setting it up is really just unfolding it, locking the centre legs and centre support bar into place, fitting the poles, looping on the ropes and choosing your springs. There are no tools required and nothing to build from scratch. From opening the box to a finished, ready to use machine took me only a few minutes, and the second time around it was faster still.
Watch how easy it is
If you are the kind of person who would rather see it done than read about it, here is the full setup from start to finish. It is honestly more reassuring than any written guide, because you can watch just how little there is to it.
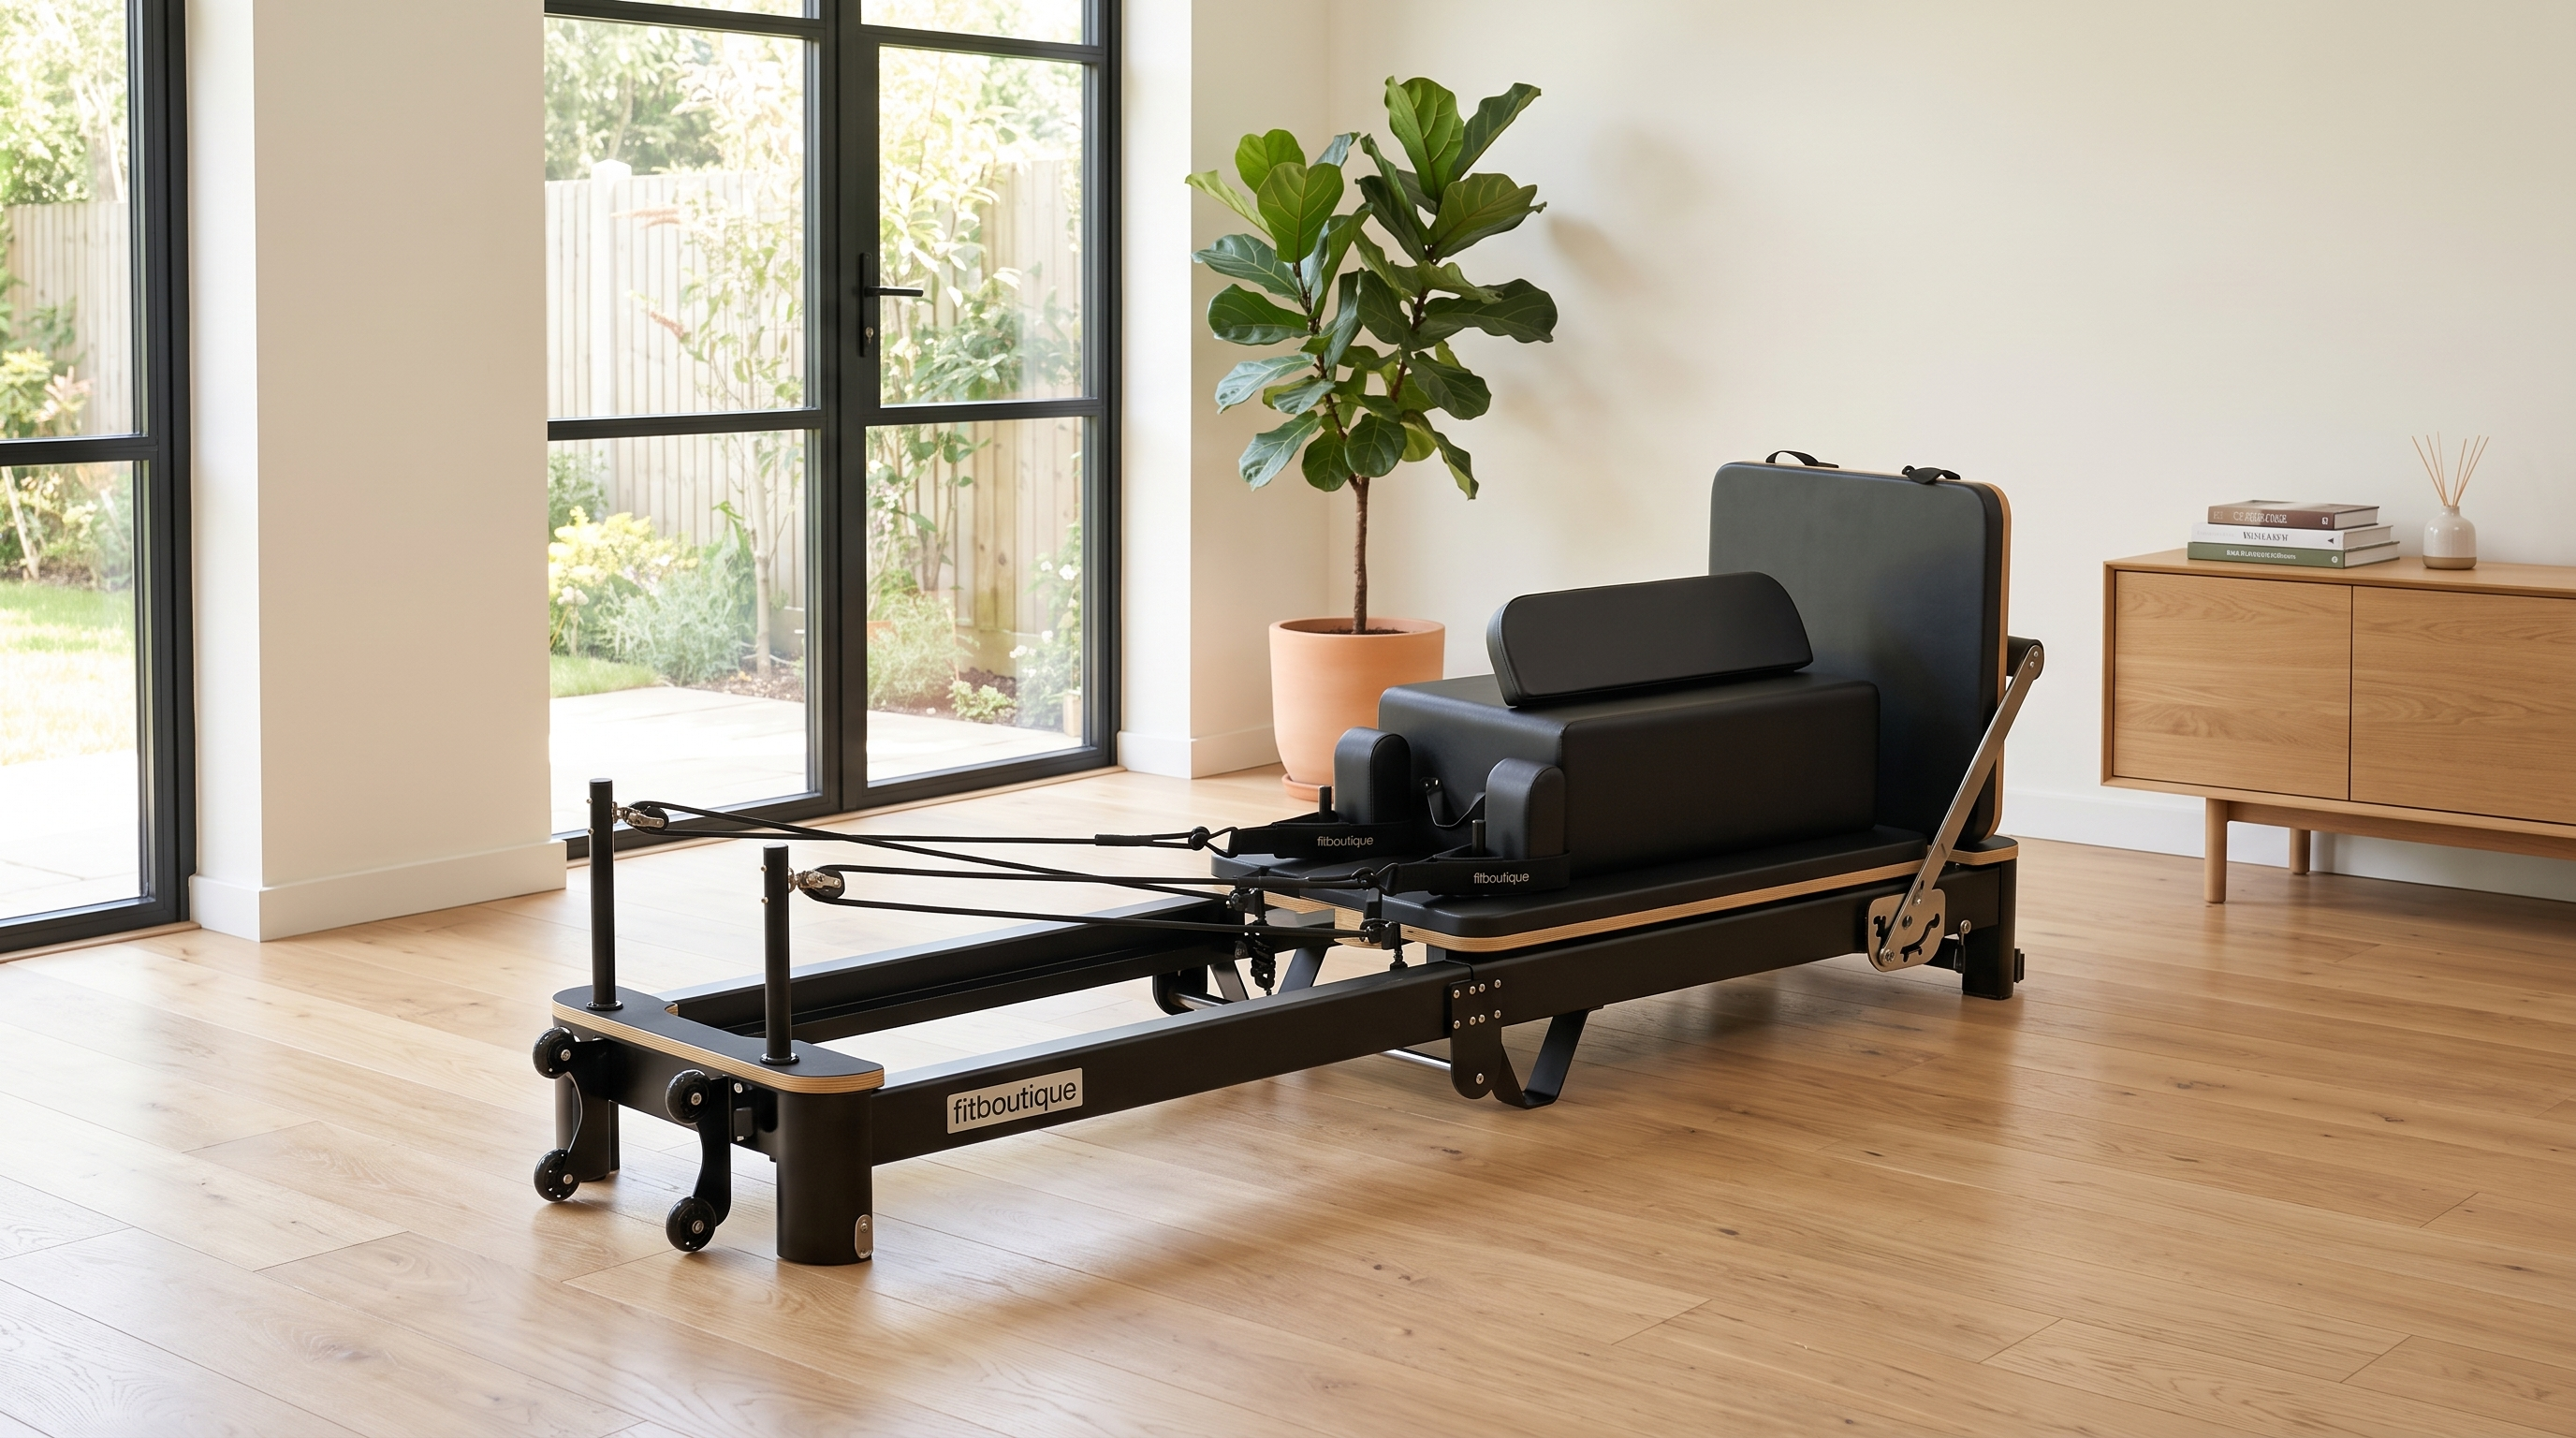
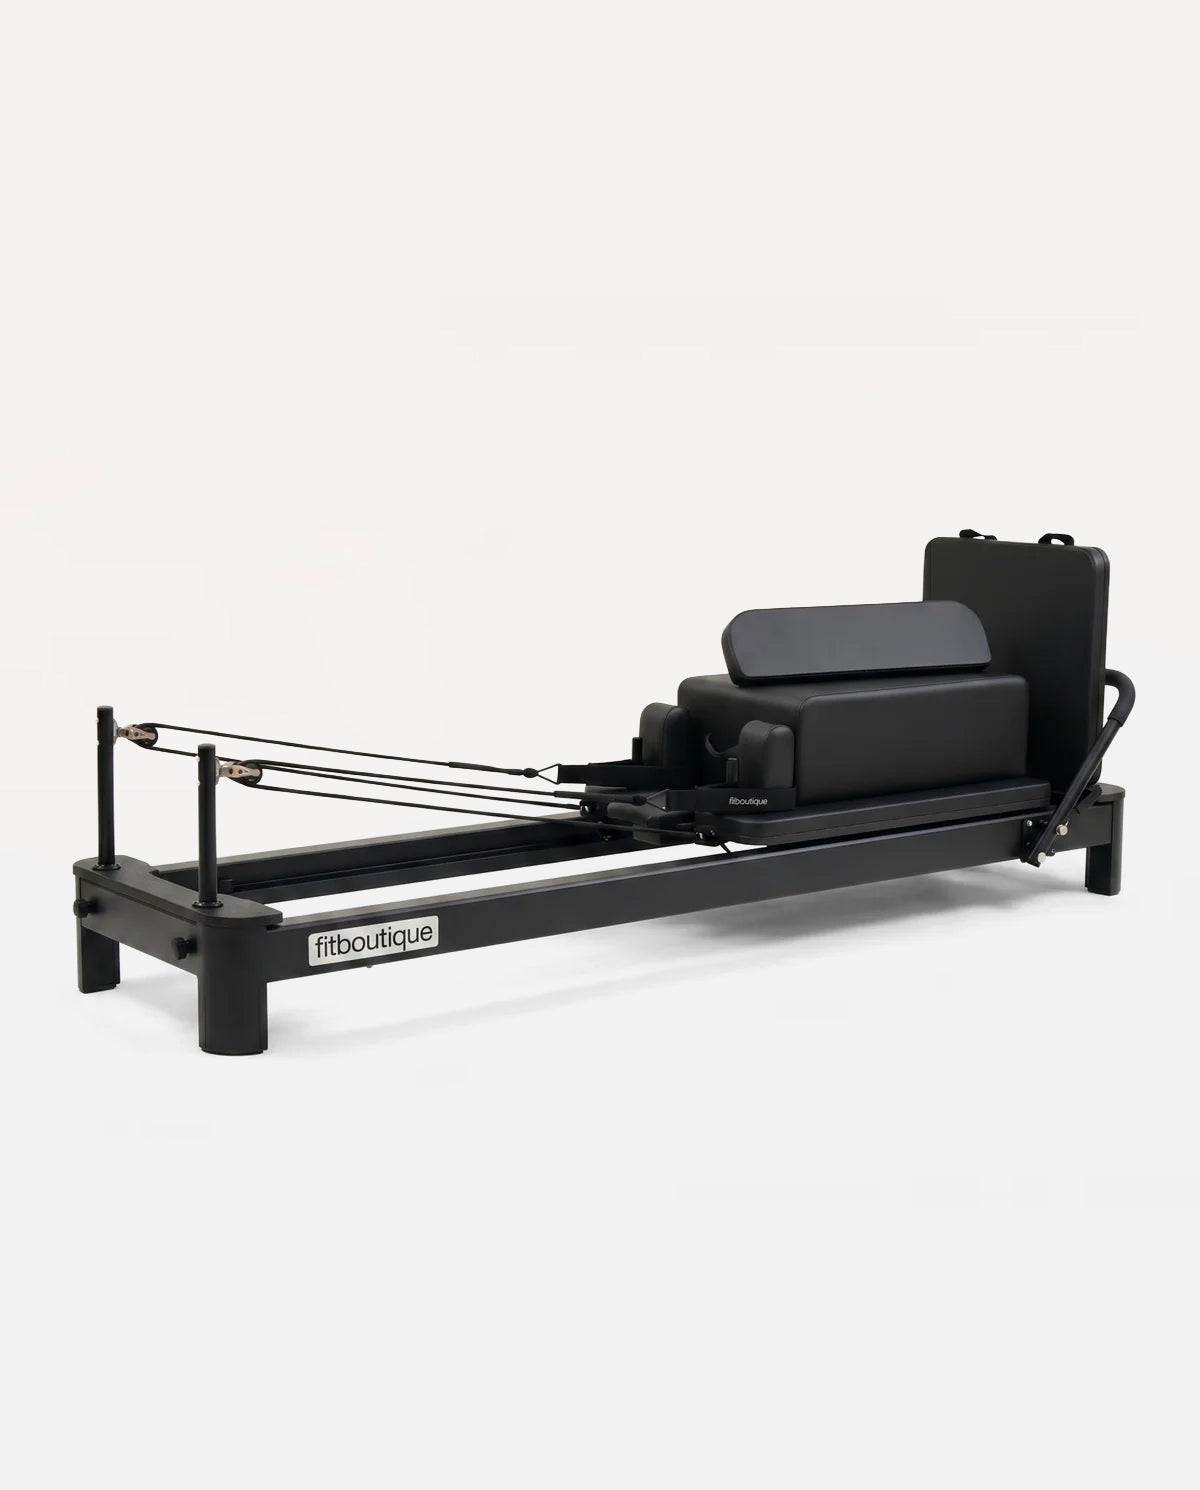
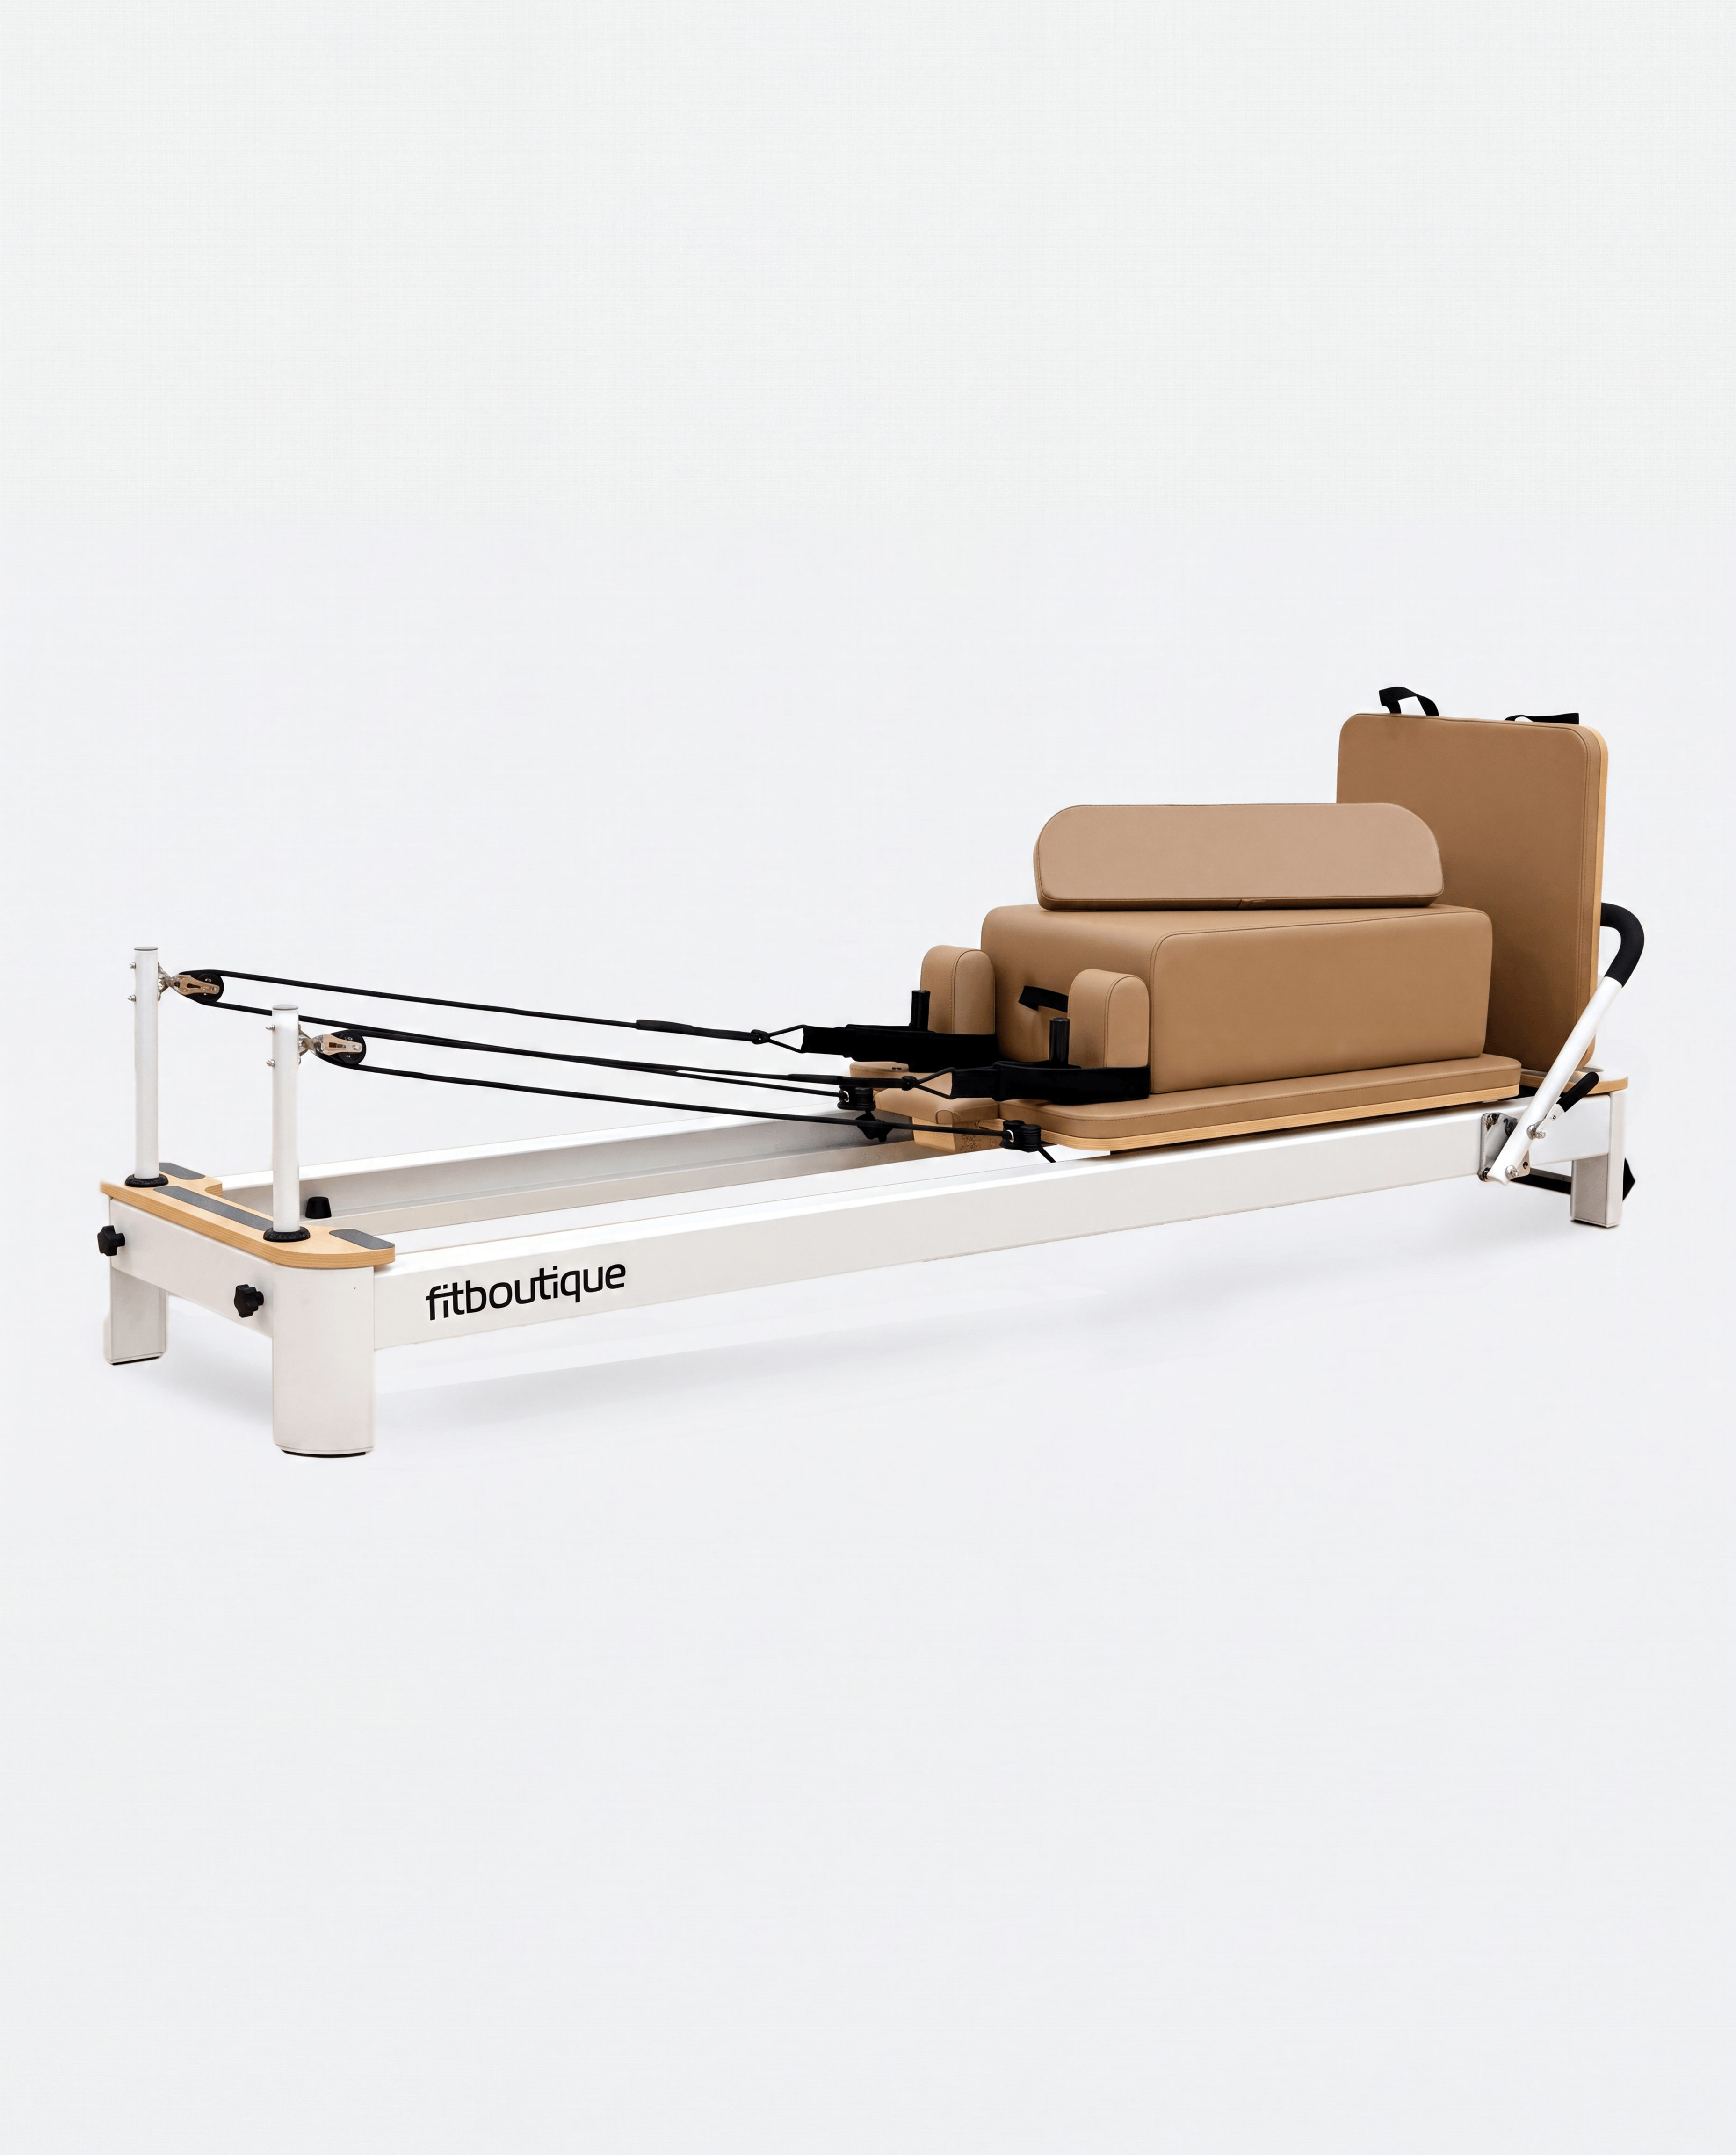
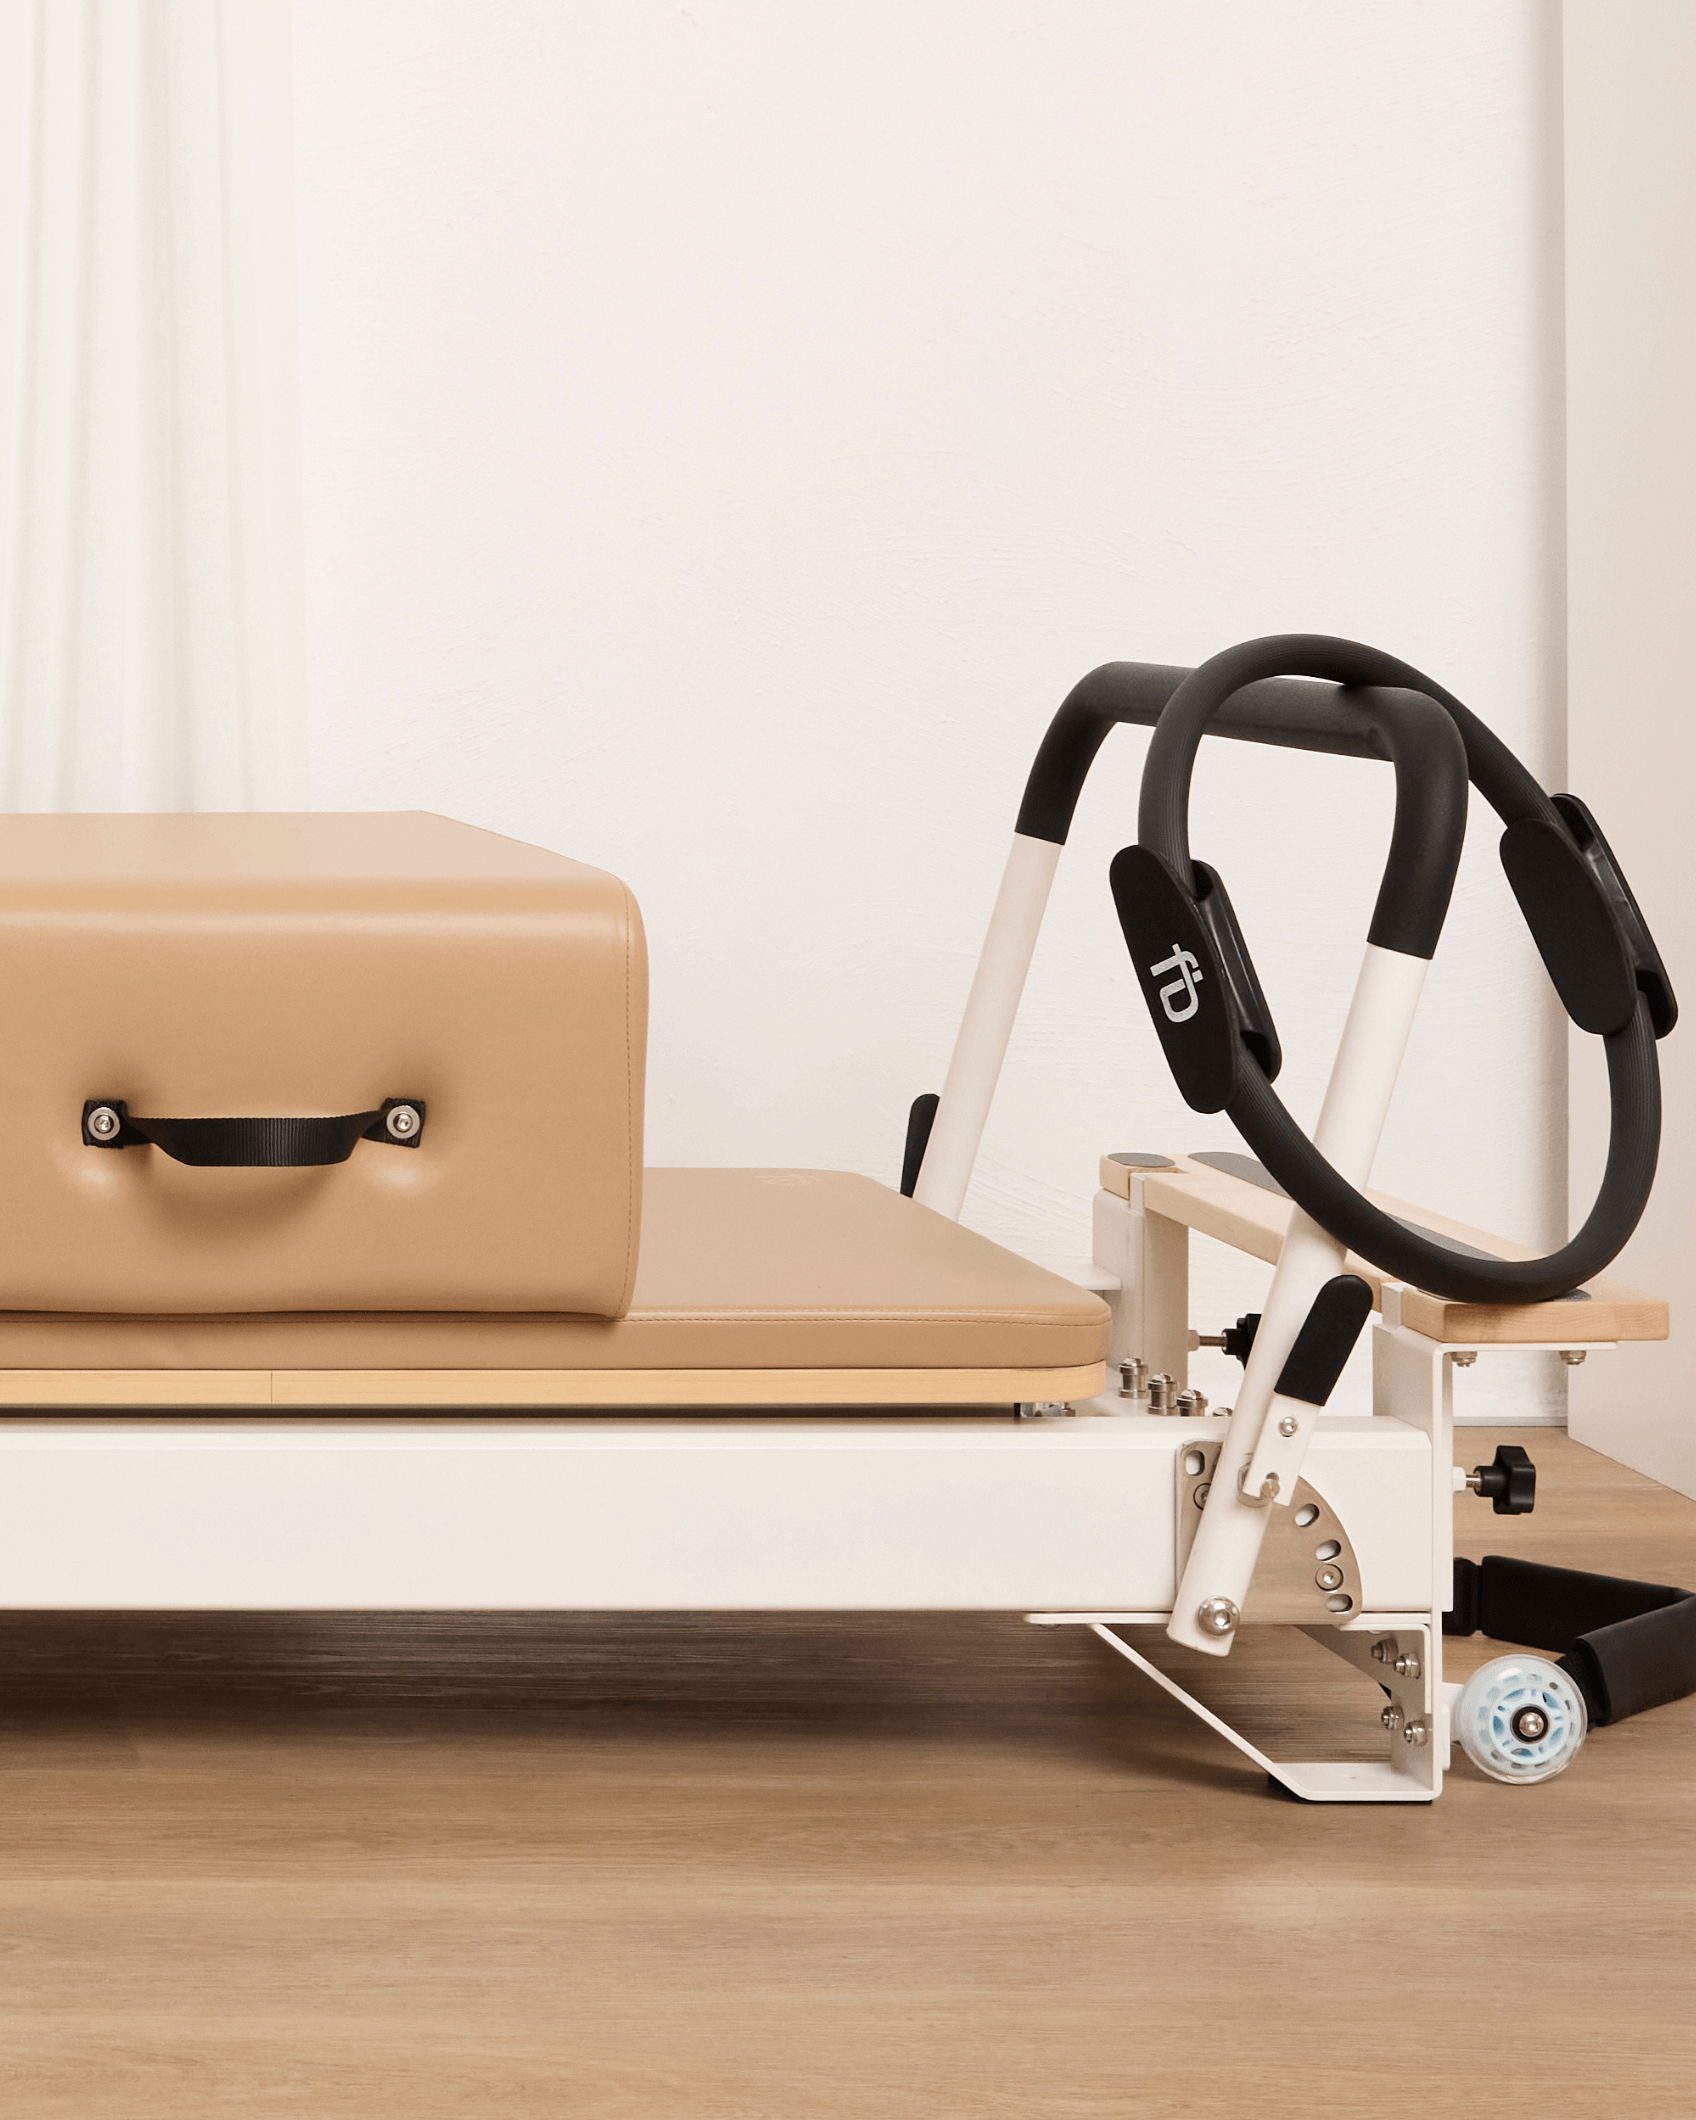
What actually turns up at your door
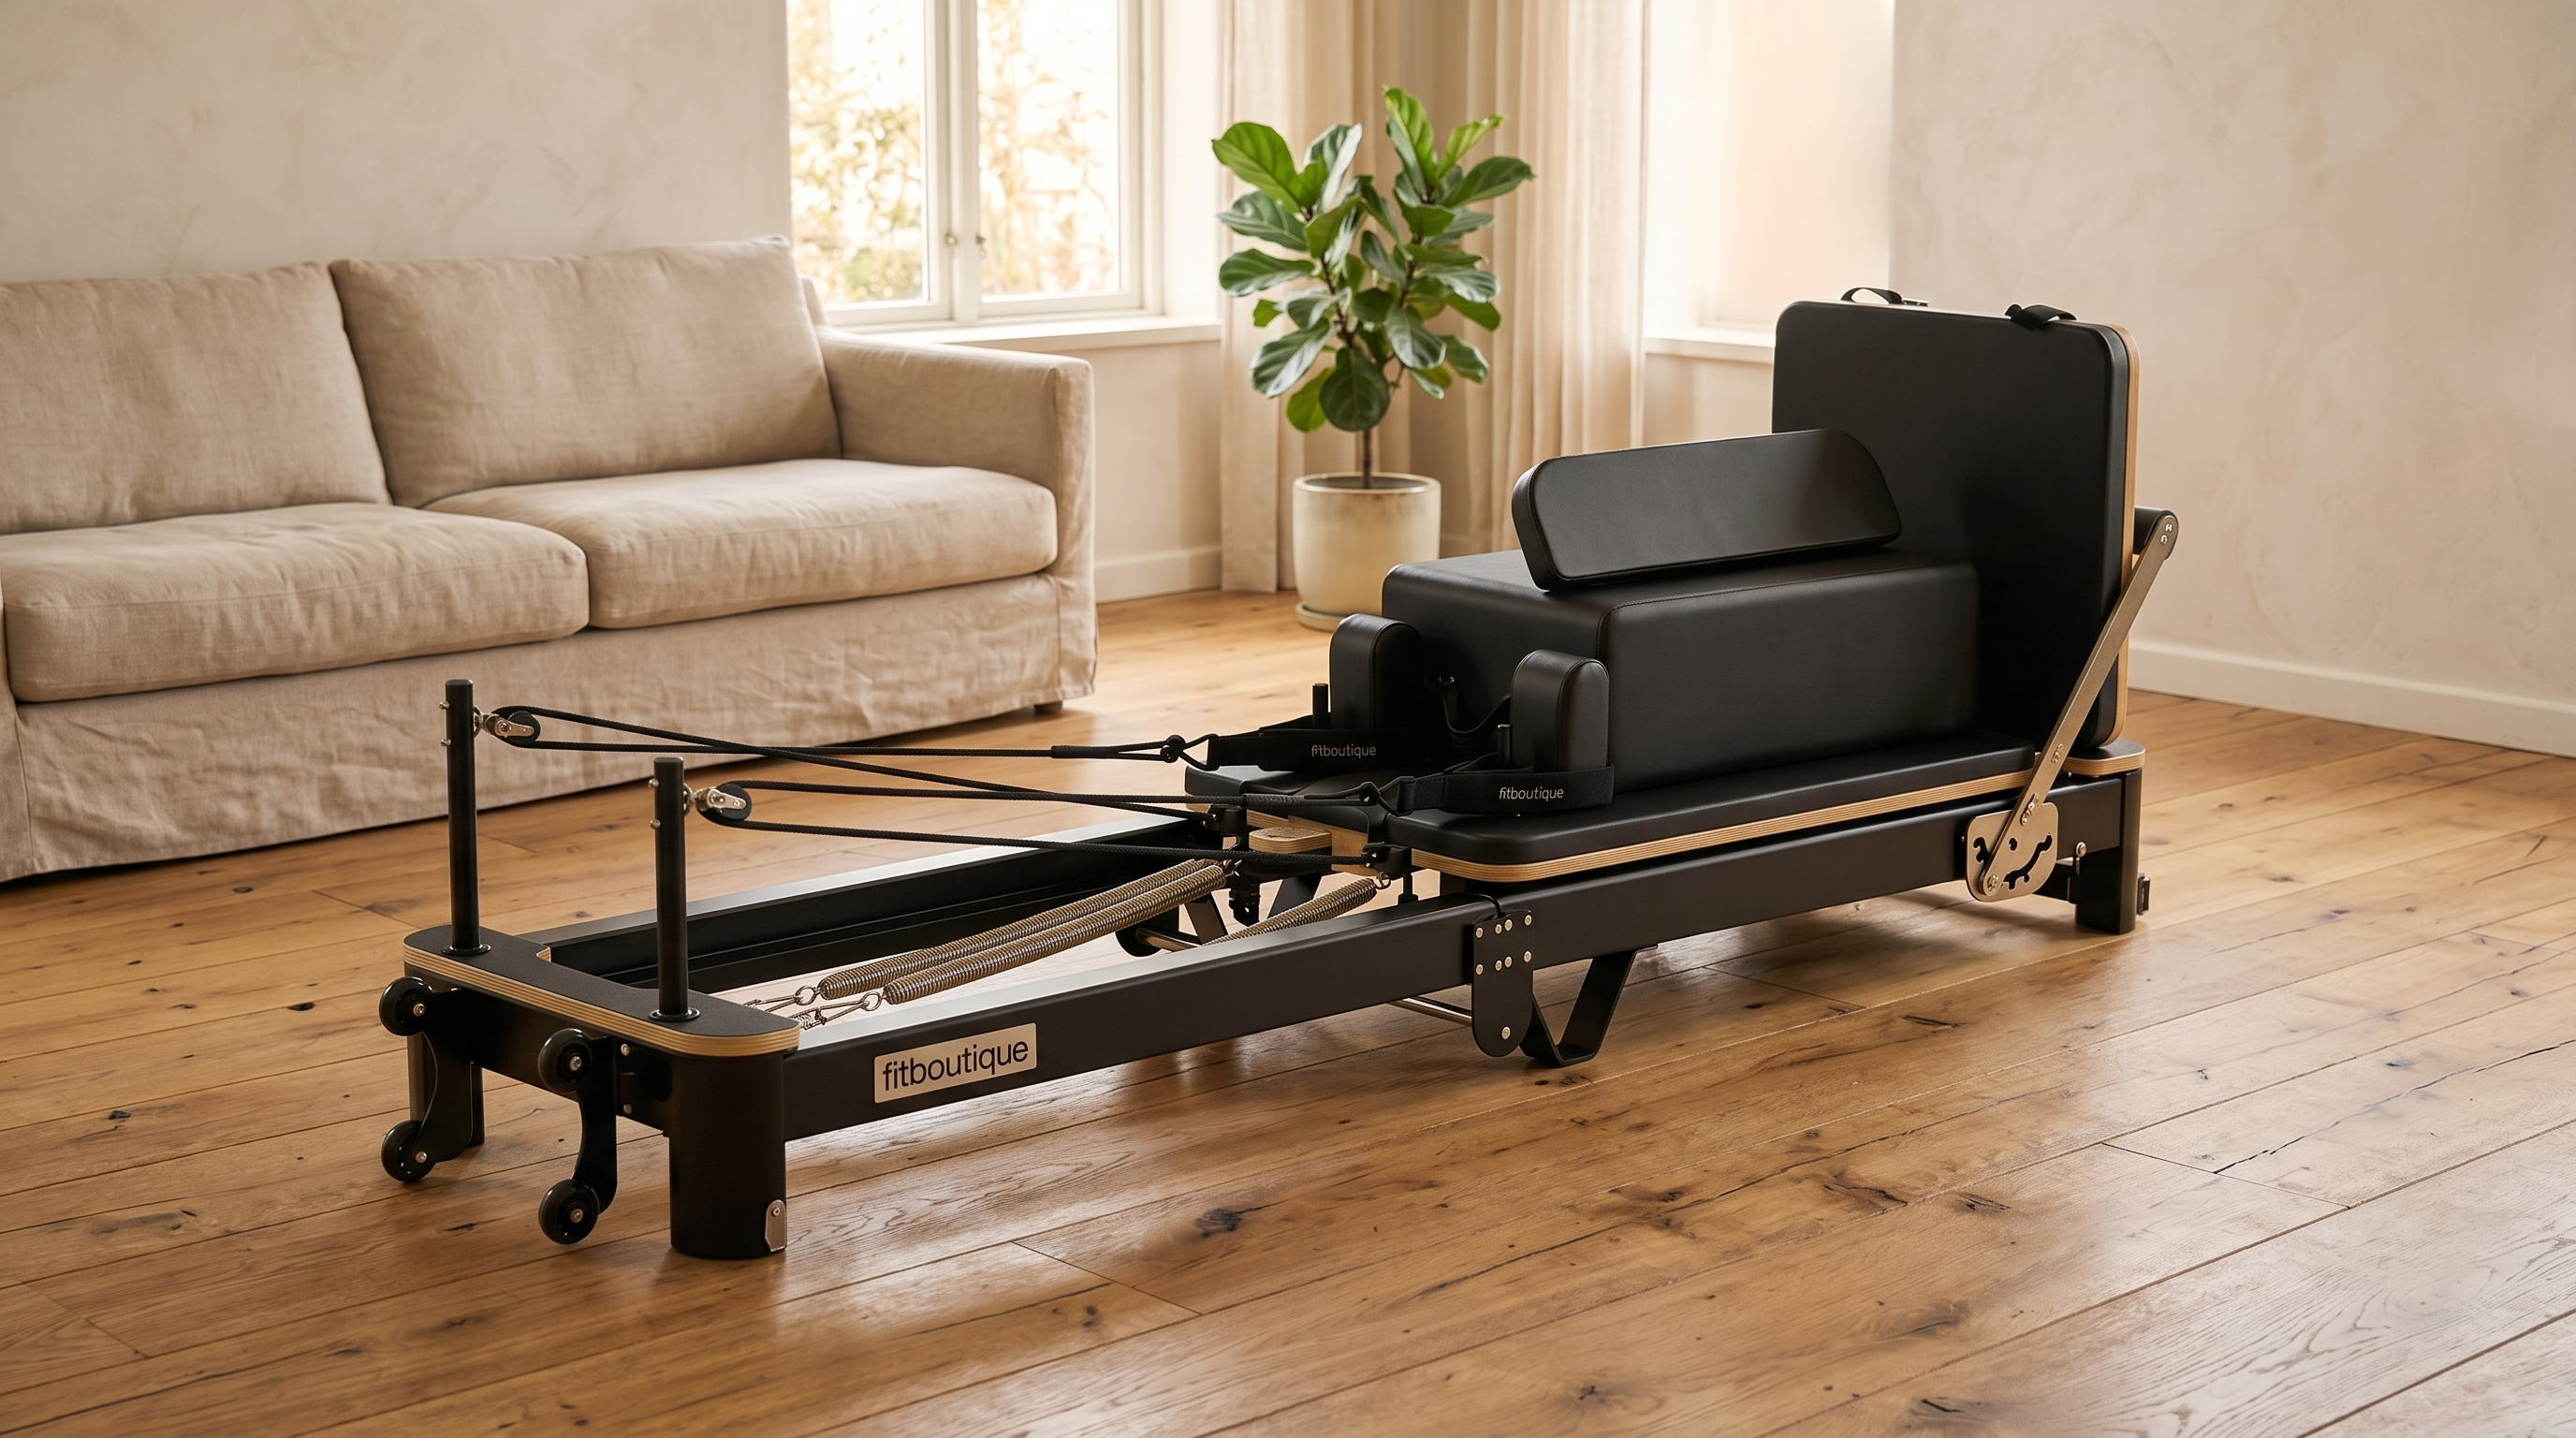
This was my first pleasant surprise. The reformer does not arrive as a flat pack of mystery parts. It comes fully assembled, with only the poles and the ropes left for you to fit, plus your jumpboard, box and yoga starter kit in the same delivery. So there is no frame to bolt together, no carriage to install, none of the fiddly engineering you might be dreading. The hard work is already done at our end. Your job is simply to unfold it and add the few finishing pieces.
My step by step setup
Here is the whole process, exactly as I did it. None of these steps is hard, and the whole thing flows naturally from one to the next.
- I cleared a level spot about two metres long, with a bit of room to move around the ends.
- I unfolded the reformer and let it sit down flat. The centre support bar and centre legs lock it rigid through the middle, so it felt instantly solid underfoot.
- I slotted the poles, the upright risers, into place. They simply seat into position with no force needed.
- I looped the ropes and straps over the pulleys, which takes seconds once you see how they sit.
- I chose my springs for the session, clipping on the ones I wanted.
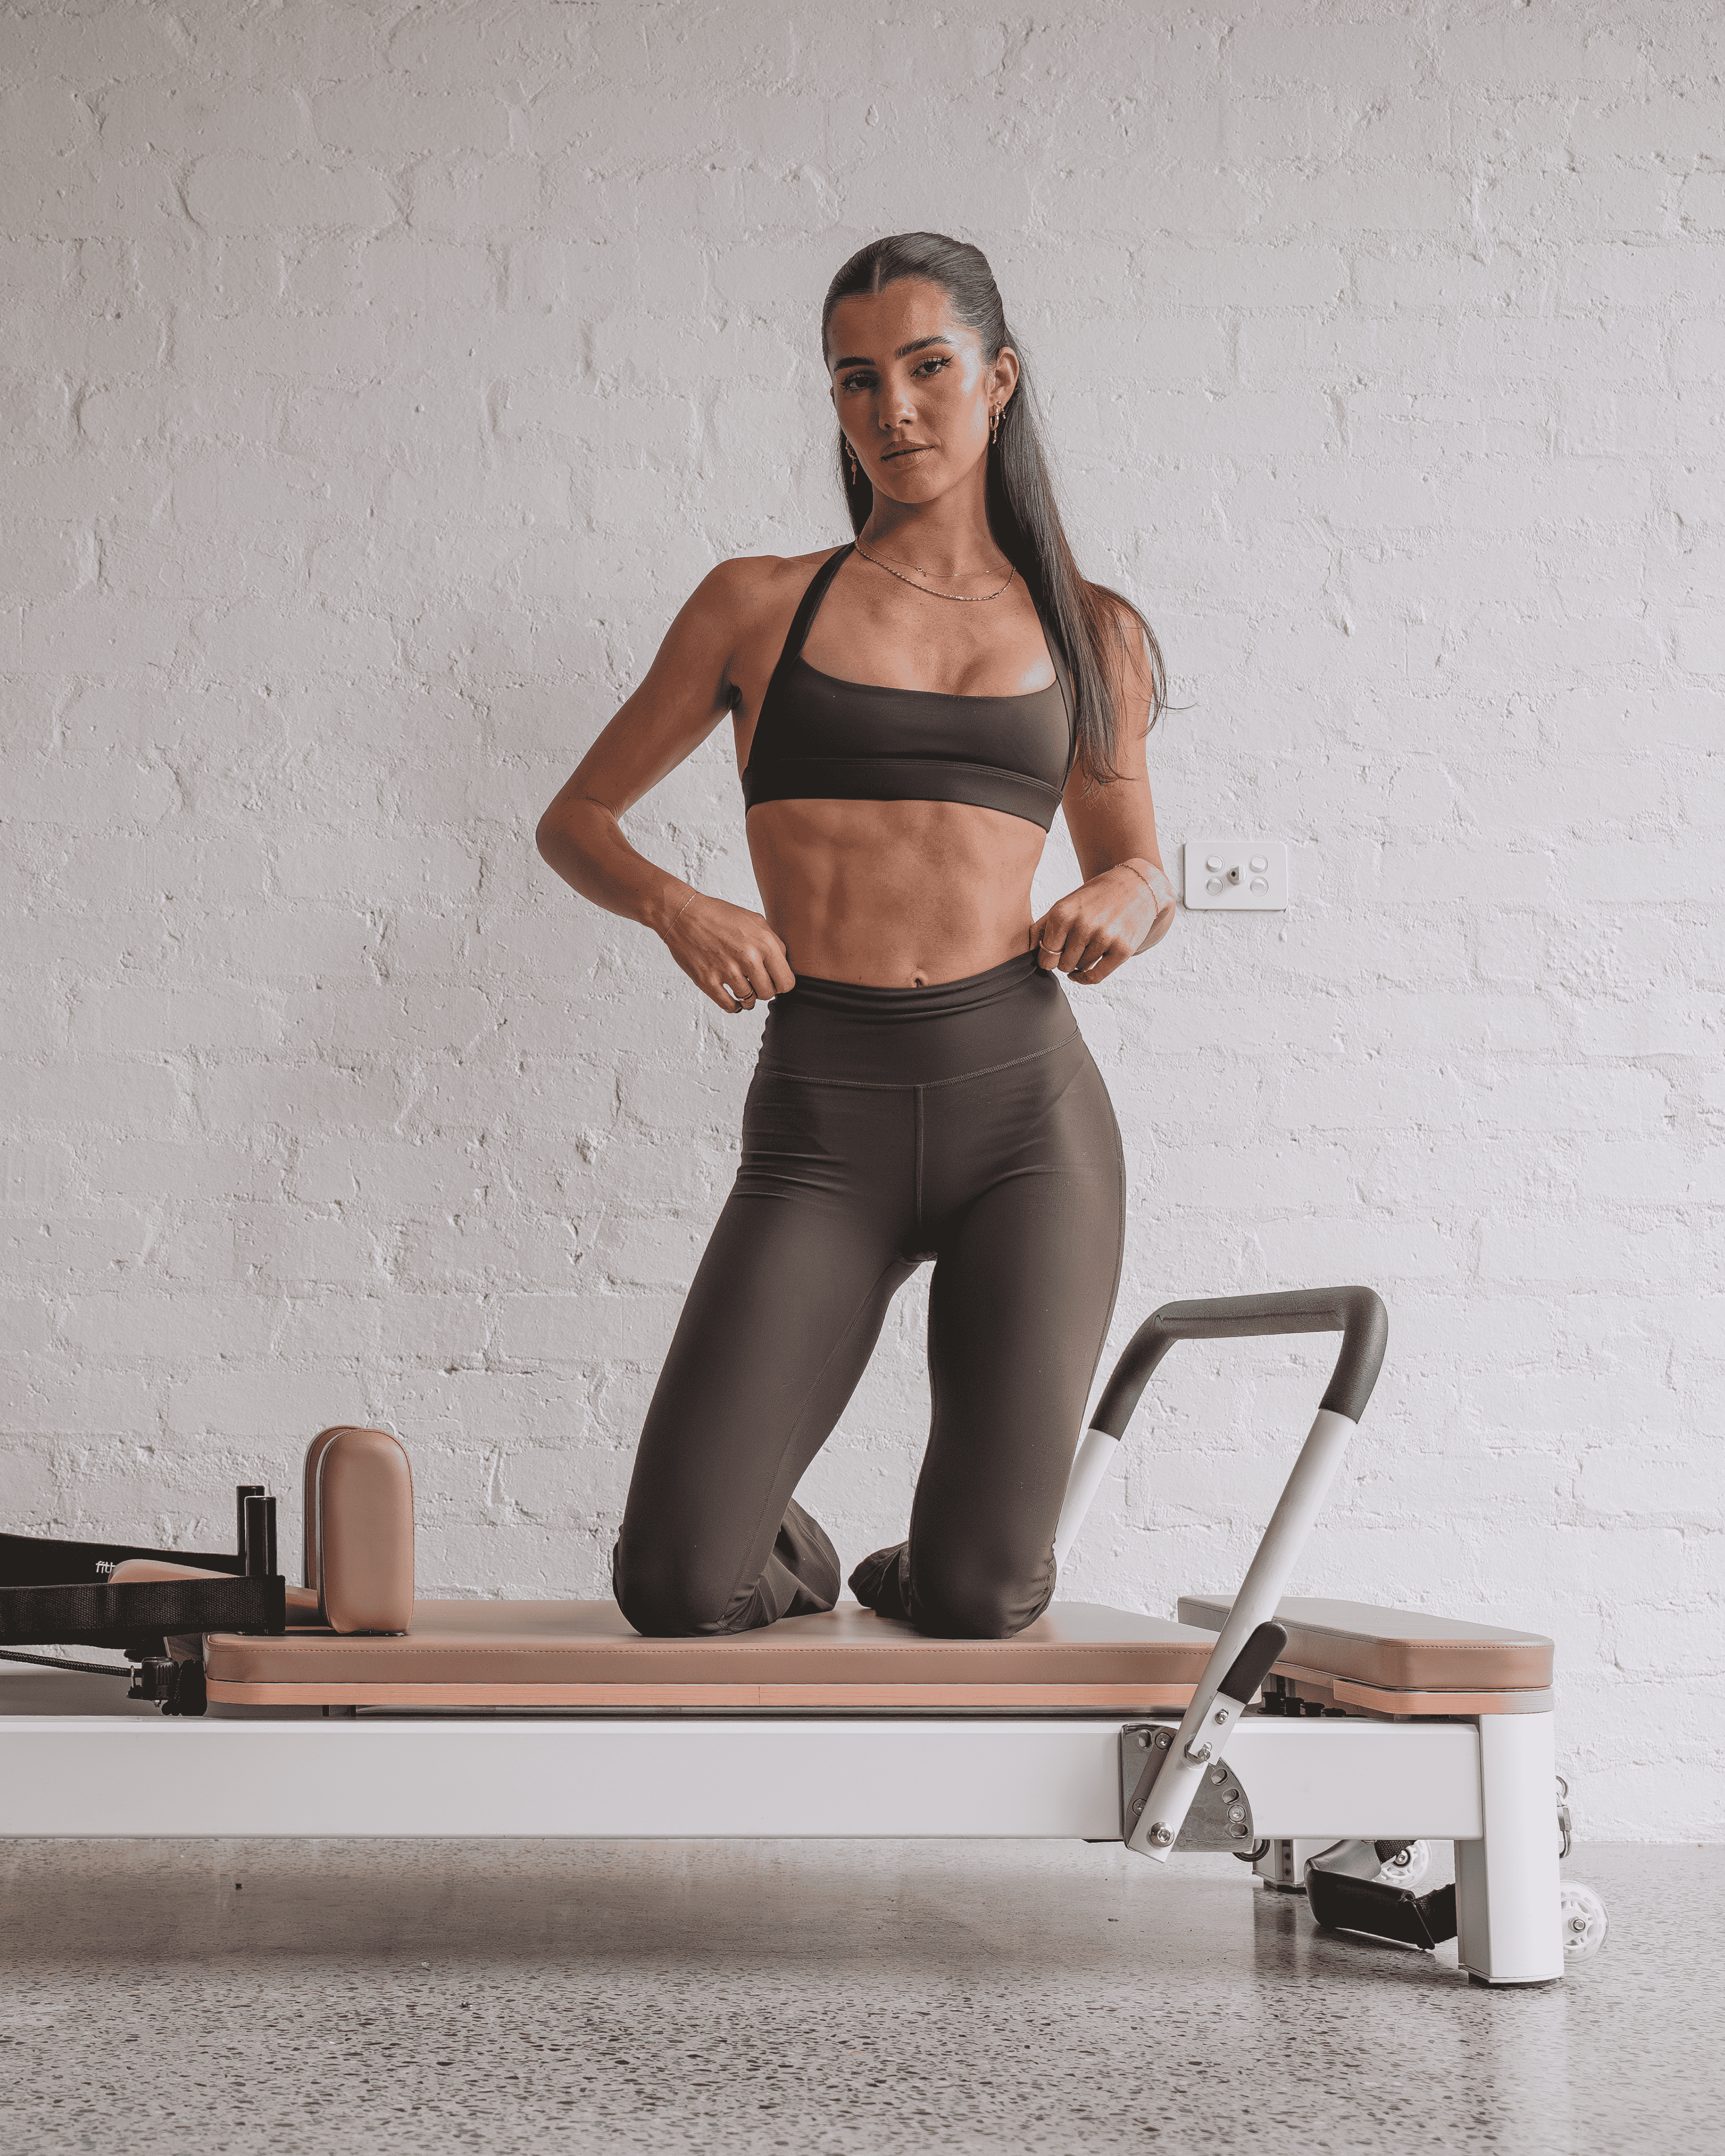
- I gave the carriage a slow test glide, felt how smooth and quiet it was, and that was it. Ready to train.
No tools, no instruction panic
The thing I want to reassure you about most is that you do not need to be handy. There were no tools to dig out, no tiny screws to lose under the sofa, no diagram I had to squint at. Everything fits together by hand and makes sense the moment you look at it. If you can unfold a clothes airer and clip a few pieces into place, you can set up your reformer. The video above makes that obvious, and once you have done it once it becomes second nature.
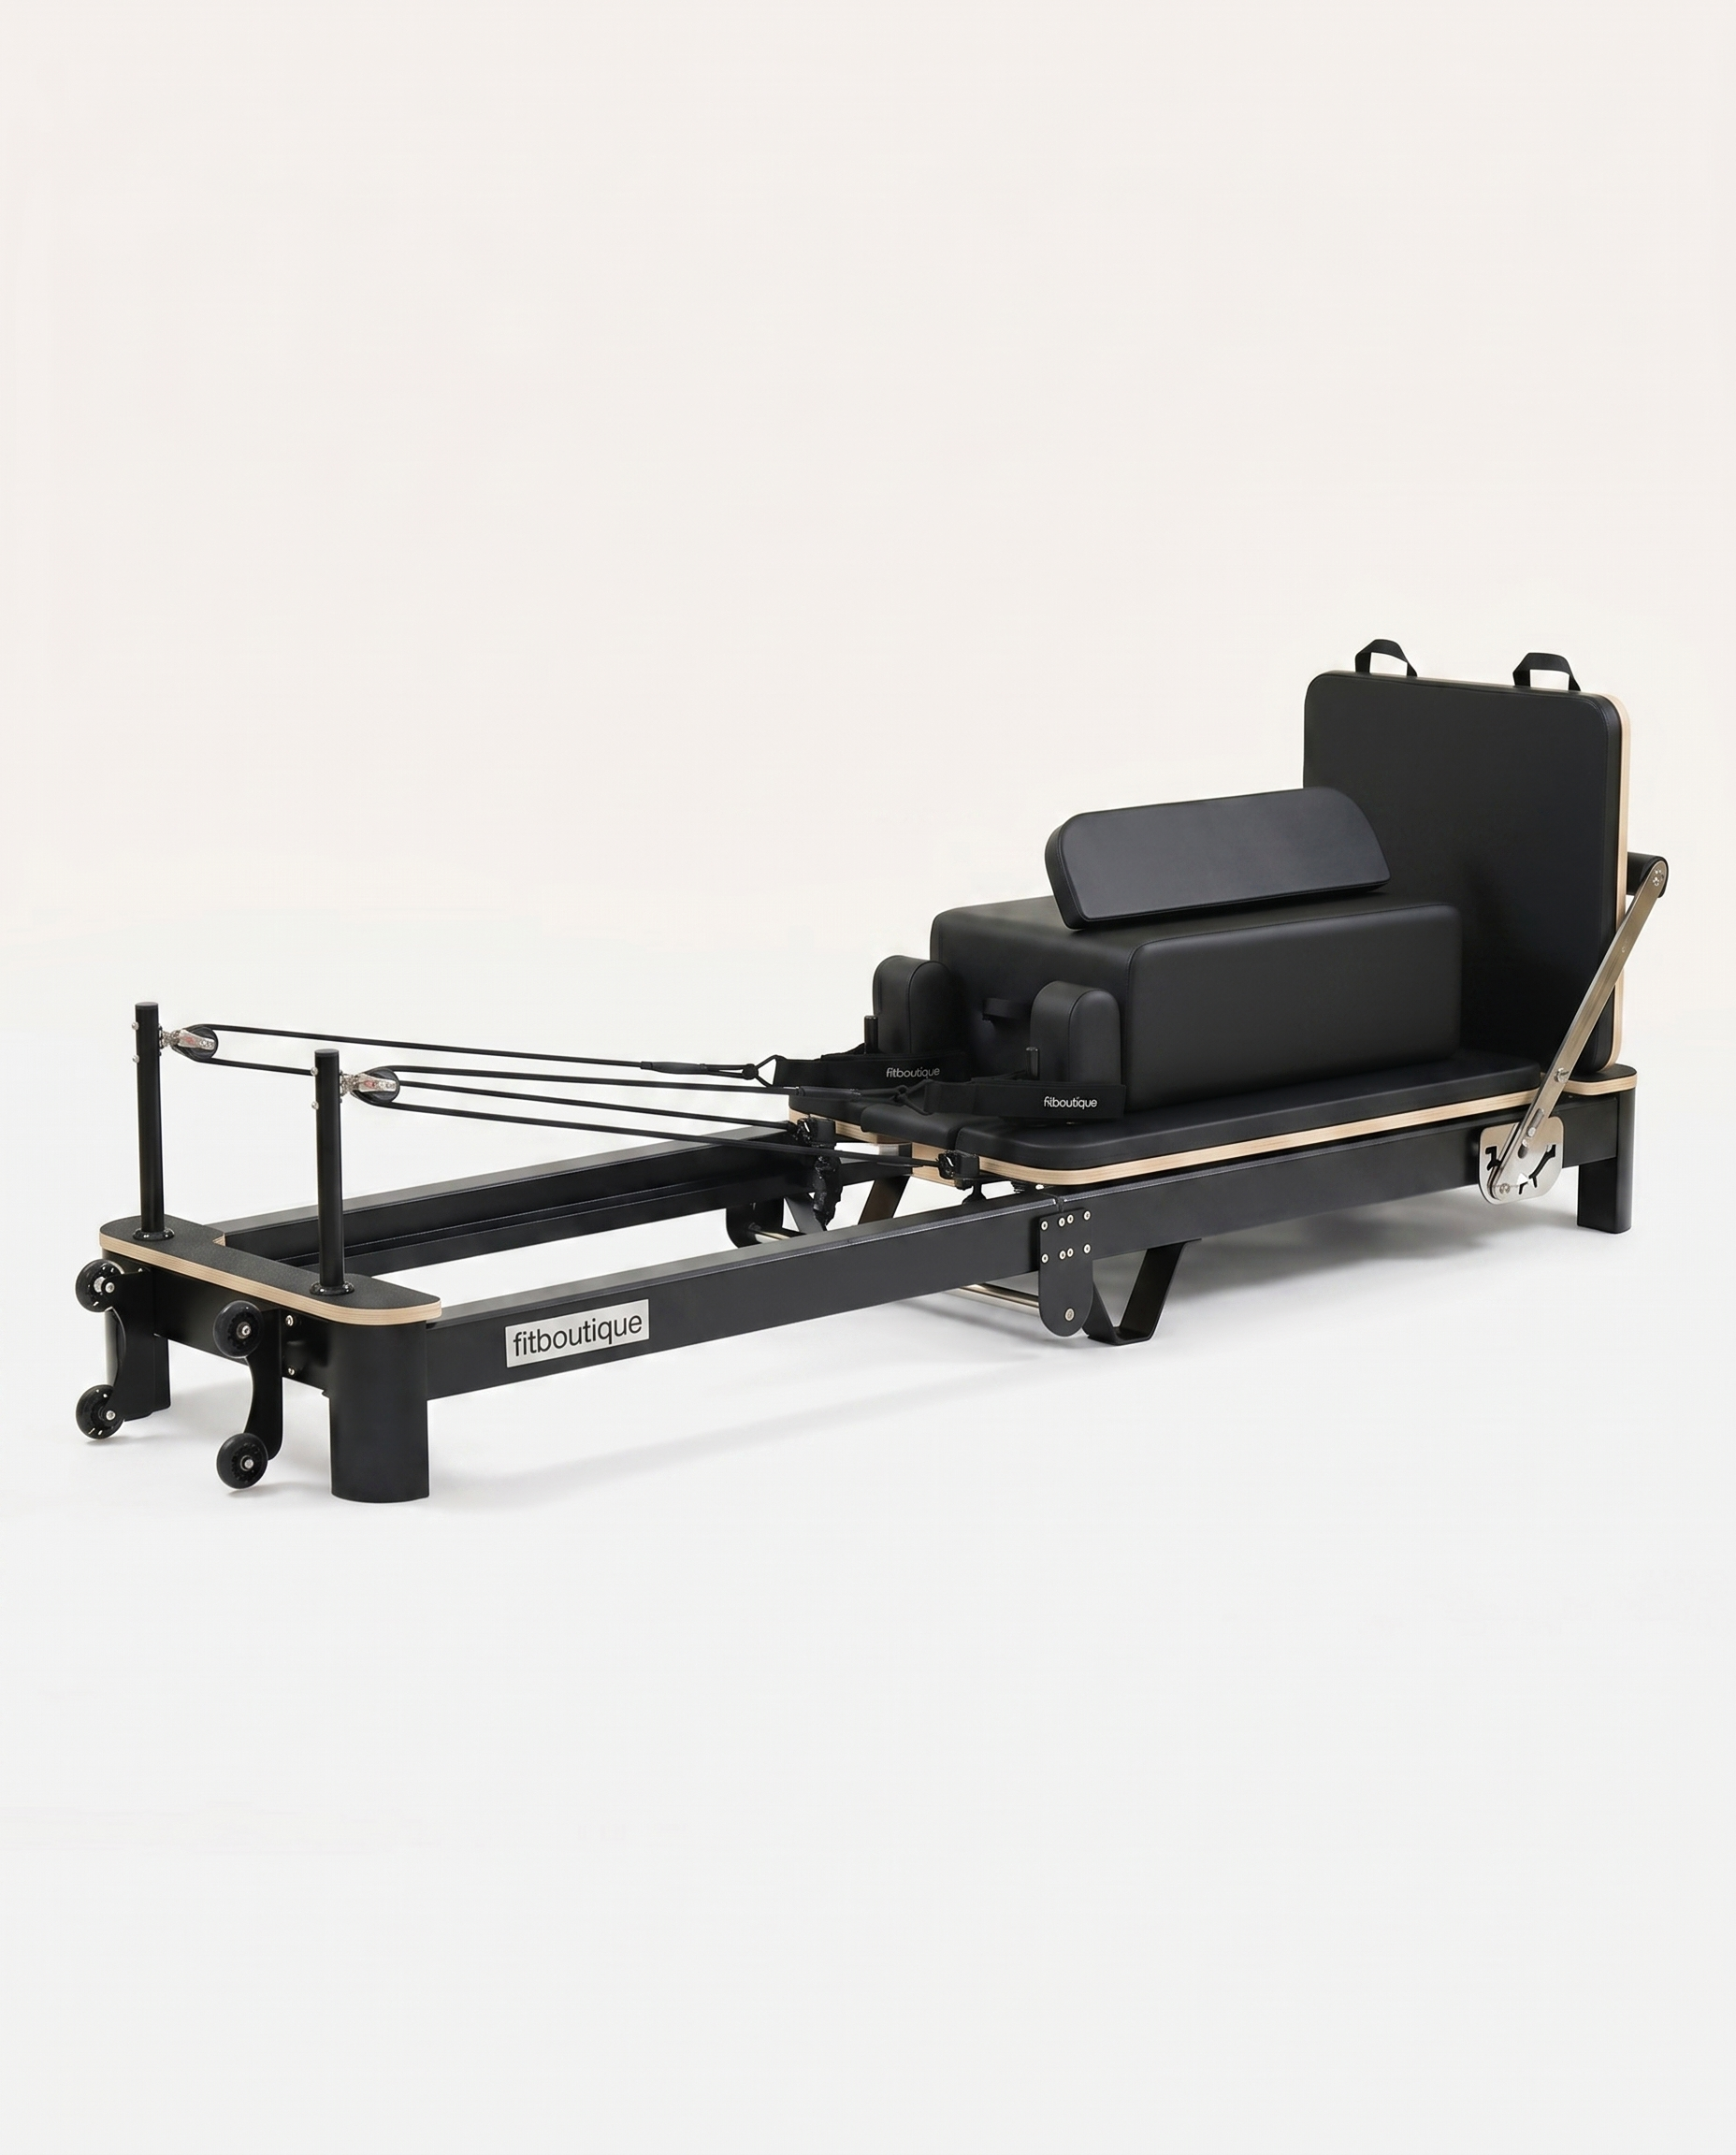
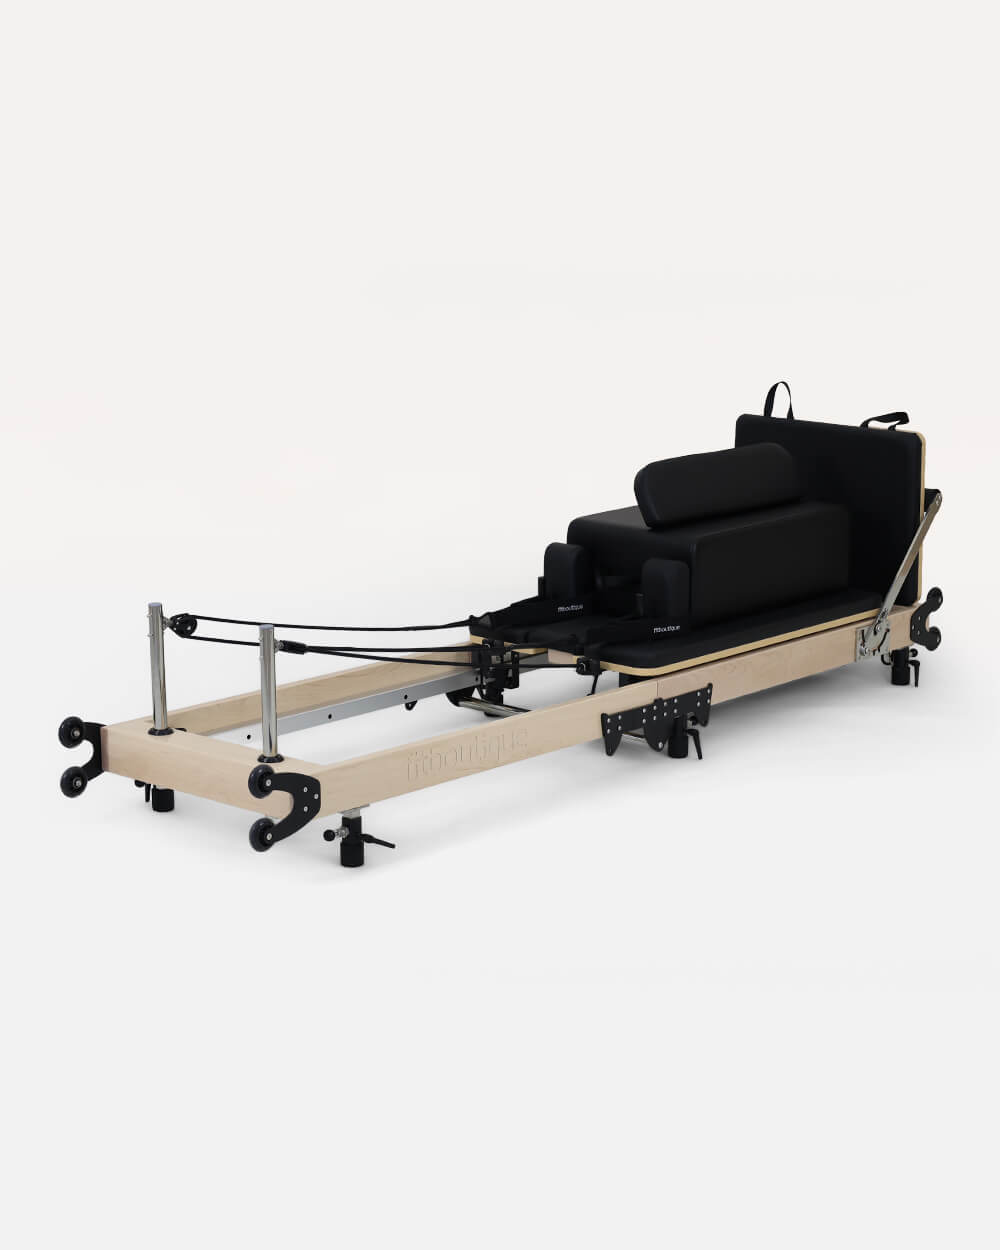
Folding it away again
The other lovely surprise is how easily it goes back. When I am finished, I lift off nothing and unclip nothing major, I simply fold it down and it stores upright on its wheels, then rolls neatly against the wall. The room becomes a room again in under a minute. That ease of folding away is the whole point of a foldable, and it is just as simple as the setup, which means there is no friction stopping me from training whenever I feel like it.
Frequently Asked Questions
How long does it take to set up a foldable reformer?
Only a few minutes. It arrives fully assembled, so setup is just unfolding it, locking the centre legs and support bar, fitting the poles, looping on the ropes and choosing your springs. The second time is even quicker.
Do you need tools to set up a reformer?
No. Everything fits together by hand. There are no tools required, no screws to install and no frame to build. If you can unfold it and clip a few pieces into place, you are done.
Does a FitBoutique reformer come assembled?
Yes. It arrives fully assembled with only the poles and ropes left to fit, and it includes a jumpboard, box and yoga starter kit in the same delivery. There is no flat pack to build.
How do you fold and store it after use?
You fold it down and it stands upright on its wheels, then rolls against a wall or into a cupboard. It takes under a minute, so the floor space comes straight back between sessions.
Ready in Minutes, Folds Away in Seconds
A foldable reformer that arrives assembled and sets up with no tools, with free Australia-wide delivery and a 5-year warranty.
Explore the Foldable RangeWritten by Ayrah Yuso
I'm part of the FitBoutique team and have a solid passion (and love) for all things exercise related, including Reformer Pilates


Leave a comment